How to Find Wall Studs in Plaster Walls: 8 Reliable Methods
learning how to find wall studs in plaster walls takes a little more care than finding studs in modern drywall. Old plaster often sits over wood lath, which can make electronic tools give false readings. The good news is that you can often find a stud with simple tools and a few careful checks.
The key is to look for more than one clue. A magnet may find the nails that hold the lath to the framing. Measurements can show where the next stud should be. A small test hole can then confirm the location before you make a larger hole for a shelf, cabinet, mirror, or TV mount.
Why Finding Studs in Plaster Walls Can Be Tricky
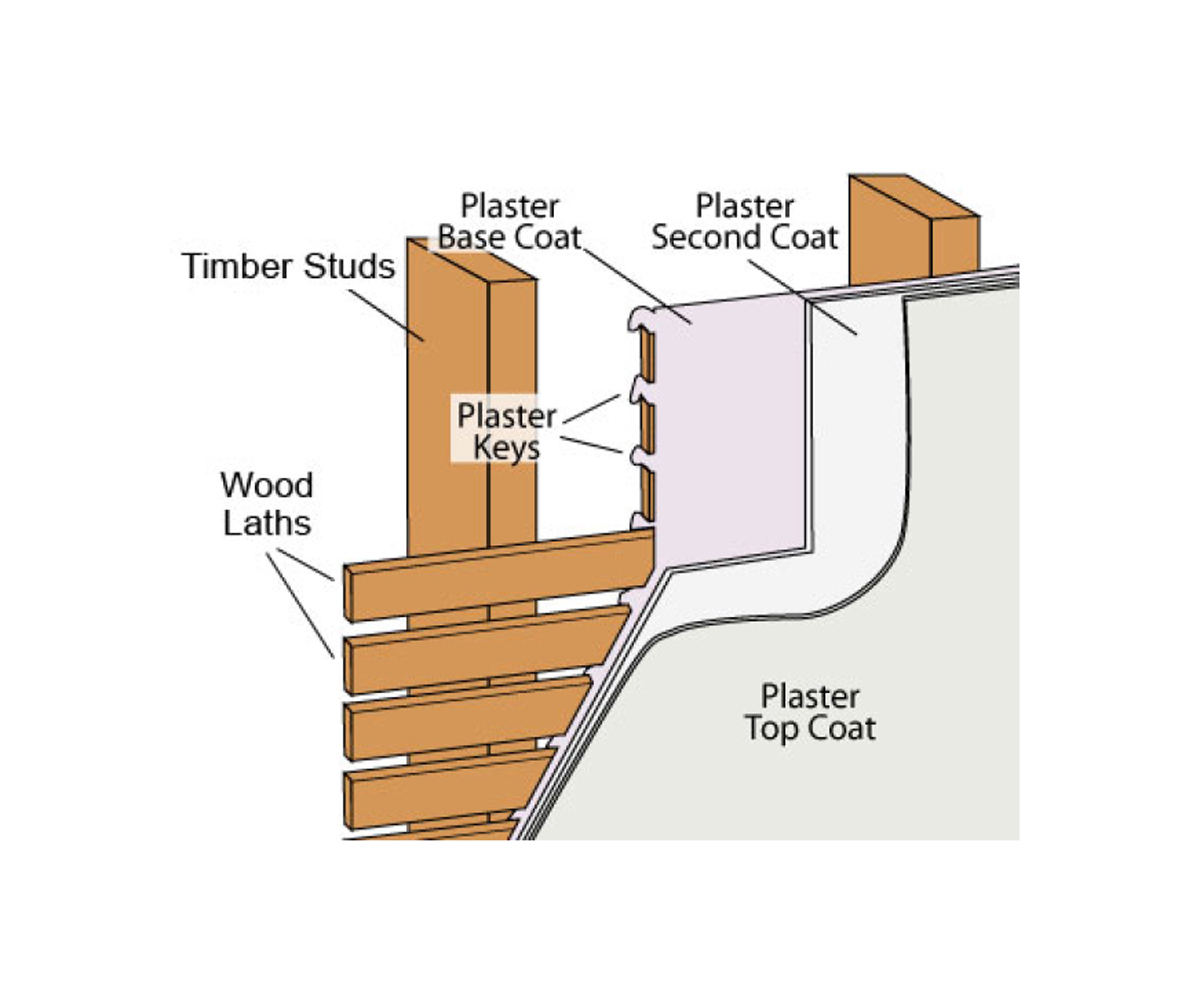
Before learning how to find wall studs in plaster walls, it helps to know what sits behind the surface. Many older U.S. homes use lath and plaster. Thin wood strips, called lath, sit across the wall framing. Several coats of plaster cover the lath and form the finished wall.
This setup is much harder for some stud finders than flat drywall. The plaster may be thick and uneven. Metal fasteners in the lath can also create many signals. For this reason, do not trust one reading from an electronic finder.
The wall may also have wood framing that does not follow the exact spacing you expect. Older homes can have changes around doors, windows, corners, and repairs. Use normal framing patterns as clues, not as proof.
- ✦ Thicker surface
Plaster and lath can sit farther from the framing than a thin drywall sheet.
- ✦ Many metal fasteners
Nails or other fasteners in the lath can attract a magnet and create several signals.
- ✦ Older framing
Stud spacing in older homes may vary, so measuring alone cannot confirm a stud.
What Is a Stud?
A stud is a vertical piece of wood or metal used to form a wall frame. In many American homes, wood studs support the wall and provide solid points for attaching heavy items. A stud is usually much stronger than the plaster surface itself.
- ✦ Typical location
Studs often run from the floor toward the ceiling and sit behind the wall finish.
- ✦ Why it matters
Fastening into a stud gives screws a much stronger hold than fastening only into plaster or lath.
How to Find Wall Studs in Plaster Walls With a Magnet
A strong magnet is one of the simplest tools for finding studs behind plaster. You are not actually detecting the wood. Instead, the magnet finds metal fasteners that connect the lath to the framing. A row of fasteners can point to the center of a stud.
Start near the area where you want to hang the item. Move the magnet slowly across the wall. Mark each spot where it pulls toward the surface. Then move up and down to see whether the marks form a vertical line.
This method works best when several fasteners line up. One magnetic spot is not enough because a nail can sit in a place that does not show the full stud position. Look for a pattern before you drill.

- ✦ Use a strong magnet
A small but powerful magnet can make it easier to feel the pull through plaster.
- ✦ Move slowly
Slow movement helps you notice small changes in magnetic pull.
- ✦ Mark a vertical line
Several fasteners that line up vertically are a useful clue to the stud below.
- ✦ Confirm the pattern
Do not drill based on one magnetic reading. Check several points first.
How to Use the Magnet Method
Place the magnet flat against the wall and move it from side to side. When you feel a pull, mark the location with removable painter’s tape or a light pencil mark. Repeat the process at several heights. If the marks form a straight vertical path, you may have found a stud.
- ✦ Best clue
A vertical series of fasteners is more useful than one isolated magnetic spot.
Find Studs by Measuring From Outlets, Corners, and Openings
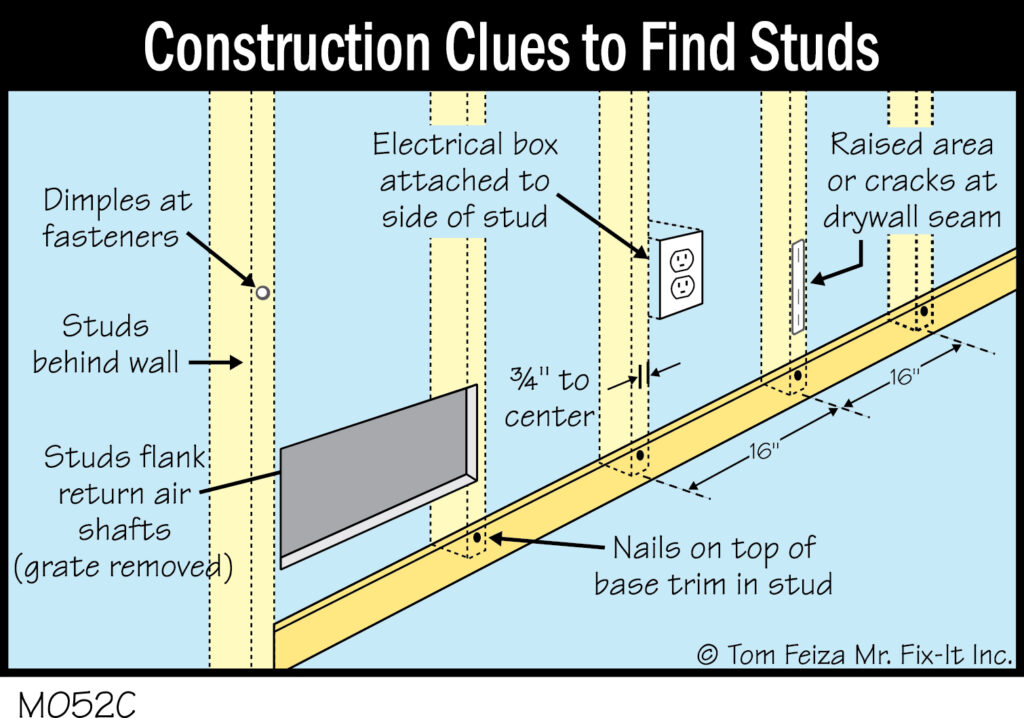
Another useful way to learn how to find wall studs in plaster walls is to use fixed points as clues. Electrical boxes are often attached to framing. A wall corner, door opening, or window opening can also give you a useful reference point.
Remove the cover plate from an electrical outlet or switch only if you are comfortable doing so and the power is off. Do not touch the wiring. You may be able to see which side of the box connects to the framing, but this does not always show the exact center of the stud.
Once you identify a likely stud, measure across the wall and check for the next one. Many walls use a regular framing pattern, but older homes may not. Treat the measurement as a starting point and confirm each important location.

- ✦ Start at corners
Framing often exists near inside and outside corners, making them useful reference points.
- ✦ Check openings
Doors and windows need framing, so their edges can help you understand the wall structure.
- ✦ Use outlets as clues
Electrical boxes are commonly secured to framing, but the box position does not always equal the stud center.
- ✦ Confirm before drilling
Measurements can suggest a stud location but should not replace a physical confirmation.
Why Stud Spacing Is Only a Guide
Modern walls often follow common framing layouts, but old plaster walls can differ. Repairs, additions, and unusual framing can change the spacing. When the item is heavy or expensive, confirm the exact stud instead of relying on a measurement alone.
- ✦ Common pattern
A regular spacing pattern may help you predict where another stud could be.
- ✦ Older homes
Irregular spacing is possible, so always verify the predicted location.
Use Sound and Wall Feel as Extra Clues
Tapping the wall can help you compare one area with another. Tap gently with your knuckle or the handle of a small tool. A spot over framing may sound or feel different from a hollow area between studs.
This method is not exact, especially with thick plaster. The sound can change because of pipes, old repairs, loose plaster, insulation, or different wall materials. Use tapping as a supporting clue rather than your only method.
A practical approach is to tap across a short section of wall and mark changes in sound. Then compare those marks with your magnet findings or measurements. When several clues point to the same place, your confidence improves.
- ✦ Tap gently
Use light taps so you do not damage old or loose plaster.
- ✦ Compare areas
The change from one sound to another is often more useful than the sound of one spot.
- ✦ Use more than one clue
Combine sound with magnets, measurements, or another confirmation method.
Signs of Loose Plaster
A wall that sounds very hollow or feels loose may have damaged plaster or loose lath. Do not press hard or drill into such an area. Repair may be needed before you safely mount a heavy object.
- ✦ Cracks
Visible cracks can signal an area that needs care before drilling.
- ✦ Soft movement
If the surface moves under light pressure, avoid using it as a mounting point.
Can You Use a Stud Finder on Plaster Walls?
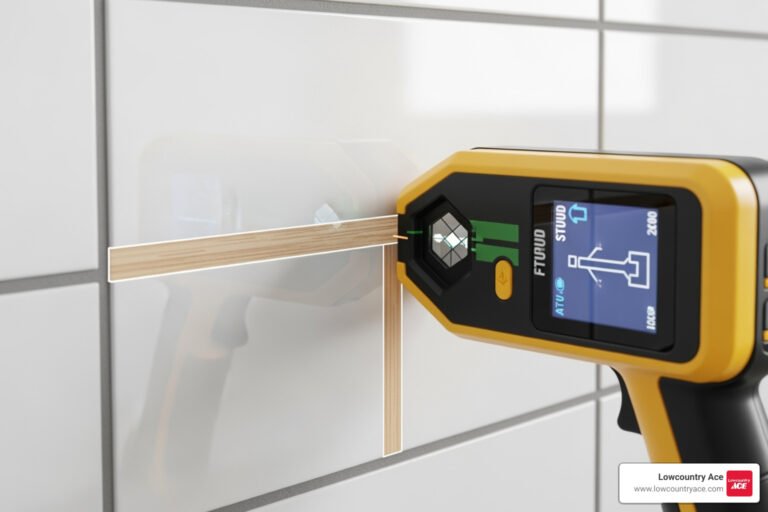
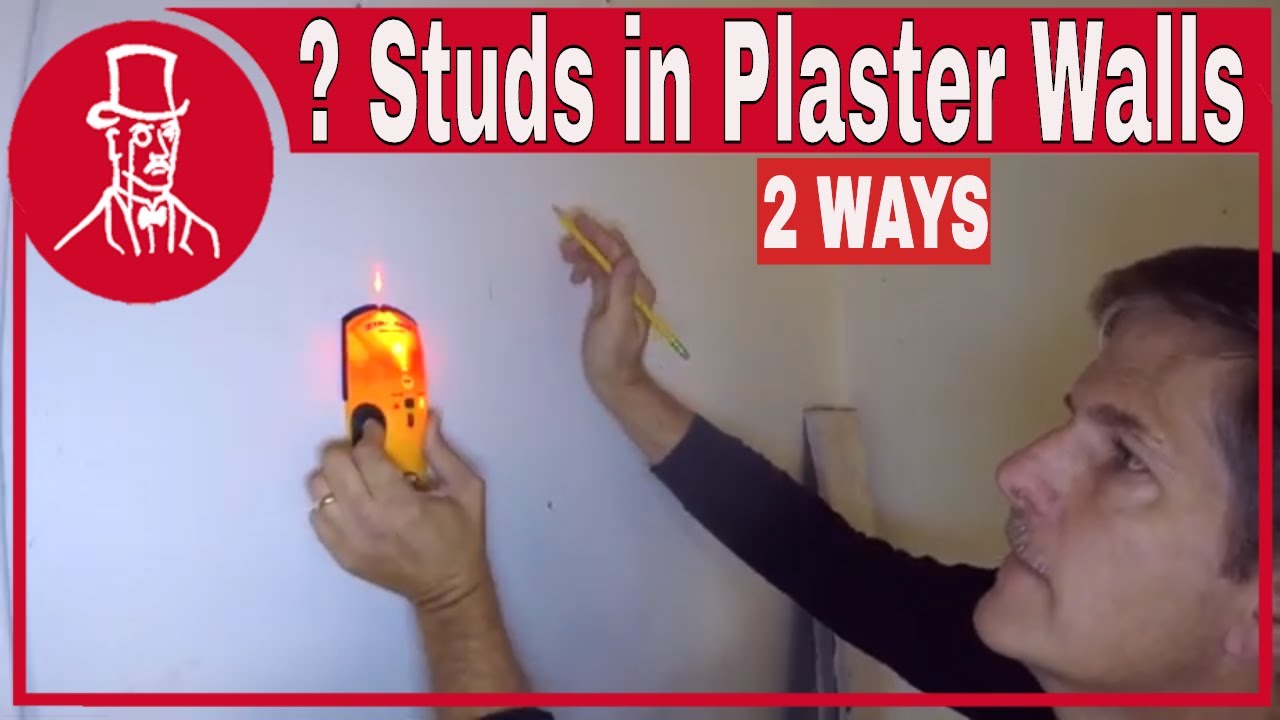
Yes, you can use a stud finder on plaster walls, but results vary. Some electronic stud finders are designed to sense changes in density or detect other materials. Thick plaster and wood lath can make those readings less clear than they are on drywall.
If you use an electronic finder, follow the tool’s instructions closely. Calibrate it on the wall as directed. Move it slowly and make several passes from different directions.
Do not assume that every beep marks the center of a stud. Mark the edges of the detected area, then look for the center. Confirm the result with a magnet, measurement, or small test hole when the project allows it.

- ✦ Calibrate correctly
A poor starting point can lead to unreliable readings.
- ✦ Scan slowly
Slow passes make it easier to notice changes in the reading.
- ✦ Find the center
Mark both sides of a detected area when possible, then estimate the center.
- ✦ Cross-check
Use another method before drilling into an old plaster wall.
Why Electronic Finders Can Give False Readings
Lath, plaster, metal fasteners, pipes, and wiring can all affect what a tool detects. The exact behavior depends on the device and the wall. If the reading seems wide, changes suddenly, or does not match other clues, stop and investigate instead of drilling.
- ✦ Lath interference
Wood lath and its fasteners can create a busy surface for some sensors.
- ✦ Hidden services
Pipes and wires may produce readings that are not studs.
Confirm the Stud Before You Drill
Finding a likely stud is only half the job. Before making a hole, confirm that the location is safe and that the framing can support what you plan to mount. This matters even more in older U.S. homes, where plumbing and wiring paths may differ from what you expect.
A tiny test hole can confirm wood when the project and wall condition allow it. Use a small drill bit and stop if you meet unexpected resistance. Do not force the bit through a hard object, because it could be metal, pipe, or another hidden material.
For a heavy TV, cabinet, grab bar, or other safety-critical item, use a mounting method suited to the load. If you cannot confidently locate the framing or rule out hidden utilities, have a qualified professional inspect the wall.

- ✦ Check for utilities
Look for nearby outlets, switches, plumbing fixtures, vents, and other clues before drilling.
- ✦ Drill a small test hole
When appropriate, a small pilot hole can help confirm that solid wood is behind the plaster.
- ✦ Stop at hard resistance
Unexpected resistance can mean you have reached something other than a wood stud.
- ✦ Match the fastener to the load
A stud provides strong support, but the screw, bracket, and mounting method must also suit the item’s weight.
Electrical and Plumbing Safety
Never treat a stud location as proof that a drilling spot is safe. Electrical cables and pipes can run near framing. Stay alert around outlets, switches, sinks, radiators, bathrooms, and other areas where hidden services may be present.
- ✦ Stay cautious near outlets
Electrical wiring may run through or beside framing near electrical boxes.
- ✦ Watch wet areas
Plumbing may be hidden behind walls near kitchens, bathrooms, laundry areas, and fixtures.
- ✦ Use protection
Wear suitable eye protection when drilling and keep the work area clear.
How to Find Studs Without a Stud Finder
You do not need an electronic tool to learn how to find wall studs in plaster walls. A strong magnet, tape measure, pencil, painter’s tape, and a small drill bit can be enough for many basic projects.
Start with the magnet method. Find a vertical line of metal fasteners, then compare that line with likely framing locations near corners, openings, and electrical boxes. Tap the wall to see whether the sound changes around the same location.
For a simple picture or light shelf, these methods may be all you need. For a heavy or safety-sensitive installation, take the extra step of confirming the framing and checking for hidden utilities.
- ✦ Strong magnet
Use it to locate metal fasteners hidden beneath the plaster.
- ✦ Tape measure
Use fixed wall features to estimate where framing may continue.
- ✦ Painter’s tape
Mark likely stud lines without leaving hard-to-remove marks on the wall.
- ✦ Small drill bit
Use only when needed and stop if you meet unexpected resistance.
A Simple Five-Step Method
For many projects, the easiest workflow is to locate a likely stud with a magnet, mark the line, compare it with framing clues, tap the area, and then confirm the exact point before drilling. This layered approach is more reliable than depending on one trick.
- ✦ Step 1
Scan the wall with a magnet and mark several fasteners.
- ✦ Step 2
Check whether the marks form a vertical line.
- ✦ Step 3
Compare the line with corners, openings, and electrical boxes.
- ✦ Step 4
Tap nearby areas and compare the sound and feel.
- ✦ Step 5
Confirm the location and check for hidden utilities before drilling.
Common Mistakes When Finding Studs in Plaster Walls
Many problems come from trusting a single clue. A magnet can find a nail but not prove the exact center of a stud. A stud finder can sense a change in the wall without telling you whether the change comes from framing, lath, or another hidden object.
Another common mistake is assuming that every old wall follows modern spacing. Older construction can include unusual framing, repairs, and openings. Take time to map the wall before you make several holes.
It is also easy to focus on finding wood and forget about safety. A confirmed stud does not mean the area is free of wires or pipes. Always consider what could be inside the wall before drilling.
- ✦ Trusting one signal
Use two or more clues when the exact location matters.
- ✦ Assuming perfect spacing
Do not assume every stud sits at a standard distance in an older wall.
- ✦ Drilling too soon
Confirm the location and check for hidden utilities before making the hole.
- ✦ Ignoring wall condition
Loose plaster or damaged lath may need repair before mounting anything.
What to Do If You Cannot Find the Stud
If the clues do not agree, stop and map a larger area. Scan farther from the target, check both sides of an opening, and compare the wall with nearby framing features. If the wall still remains unclear, professional inspection can prevent damage and costly repairs.
- ✦ Expand the search
A wider scan can reveal a framing pattern that is not obvious near the target.
- ✦ Check another wall
A nearby wall in the same room may reveal how the home’s framing was built.
- ✦ Get help for major work
Professional help is sensible when the installation is heavy or the wall contains uncertain utilities.