How Do I Use a Stud Finder? A Simple Step-by-Step Guide
If you have ever asked, “how do I use a stud finder?” the good news is that the basic process is simple. A stud finder senses changes behind a wall. Most electronic models detect changes in wall density. Some can also detect metal or live wires.
The key is not to rush. In home projects, a small error can put your screw beside the stud instead of in it. A careful scan from both directions gives you a much better result.
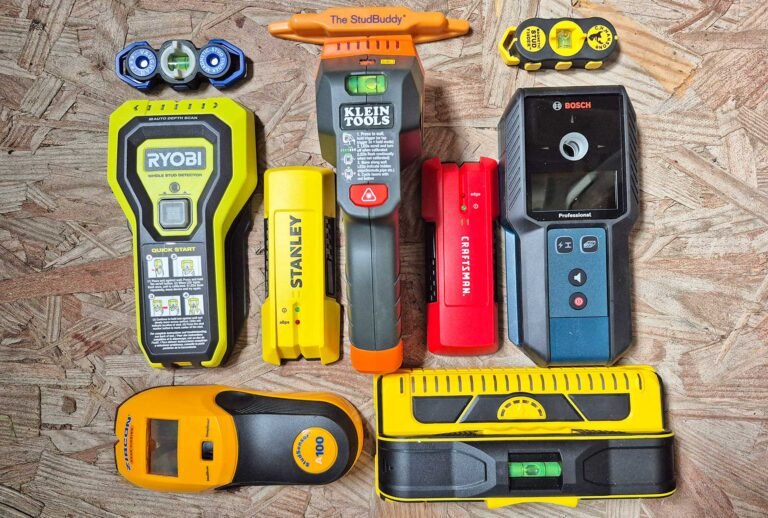
Before hanging a shelf, TV, cabinet, mirror, or grab bar, learn what your stud finder can detect. Also check the tool manual. Different models use different buttons, modes, and signals.
What Is a Stud Finder?
A stud finder is a small hand tool that helps you locate framing behind a wall. In a typical U.S. home, wall framing may use wood studs or metal studs. The studs support drywall and provide a solid place for many wall fasteners.
Electronic stud finders work by sensing a change in the wall. When the tool passes over a stud, its display, light, or sound usually changes. Basic models may sense the edge of a stud, while more advanced models can help locate the center.
A stud finder does not see through the wall like an X-ray. It reads changes that may have more than one cause. That is why a second scan and a physical check can be useful before you drill.
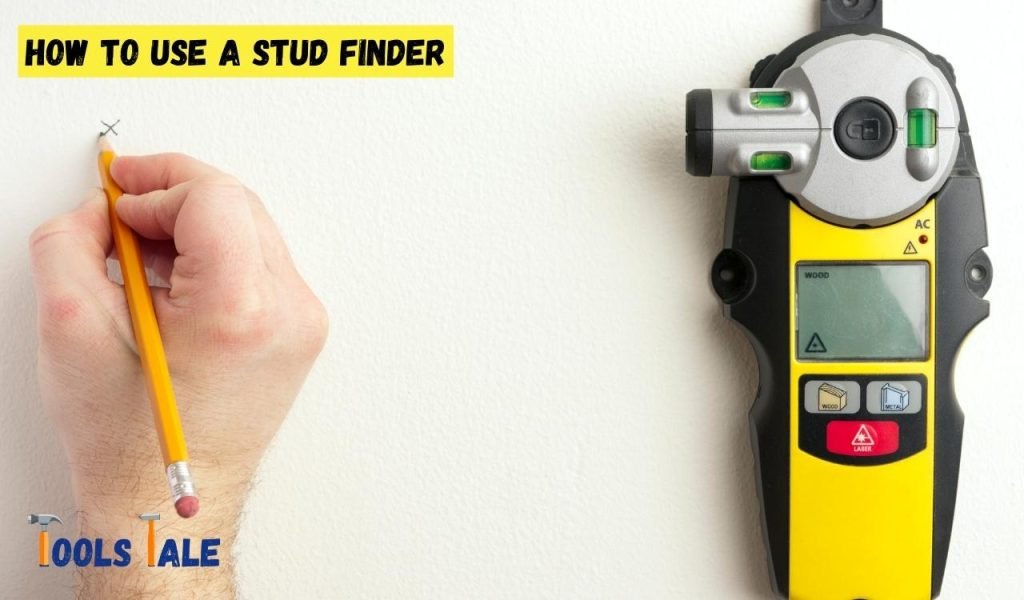
- ✦ Wood studs
Wood studs are common in residential walls and usually provide a firm point for screws and other fasteners.
- ✦ Metal studs
Metal studs are common in some buildings and commercial spaces. They may need different anchors or fasteners than wood studs.
- ✦ Other materials
Pipes, wires, blocking, nails, screws, and changes in wall thickness can affect some stud finders.
How Do I Use a Stud Finder Step by Step?
The exact controls vary by brand, but the basic method is much the same. If you are wondering how do I use a stud finder for the first time, start with a clean section of wall and read the instructions for your model.
Keep the tool flat against the wall unless the manual says otherwise. Move it slowly. Fast movements can make the signal harder to read.
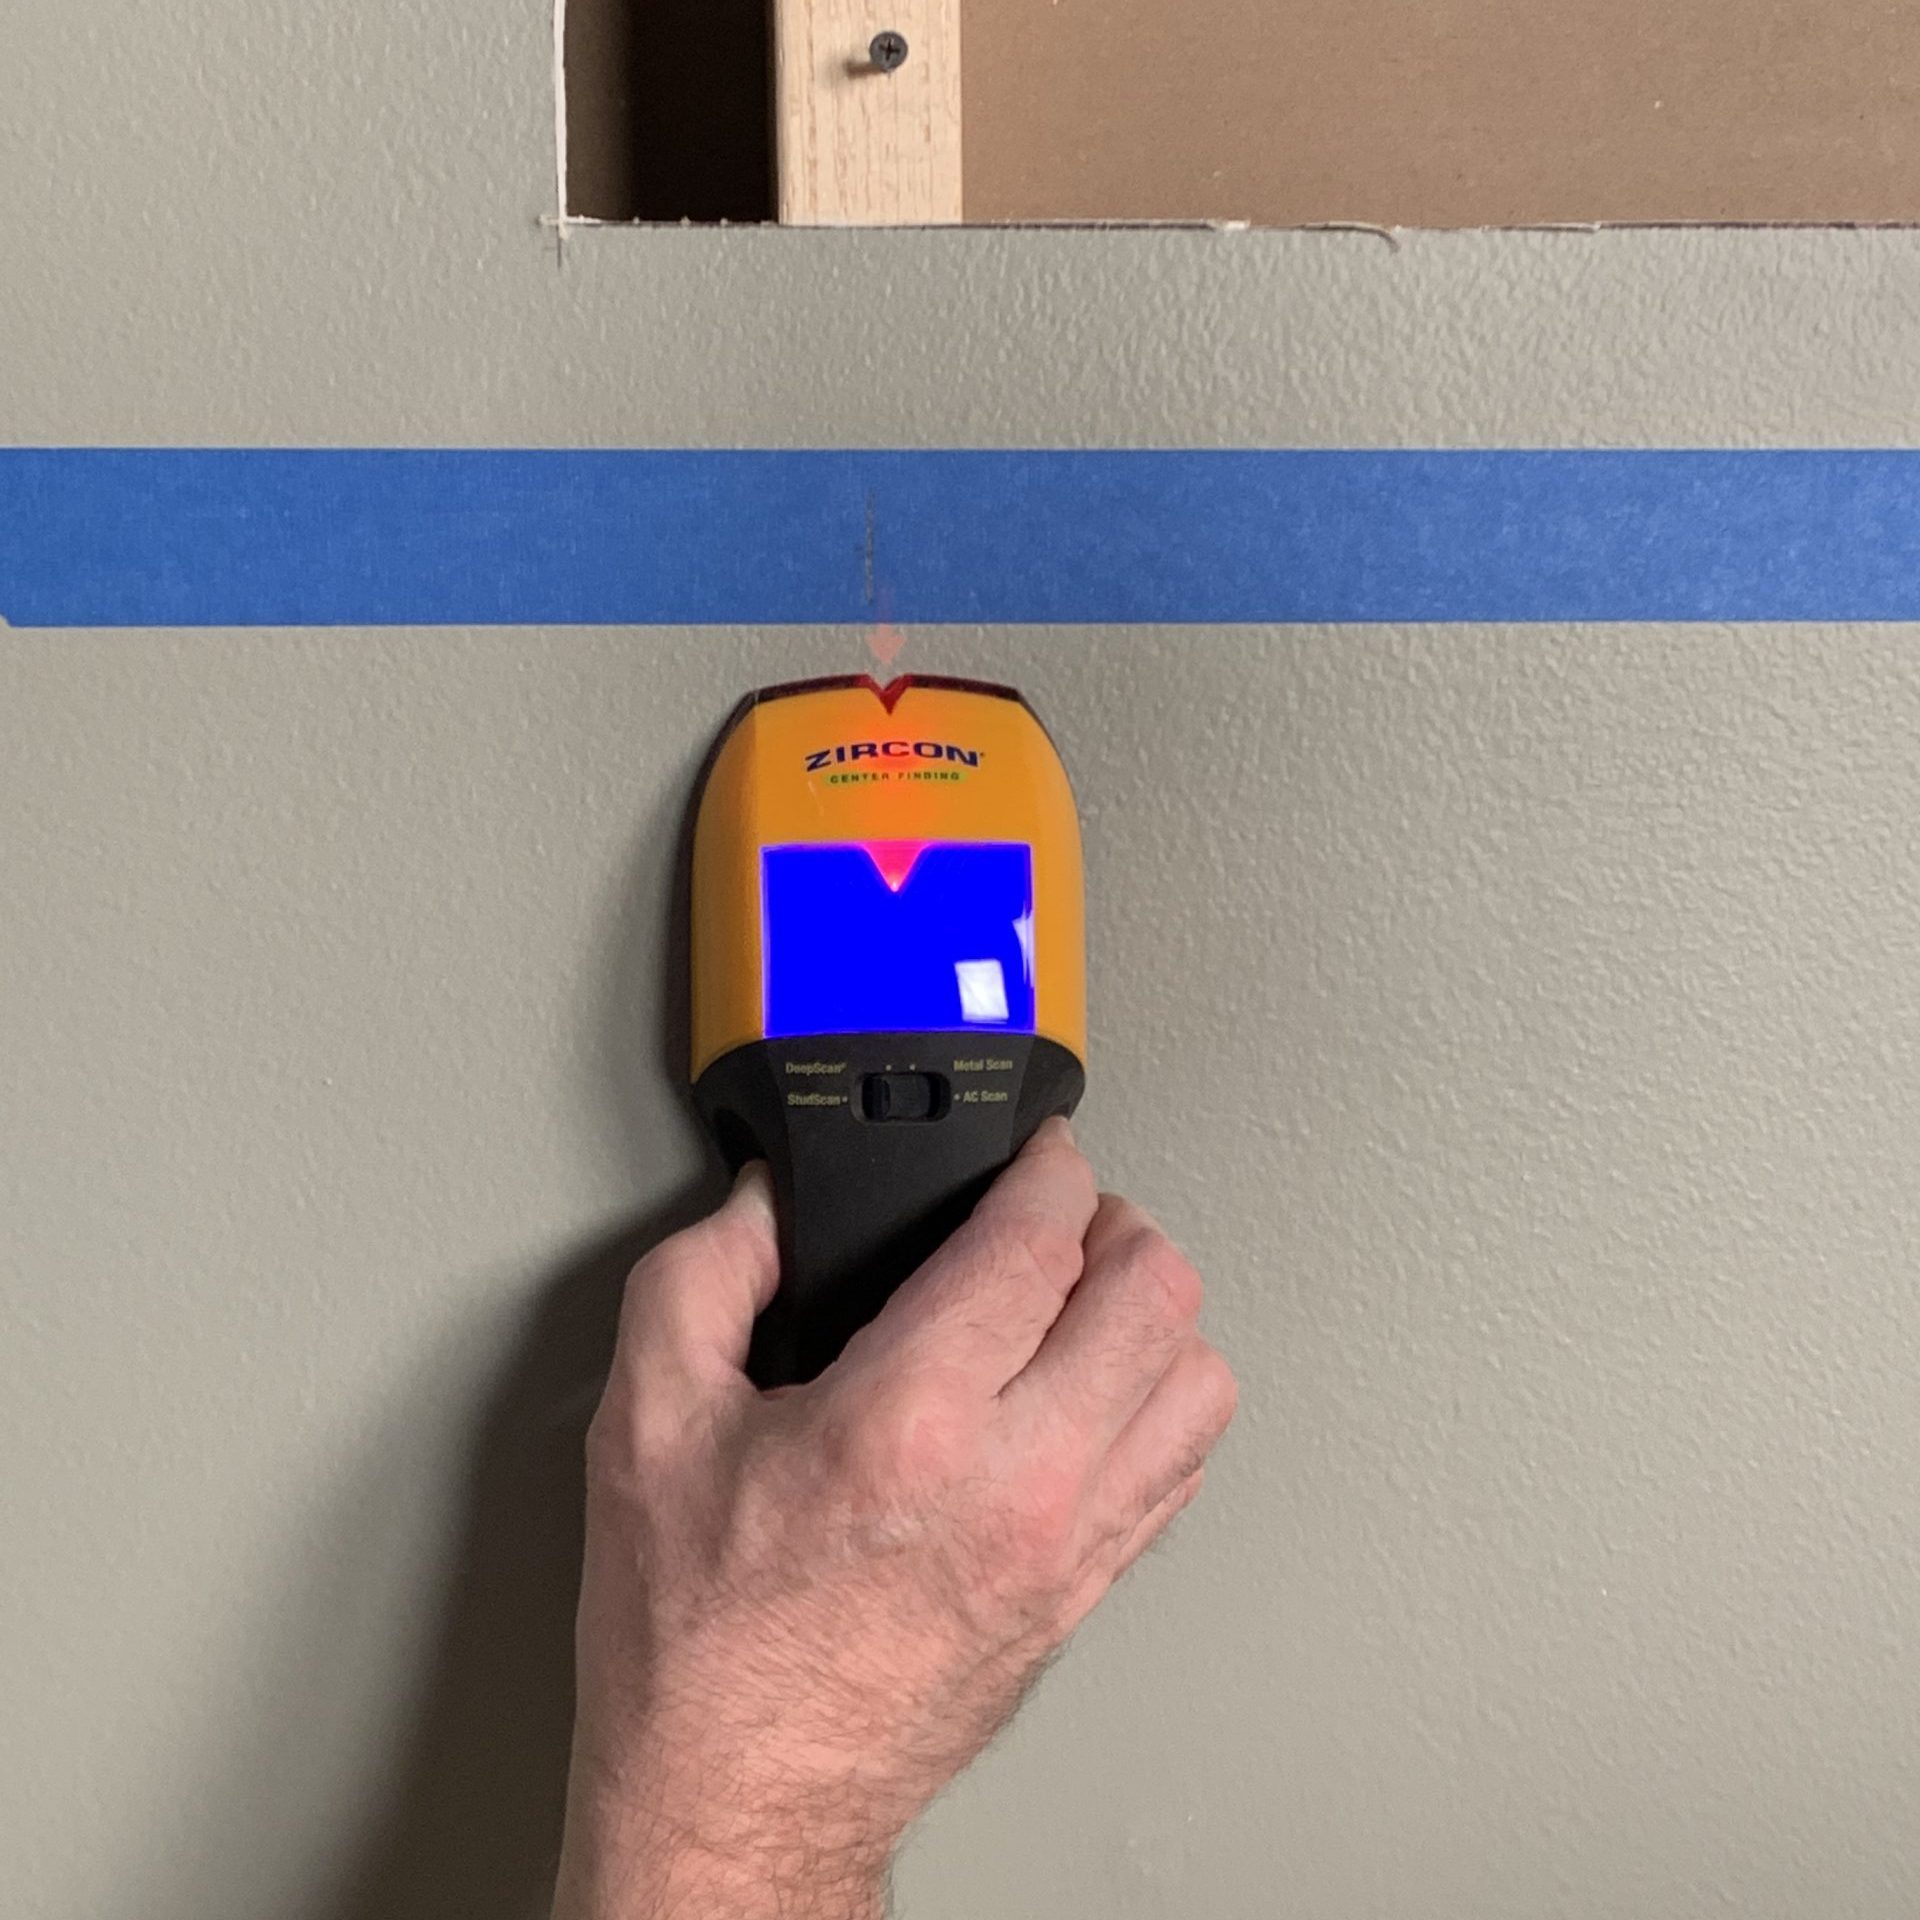
- ✦ 1. Choose a clear area
Remove pictures or other items that block the wall. Keep the scanning area clear of anything that could interfere with the tool.
- ✦ 2. Turn on the tool
Install fresh batteries if needed, then select the mode for studs or the wall material you are scanning.
- ✦ 3. Calibrate the finder
Place the finder on the wall where your model says to start. Follow its calibration steps before moving across the wall.
- ✦ 4. Move slowly
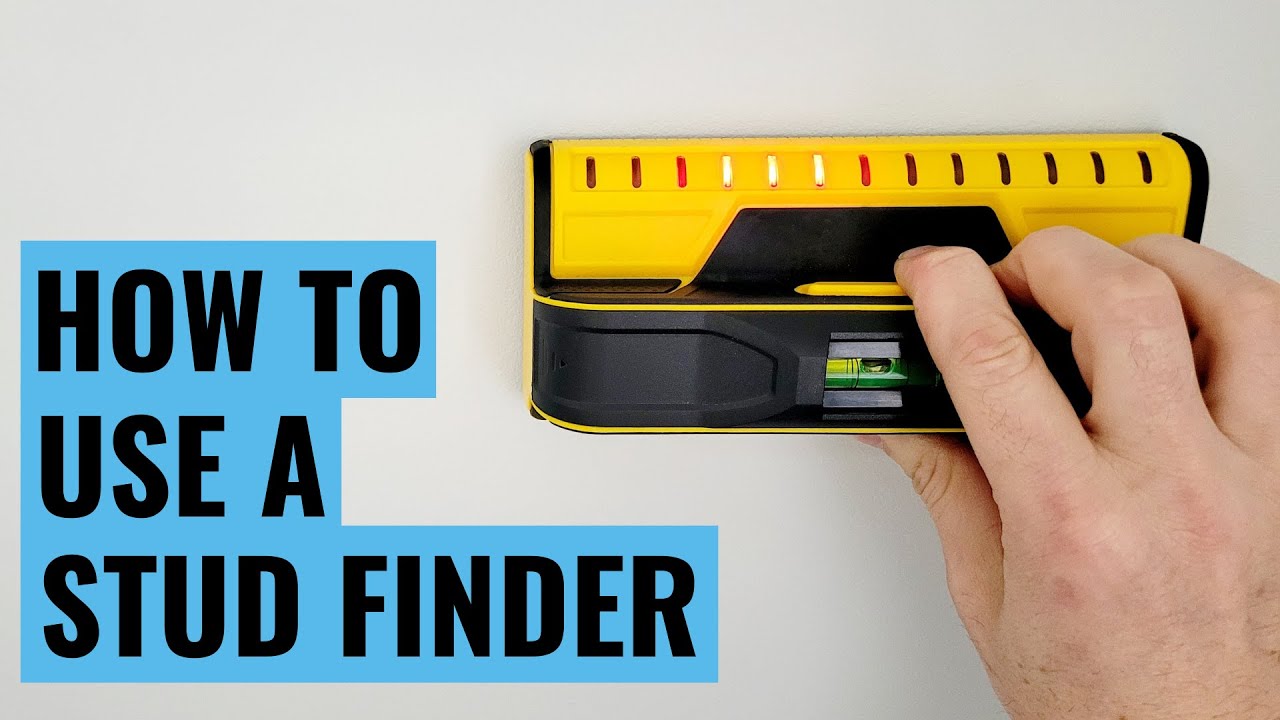
Slide the finder in a straight horizontal line. Keep steady contact with the wall and watch the display or listen for the signal.
- ✦ 5. Mark the first signal
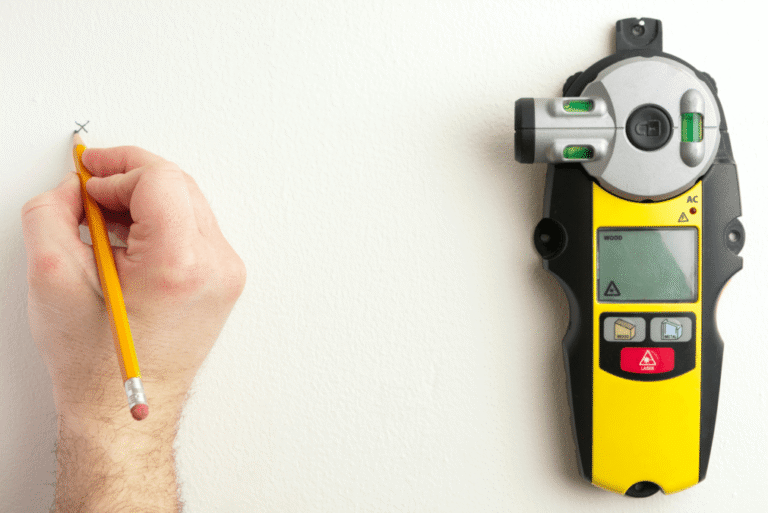
When the tool indicates a stud edge or center, make a small pencil mark. Use a light mark so you can erase it later.
- ✦ 6. Scan back across the area
Move the finder back in the opposite direction. Mark the other edge if your model detects edges.
- ✦ 7. Find the center
The middle between two detected edges is often the stud center. If your tool has a center mode, follow the model instructions instead.
- ✦ 8. Confirm the result
Scan the same area more than once. Consistent readings give you more confidence before you drill.
How Do I Use a Stud Finder on Drywall?
Drywall gives most electronic stud finders a smooth surface to scan. Place the tool flat on the wall and calibrate it according to the instructions. Then move it slowly across the drywall.
If the tool signals a stud, mark the location. Scan across the same area again from the other direction. This simple check helps reduce errors caused by starting calibration over a stud or moving the tool too fast.
- ✦ Keep the wall clear
Avoid scanning over thick objects, heavy trim, or other surfaces unless the tool manual says they are suitable.
- ✦ Use light pencil marks
Small marks let you record the stud edges or center without leaving a large mark on the drywall.
How Do I Use a Stud Finder to Find the Center?
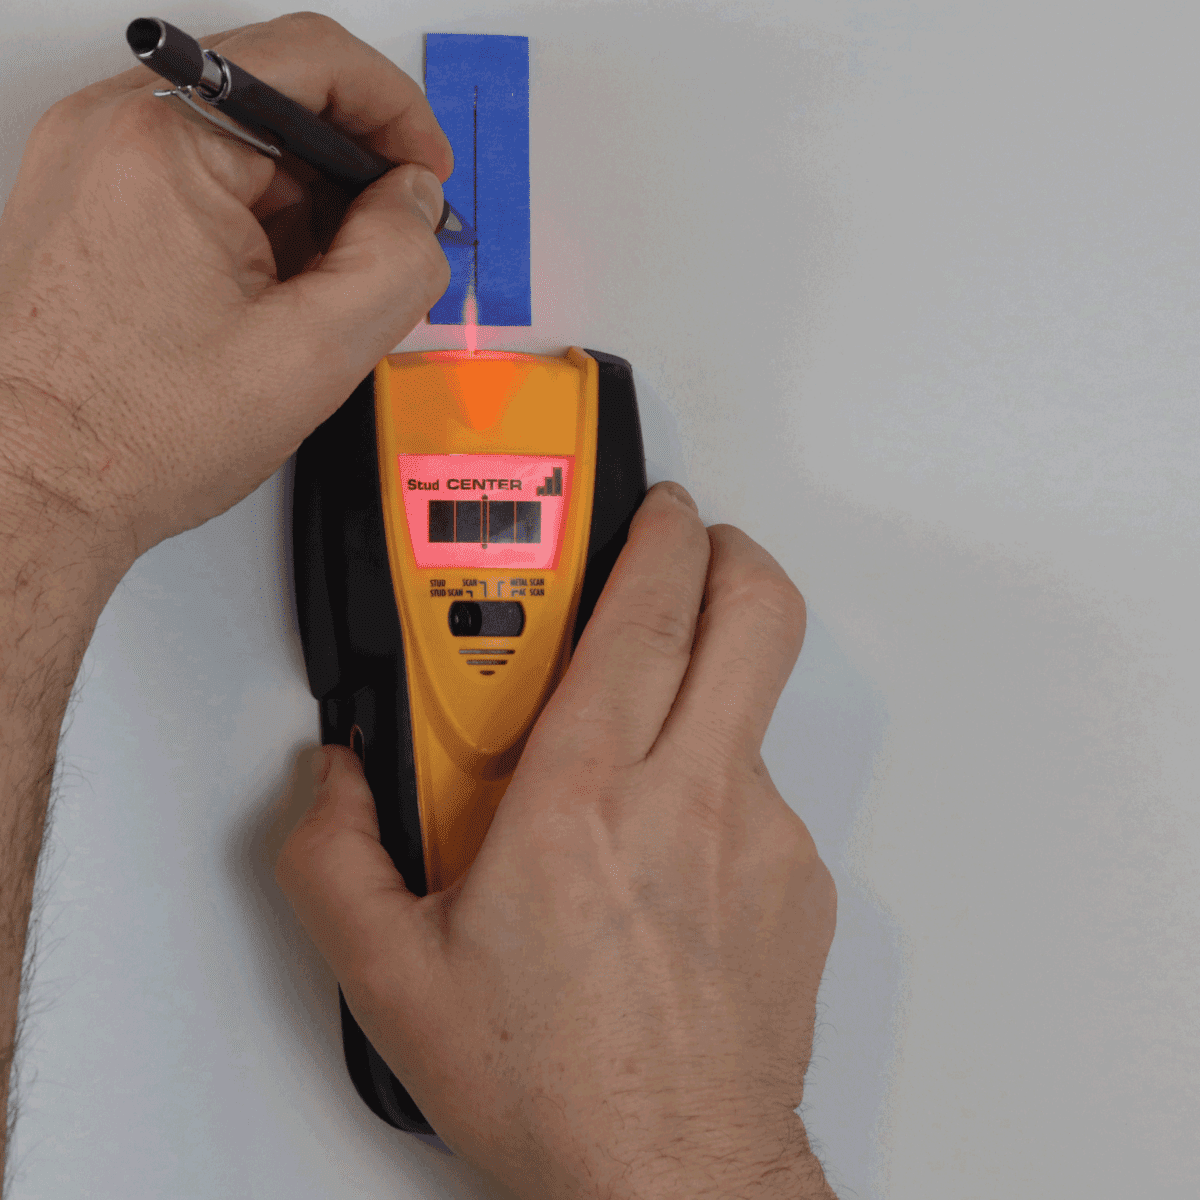
Some stud finders show the center directly. Others show when you reach each edge. If yours shows edges, scan slowly from one side and mark the first edge. Then scan from the other side and mark the second edge.
The center should be between those two edge marks. For an important mount, make several passes and look for a consistent center rather than trusting one quick reading.
- ✦ Edge detection
Mark both sides of the detected area, then use the midpoint as the estimated stud center.
- ✦ Center detection
If the finder has a center mode, use that mode as directed by the manufacturer.
How Do I Calibrate a Stud Finder Correctly?
Calibration is one of the most important parts of learning how do I use a stud finder. Many electronic models need a reference point before they can sense a change in wall density. The exact process depends on the tool.
A common mistake is starting the tool directly over a stud. If the model requires an area without a stud for calibration, that can affect the reading. Follow the instructions that came with your finder.
Keep the finder still during calibration if the manual says to do so. Once it is ready, move it at a steady pace. If the readings seem strange, stop and recalibrate rather than guessing.
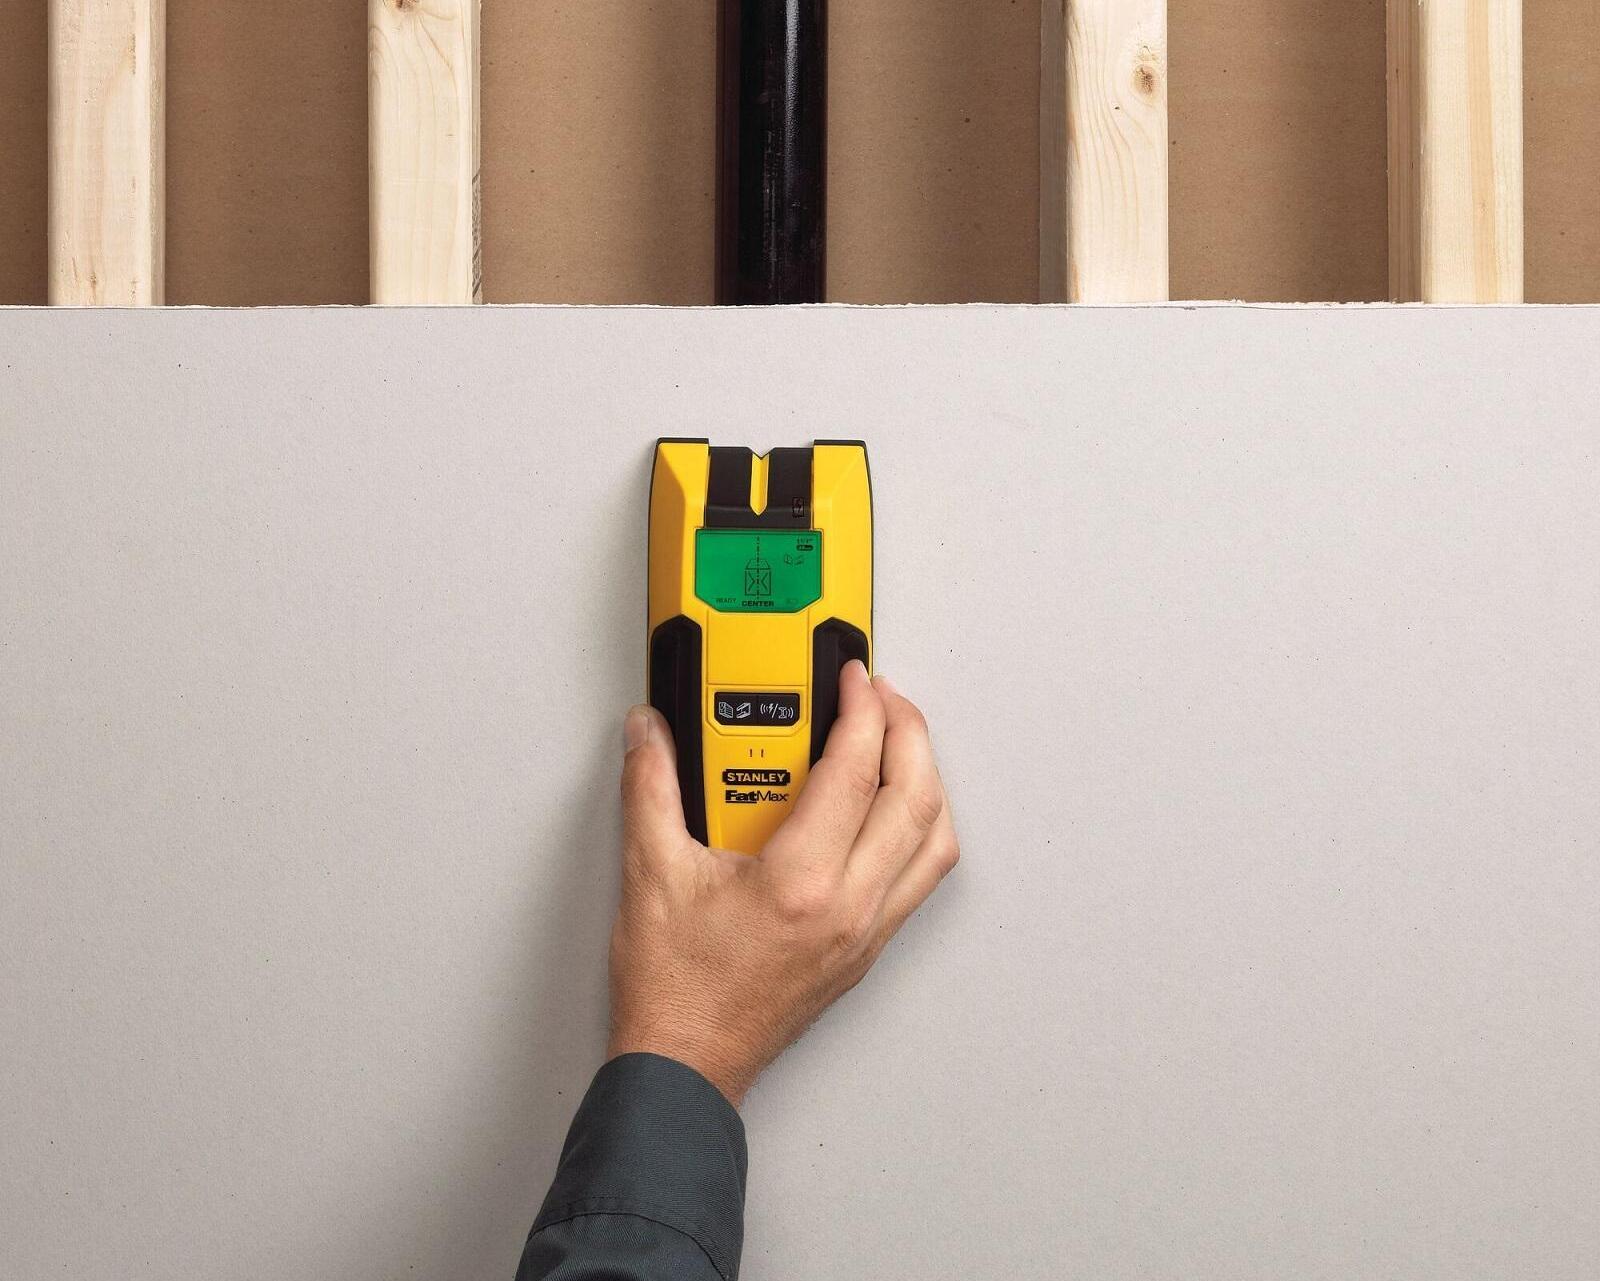
- ✦ Read the calibration instructions
Different models use different buttons and starting positions, so the tool manual should take priority.
- ✦ Start on a clear area
When required by the tool, begin away from a known stud or other dense object.
- ✦ Recalibrate when needed
If the tool gives a weak or inconsistent reading, return to a suitable starting point and repeat the calibration process.
How Do I Use a Stud Finder to Confirm a Stud?
Finding one signal is not always enough. If you are asking how do I use a stud finder with more confidence, scan the same spot several times. Start a little to the left and move across the suspected stud. Then repeat from the right.
A real stud should usually produce a repeatable change in the same area. If the signal moves or disappears each time, the tool may be reacting to something other than the stud.
You can also compare the suspected location with nearby framing. In many wood-framed walls, studs are often placed at regular intervals, commonly 16 inches on center. Some walls use 24-inch spacing, and openings, corners, and other framing can change the pattern.
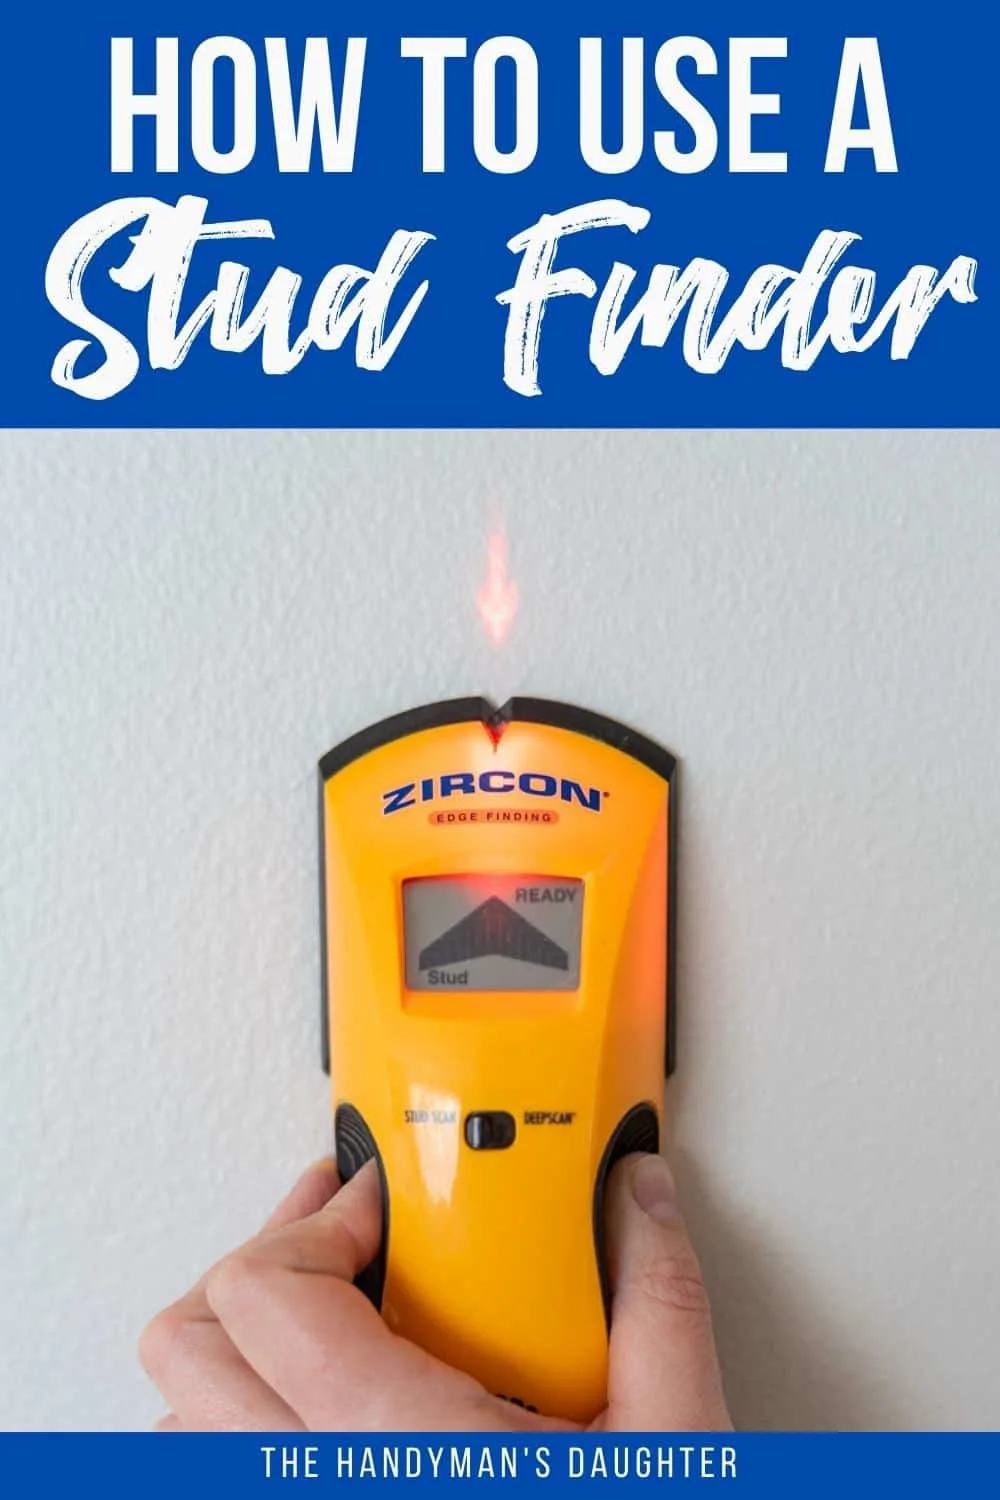
- ✦ Scan both directions
A consistent reading from left to right and right to left provides a useful cross-check.
- ✦ Check the pattern
Nearby studs may follow a regular spacing pattern, but do not assume every wall uses the same spacing.
- ✦ Use a small test hole only when appropriate
For some projects, a tiny test hole can help confirm framing, but you should first consider the risk of hitting wiring or plumbing.
What If the Stud Finder Gives Several False Readings?
False readings can happen when the wall has thick paint, textured surfaces, moisture, foil-backed materials, or unusual construction. The tool can also react to nearby metal or other dense material.
Try a different scan path and recalibrate. If the readings remain unclear, use other clues such as visible fasteners, outlets, trim, or known framing points. Never assume a signal means a safe place to drill.
- ✦ Move more slowly
A slow, steady pass gives the sensor more time to detect changes.
- ✦ Keep pressure steady
Keep the finder in the position recommended by the manufacturer during each pass.
- ✦ Check the battery
A weak battery can affect electronic tools, so replace it when the tool indicates low power or readings become unreliable.
How Do I Use a Stud Finder Near Electrical Wires and Pipes?
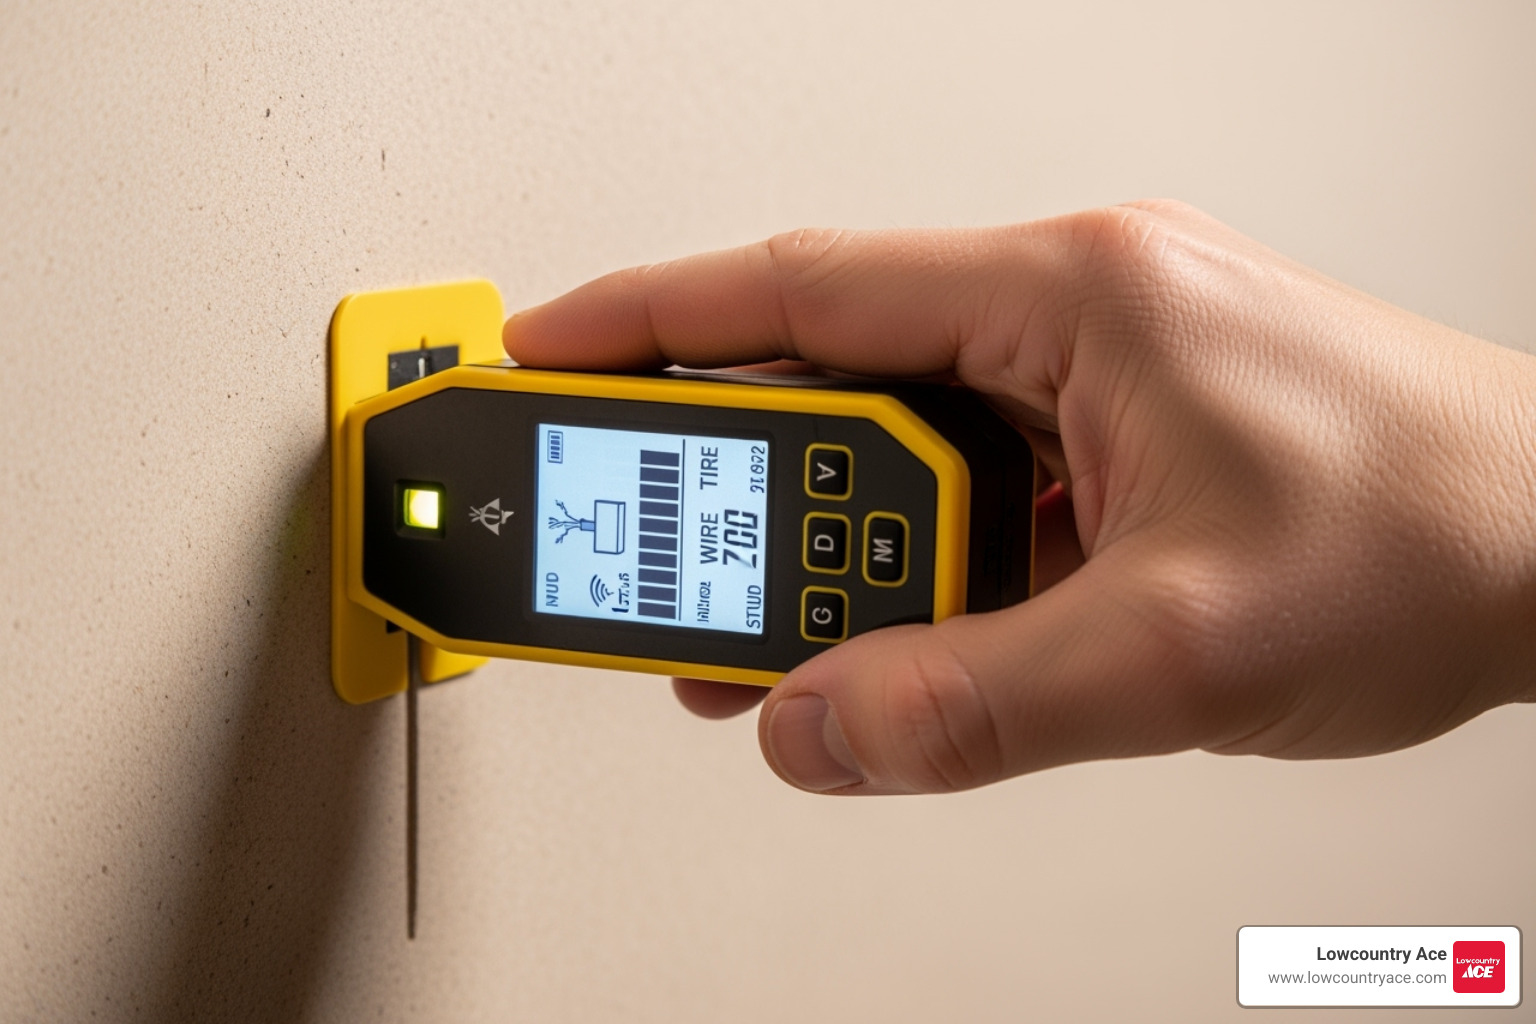
This is where extra care matters. A stud finder can help detect some metal or electrical conditions, but it cannot guarantee that a wall is safe to drill. Pipes and wires can run through or near framing.
Some stud finders have a mode designed to warn about live AC wiring. Treat that feature as an aid, not a complete safety check. Wall wiring can be unpowered, shielded, or outside the tool’s detection range.
Before drilling, think about what is on the other side of the wall. Electrical outlets, switches, plumbing fixtures, radiators, and other building features can provide clues about hidden services. When you cannot rule out a hazard, stop and use a safer method or ask a qualified professional.
- ✦ Do not rely on one signal
A stud reading does not prove that no wire or pipe is nearby.
- ✦ Use wire detection if available
If your model has an AC or wire warning mode, use it as directed and take any warning seriously.
- ✦ Consider the wall layout
Outlets, switches, plumbing fixtures, and other features may indicate areas where hidden services run.
- ✦ Stop when unsure
Do not drill into an area when you cannot reasonably rule out a hidden service.
How Do I Use a Stud Finder for a TV, Shelf, or Heavy Item?
The right mounting method depends on the item’s weight, the wall type, and the fastener. Finding the stud is only the first step. You also need hardware that matches the load and the framing.
For a TV mount, first locate and mark the studs that line up with the mounting bracket. Hold the bracket in place and check that the mounting holes align with solid framing. Follow the mount maker’s instructions for screw size, pilot holes, and load limits.
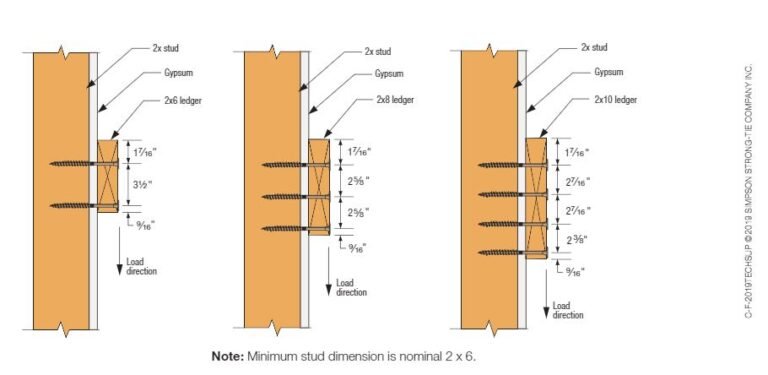
For shelves and cabinets, use studs whenever the design allows. If you must mount between studs, choose an anchor made for your wall type and rated for the load. A stud finder helps locate framing, but it does not determine the strength of an anchor or the condition of the wall.

- ✦ Heavy TV
Use the mounting bracket’s instructions and secure the required mounting points into suitable framing when the mount calls for it.
- ✦ Shelf
Use stud locations for the strongest support when the shelf design permits it.
- ✦ Cabinet
Mark the framing behind the cabinet and use suitable structural fasteners for the load.
- ✦ Light decoration
A wall anchor may be enough for a light item when no stud is available, provided the anchor is rated for the item and wall material.
Why Finding the Stud Center Matters
A screw placed near the edge of a stud may not have the same holding power as one driven into solid material. That is why it helps to find the center instead of stopping at the first signal.
For a bracket with several mounting holes, mark the stud centers first. Then position the bracket so the required holes line up with those marks.
- ✦ Mark before drilling
Use a pencil to record the center line and check your bracket position before making holes.
- ✦ Check level
A correct stud location does not guarantee a level mount, so check the bracket with a level before drilling.
Common Stud Finder Mistakes to Avoid
Even a good stud finder can give poor results when you use it the wrong way. Most problems come from calibration, speed, wall conditions, or trusting one reading without checking it.
If you are still wondering how do I use a stud finder without getting false results, slow down and use a repeatable process. The goal is not simply to make the tool beep. The goal is to identify a consistent framing location.
- ✦ Moving too fast
Fast passes can make it harder to notice a gradual change. Move at the pace recommended by the manufacturer.
- ✦ Skipping calibration
An electronic finder may need a proper reference point before it can sense changes accurately.
- ✦ Starting over a stud
Some models can misread the wall if you calibrate over dense material when the instructions call for a clear area.
- ✦ Trusting one pass
One reading may not tell the full story. Scan again from another direction.
- ✦ Ignoring wall texture
Heavy texture, uneven surfaces, and thick materials can make scanning less reliable.
- ✦ Assuming every wall is the same
Stud spacing and framing methods can vary by building, room, wall, and construction style.
- ✦ Drilling without checking for hazards
A stud finder does not remove the risk of hitting hidden wiring or plumbing.
How Do I Use a Stud Finder Without One?
Sometimes you need to find a stud but do not have a stud finder. You can still look for clues, but these methods are less direct. They work best when you combine more than one clue.
Look for small drywall fastener marks or use nearby outlets and switches as reference points. You can also tap the wall and listen for a change in sound, although this method is not reliable enough for every wall.
A thin finish nail can sometimes be used to test a suspected stud location when the project and wall conditions make a small hole acceptable. Take care around electrical and plumbing hazards. For important or heavy mounts, a proper stud finder and careful verification are better choices.
- ✦ Look for fastener marks
Small filled holes or faint lines may show where drywall fasteners entered framing.
- ✦ Check nearby outlets
Electrical boxes are often attached to framing, but box placement varies, so use this only as a clue.
- ✦ Use wall sound
A change in sound may suggest framing, but pipes, blocking, insulation, and wall layers can make this method misleading.
How Do I Use a Stud Finder on Different Wall Types?
Wall material can change how well a stud finder works. Standard drywall is often easier to scan than thick plaster, tile, paneling, or walls with unusual layers.
If the wall has a heavy finish, use the mode and technique recommended by your tool. Some models are designed for different materials, while basic models may work best on a smooth drywall surface.
For tile or other hard finishes, avoid assuming that a normal drywall scan will give the same result. Read the finder instructions and consider the construction behind the surface before drilling.
- ✦ Drywall
Often provides a straightforward surface for electronic stud detection when the finder is designed for it.
- ✦ Plaster
Older plaster walls can have lath, metal, or other materials that affect readings.
- ✦ Tile
Tile and backer materials can change the sensing conditions. Use a tool and method suitable for the wall assembly.
- ✦ Paneling
Extra wall layers can affect detection depth and accuracy.