Will a Stud Finder Work Through Wood Paneling: Explained Clearly
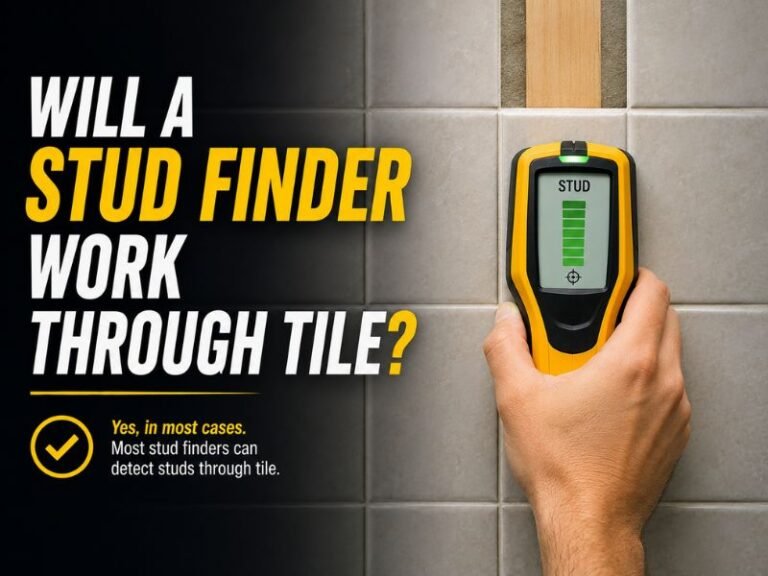
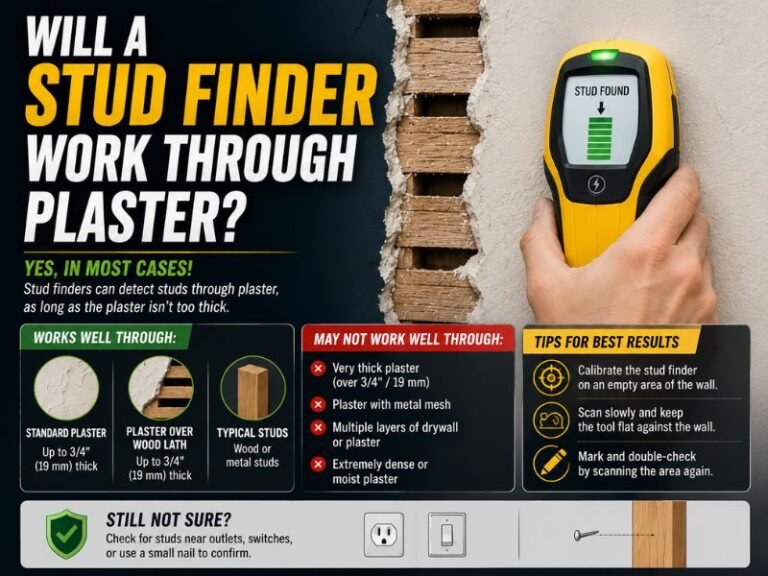
Yes, a stud finder can work through wood paneling, but its accuracy depends on the paneling’s thickness, the tool’s sensing technology, and what lies behind the wall. Thin paneling usually causes little trouble; thick, layered, heavily finished, or uneven wood can make readings less reliable.
The important choice is whether to trust a single signal or confirm it before drilling. Acting quickly on a false reading can leave a damaged panel and a poorly supported mount, while refusing to use the tool at all may lead to unnecessary holes and slower work. The safest approach combines the stud finder with physical clues and a cautious verification method.
This article explains how different stud finders sense framing through wood, why paneling sometimes creates false positives or missed studs, and how to scan, mark, and confirm a location. You will also learn when metal and electrical detection matters, when a small test hole is reasonable, and when the wall construction is uncertain enough to justify professional help.
How a Stud Finder Detects a Stud Through
Most electronic stud finders do not “see” the wood stud directly. They detect a change in the wall’s density, moisture, or electrical field as the tool moves across the surface. Because wood paneling sits in front of the framing, the device must sense through both the decorative layer and the air gap, drywall, or other material behind it.
There are two common sensing methods:
- Electronic density-sensing models detect changes in material density. As the sensor passes over a stud, the denser framing can produce a reading compared with the hollow spaces between studs.
- Magnetic stud finders detect metal fasteners such as nails or screws. They do not locate the wood itself, but a line of fasteners can indicate where a stud is positioned.
Some advanced tools use multiple sensors or can identify live electrical wiring and metal objects. These features can be helpful through paneling, but they do not eliminate the need for confirmation. Every wall assembly is different, and a tool’s depth rating is only useful when the material being scanned is within that rating.
When Wood Paneling Is Easy or Difficult to Scan
Thin wood paneling installed over drywall is often easy for a quality electronic stud finder to scan. Thin sheets or veneer panels add relatively little distance between the sensor and the framing, so the tool can usually detect the density change caused by a stud.
Scanning becomes more difficult when the paneling is thick solid wood, installed over furring strips, or attached over multiple layers of drywall. The farther the sensor is from the framing, the weaker and less distinct the reading can become. A tool that works well on ordinary drywall may perform poorly through a deeper wall surface.
Surface conditions also matter. Decorative trim, seams, grooves, knots, adhesives, and irregular panel thickness can change the reading even when no stud is present. Some wood contains enough natural variation to produce inconsistent results, especially with basic density-sensing devices.
Paneling can also be mounted directly to studs instead of over drywall. In that arrangement, the wall may be comparatively easy to scan because there is less material between the device and the framing. However, the paneling itself may be thick enough to exceed the manufacturer’s stated sensing depth.
What Can Cause a False Stud Reading?
A stud finder may signal over a location that is not a framing member. This is called a false positive, and it can occur when the device detects a dense object, a fastener, a pipe, or an abrupt change in the wall rather than the center of a wood stud.
Common sources include:
- Horizontal or vertical paneling seams
- Adhesive beads behind the panel
- Metal corner bead or protective plates
- Electrical cable, plumbing, or ductwork
- Furring strips that sit in front of the main studs
- Dense knots or unusually thick areas of wood
- Trim, molding, and wall transitions
A reading that appears only once is not enough evidence. A genuine stud normally produces a consistent signal across a meaningful section of the wall, while an isolated object may trigger the tool briefly or from only one direction.
False negatives are also possible. A stud finder may fail to identify a stud when the paneling is too thick, the device is moved too quickly, the surface is uneven, or the tool has not been calibrated correctly. Low batteries and poor contact with the wall can create the same problem.
How to Scan Wood Paneling More Accurately
Begin by reading the instructions for the specific tool. Pay attention to its maximum scanning depth, calibration procedure, and whether it should be used on bare wood, drywall, or another surface. A tool designed for shallow drywall scanning may not be suitable for thick paneling.
- Inspect the wall first. Look for visible nail heads, screw marks, vertical seams, baseboards, outlets, switches, and trim. These clues can suggest framing locations before the tool is turned on.
- Check the batteries. Weak batteries can reduce sensitivity or create unstable readings.
- Calibrate on the wall. Place the finder where you believe no stud is located, following the manufacturer’s instructions. Calibrating directly over a stud can cause the tool to treat dense framing as the baseline.
- Move slowly and evenly. Slide the device horizontally across the paneling at a steady speed. Do not lift or tilt it as you pass over grooves or seams.
- Mark both edges. Mark where the signal begins and where it ends. The center between those marks is a better estimate than the first point at which the device beeps.
- Scan from the opposite direction. Approach the same location from the other side to see whether the edges and center remain consistent.
- Repeat at a different height. A real vertical stud should usually appear in a similar horizontal position above and below the original scan.
Keep the sensor flush against the surface, but do not press so hard that the tool catches on grooves or bends against uneven boards. If the paneling has deep channels, scan on the flatter portions and compare several nearby passes.
Some devices require a clear starting area and should not be moved onto the wall until calibration is complete. Others calibrate continuously as they move. Using the wrong technique can make an otherwise capable tool appear inaccurate, so the instructions matter more than a generic scanning habit.
How to Confirm a Stud Before Drilling
Confirmation is especially important when mounting a television, shelf, cabinet, grab bar, or other heavy object. The goal is to verify both the stud’s location and the type of material available for the fastener.
First, compare the reading with visible construction clues. Wall studs are commonly spaced at regular intervals, although older homes, remodels, door openings, windows, corners, and plumbing walls may not follow a simple pattern. An outlet or switch box is often attached to one side of a stud, but the box does not always reveal which side without further inspection.
Next, make several marks along the suspected stud. If the marks line up vertically and the signal has a clear center, confidence improves. A magnetic finder can provide a second type of evidence by locating a series of fasteners through the paneling.
One fastener alone may be incidental, but multiple fasteners in a vertical line are more persuasive.
For a light item, a very small pilot hole in the presumed center may be an acceptable confirmation method if no utilities are likely to be present and the hole will be hidden by the installation. Use a thin bit and stop immediately if the resistance or depth feels unexpected. Do not treat a pilot hole as a substitute for electrical and plumbing precautions.
If the hole enters only hollow space, stop rather than enlarging it repeatedly. The panel may be attached to furring strips, the reading may have been false, or the actual stud may be offset. Reassess the wall before creating more visible damage.
Electrical and Plumbing Safety Behind Paneling
A stud finder’s stud signal does not prove that the drilling location is safe. Electrical cables, water lines, gas lines, and other utilities may pass through or near framing. A wood stud can also contain protective metal plates that indicate a utility behind the surface.
Use a device with AC-wire detection when available, but understand its limitations. Electrical detection may not identify a de-energized cable, a cable inside conduit, a shielded wire, or wiring positioned beyond the tool’s sensing range. It can also produce confusing signals near metal fasteners and dense construction materials.
Before drilling, turn off power to nearby circuits when practical and verify that the intended work area is de-energized with an appropriate tester. Do not rely only on a stud finder’s electrical mode. Avoid drilling or cutting where the tool indicates a strong metal warning, and investigate the reason before proceeding.
Plumbing is harder to detect reliably with many consumer stud finders. Be especially cautious near kitchens, bathrooms, laundry areas, radiators, water heaters, and walls containing visible plumbing fixtures. If the wall layout suggests utilities may be present, use a shallow fastener, open an existing access point, or consult a qualified professional rather than guessing.
Does a Magnetic Stud Finder Work Through Wood Paneling?
Yes, a magnetic model can work through wood paneling when it can detect the screws or nails used to attach the panel or the underlying drywall. Its performance depends on the fasteners’ material, spacing, depth, and location.
A magnetic tool does not detect a wood stud between fasteners. It identifies metal, so it may locate a screw line that is slightly off the stud’s center or attached to a furring strip instead. Paneling installed with adhesive and very few metal fasteners may provide little information.
The main advantage is that a magnetic finder does not need electronic calibration and is less affected by some changes in wall density. Its main limitation is that it may miss stainless-steel, nonmagnetic, deeply buried, or widely spaced fasteners. Use it as a confirmation method, not as unquestionable proof.
What If the Stud Finder Will Not Read Through
First, determine whether the problem is the tool or the wall. Test the finder on a nearby section of ordinary drywall or another known surface, if one is available. If it behaves normally there, the paneling may be too thick or irregular for that device.
You can try a model with a greater scanning depth or a multi-sensor design. A magnetic finder may also help if the paneling is secured with accessible steel screws or nails. Do not keep recalibrating randomly, because repeated calibration over inconsistent surfaces can make the results harder to interpret.
Other options include inspecting exposed edges, removing a small piece of trim, checking an existing outlet opening, or using construction plans when available. An inspection opening may be preferable to several exploratory holes in a prominent panel.
If the wall has thick wood, masonry, metal framing, layered finishes, or an unusual renovation history, consumer stud finders may not provide dependable results. A contractor, electrician, or other qualified professional can choose a more suitable inspection method when the cost of a mistake is high.
FAQ About Stud Finders and Wood Paneling
Will a stud finder work through wood paneling over drywall?
Usually, yes, if the combined thickness is within the tool’s sensing range. Thin paneling over drywall is commonly manageable, but seams, adhesives, and thick or uneven materials can reduce accuracy. Scan slowly and confirm the center from multiple directions.
How thick can wood paneling be for a stud finder?
There is no single thickness that works for every device. The practical limit depends on the finder’s rated depth and the full wall assembly, including paneling, drywall, furring strips, and any gap. Check the instructions rather than assuming a drywall-rated tool will read deep wood.
Can a stud finder mistake a wood panel seam
Yes, a seam or adhesive line can create a false reading. A seam usually does not produce the same centered, repeated signal at different heights that a vertical stud does. Scan above and below the seam and compare the results.
Is a magnetic stud finder better for wood paneling?
It can be useful, but it is not automatically better. Magnetic finders can locate metal fasteners through wood, while electronic models can detect density changes without relying on visible screws or nails. Using both methods together often gives stronger confirmation.
Should I drill where the stud finder beeps?
No, do not drill based on a single beep. Mark both sides of the signal, find the approximate center, repeat the scan, and check for electrical or plumbing hazards. Stop if the tool indicates metal or a utility warning.
Can paneling be attached to furring strips instead of studs?
Yes, and that can change what the stud finder is identifying. The tool may locate a shallow furring strip rather than the deeper wall stud. Confirm the construction before choosing a fastener, especially for a heavy load.
Conclusion: Confirm the Reading Before Drilling
A stud finder can work through wood paneling, particularly when the paneling is thin and the tool has enough sensing depth. Thick, layered, grooved, or irregular paneling can produce false readings or hide the framing, so the result should be treated as a location estimate rather than proof.
Scan slowly, mark both edges, compare readings at several heights, and use a magnetic finder or cautious confirmation method when appropriate. Always check for wiring, plumbing, and metal protection plates before drilling; if the wall construction or utility path is uncertain, pause and seek professional help.