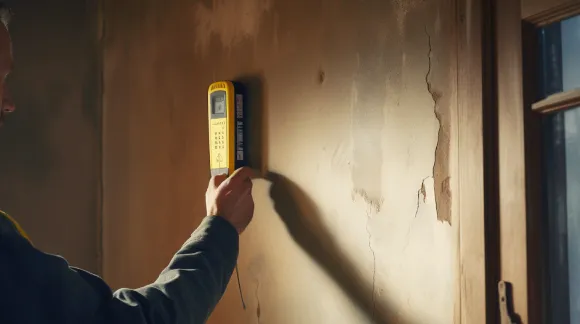
How Does the Stud Finder Work? A Simple Guide to Finding Wall Studs
If you have ever mounted a TV, shelf, cabinet, or heavy mirror, you have likely asked, **how does the stud finder work?** The tool looks simple, but it uses a smart idea: it detects something different behind the drywall. That change helps you find the framing hidden inside the wall.
The exact method depends on the type of stud finder. Electronic models often sense changes in wall density, while magnetic models look for metal fasteners. Once you know how each type works, it becomes much easier to use one with confidence and understand its limits.

How Does the Stud Finder Work?
So, how does the stud finder work in simple terms? A stud finder senses a change in the material behind the wall surface. Drywall is fairly uniform, but a wood stud is thicker and denser. The tool notices that change and signals when it reaches the stud.
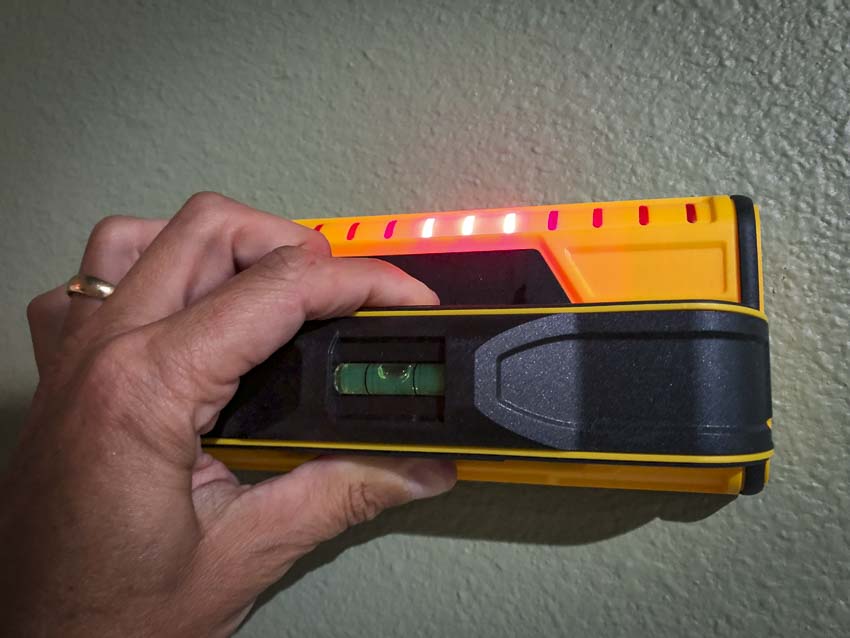
Electronic models use sensors to measure conditions beneath the surface. Many common models detect changes in density by measuring how the wall affects an electrical field. The device then turns that change into a light, sound, or display on the tool.
The goal is not to see through the wall like an X-ray. Instead, the stud finder reads a property of the wall and uses that reading to estimate where the framing sits. This is why proper calibration and a steady hand matter.
When people ask how does the stud finder work, they often expect one method to fit every model. In fact, stud finders use several different methods, and each one has its own strengths.
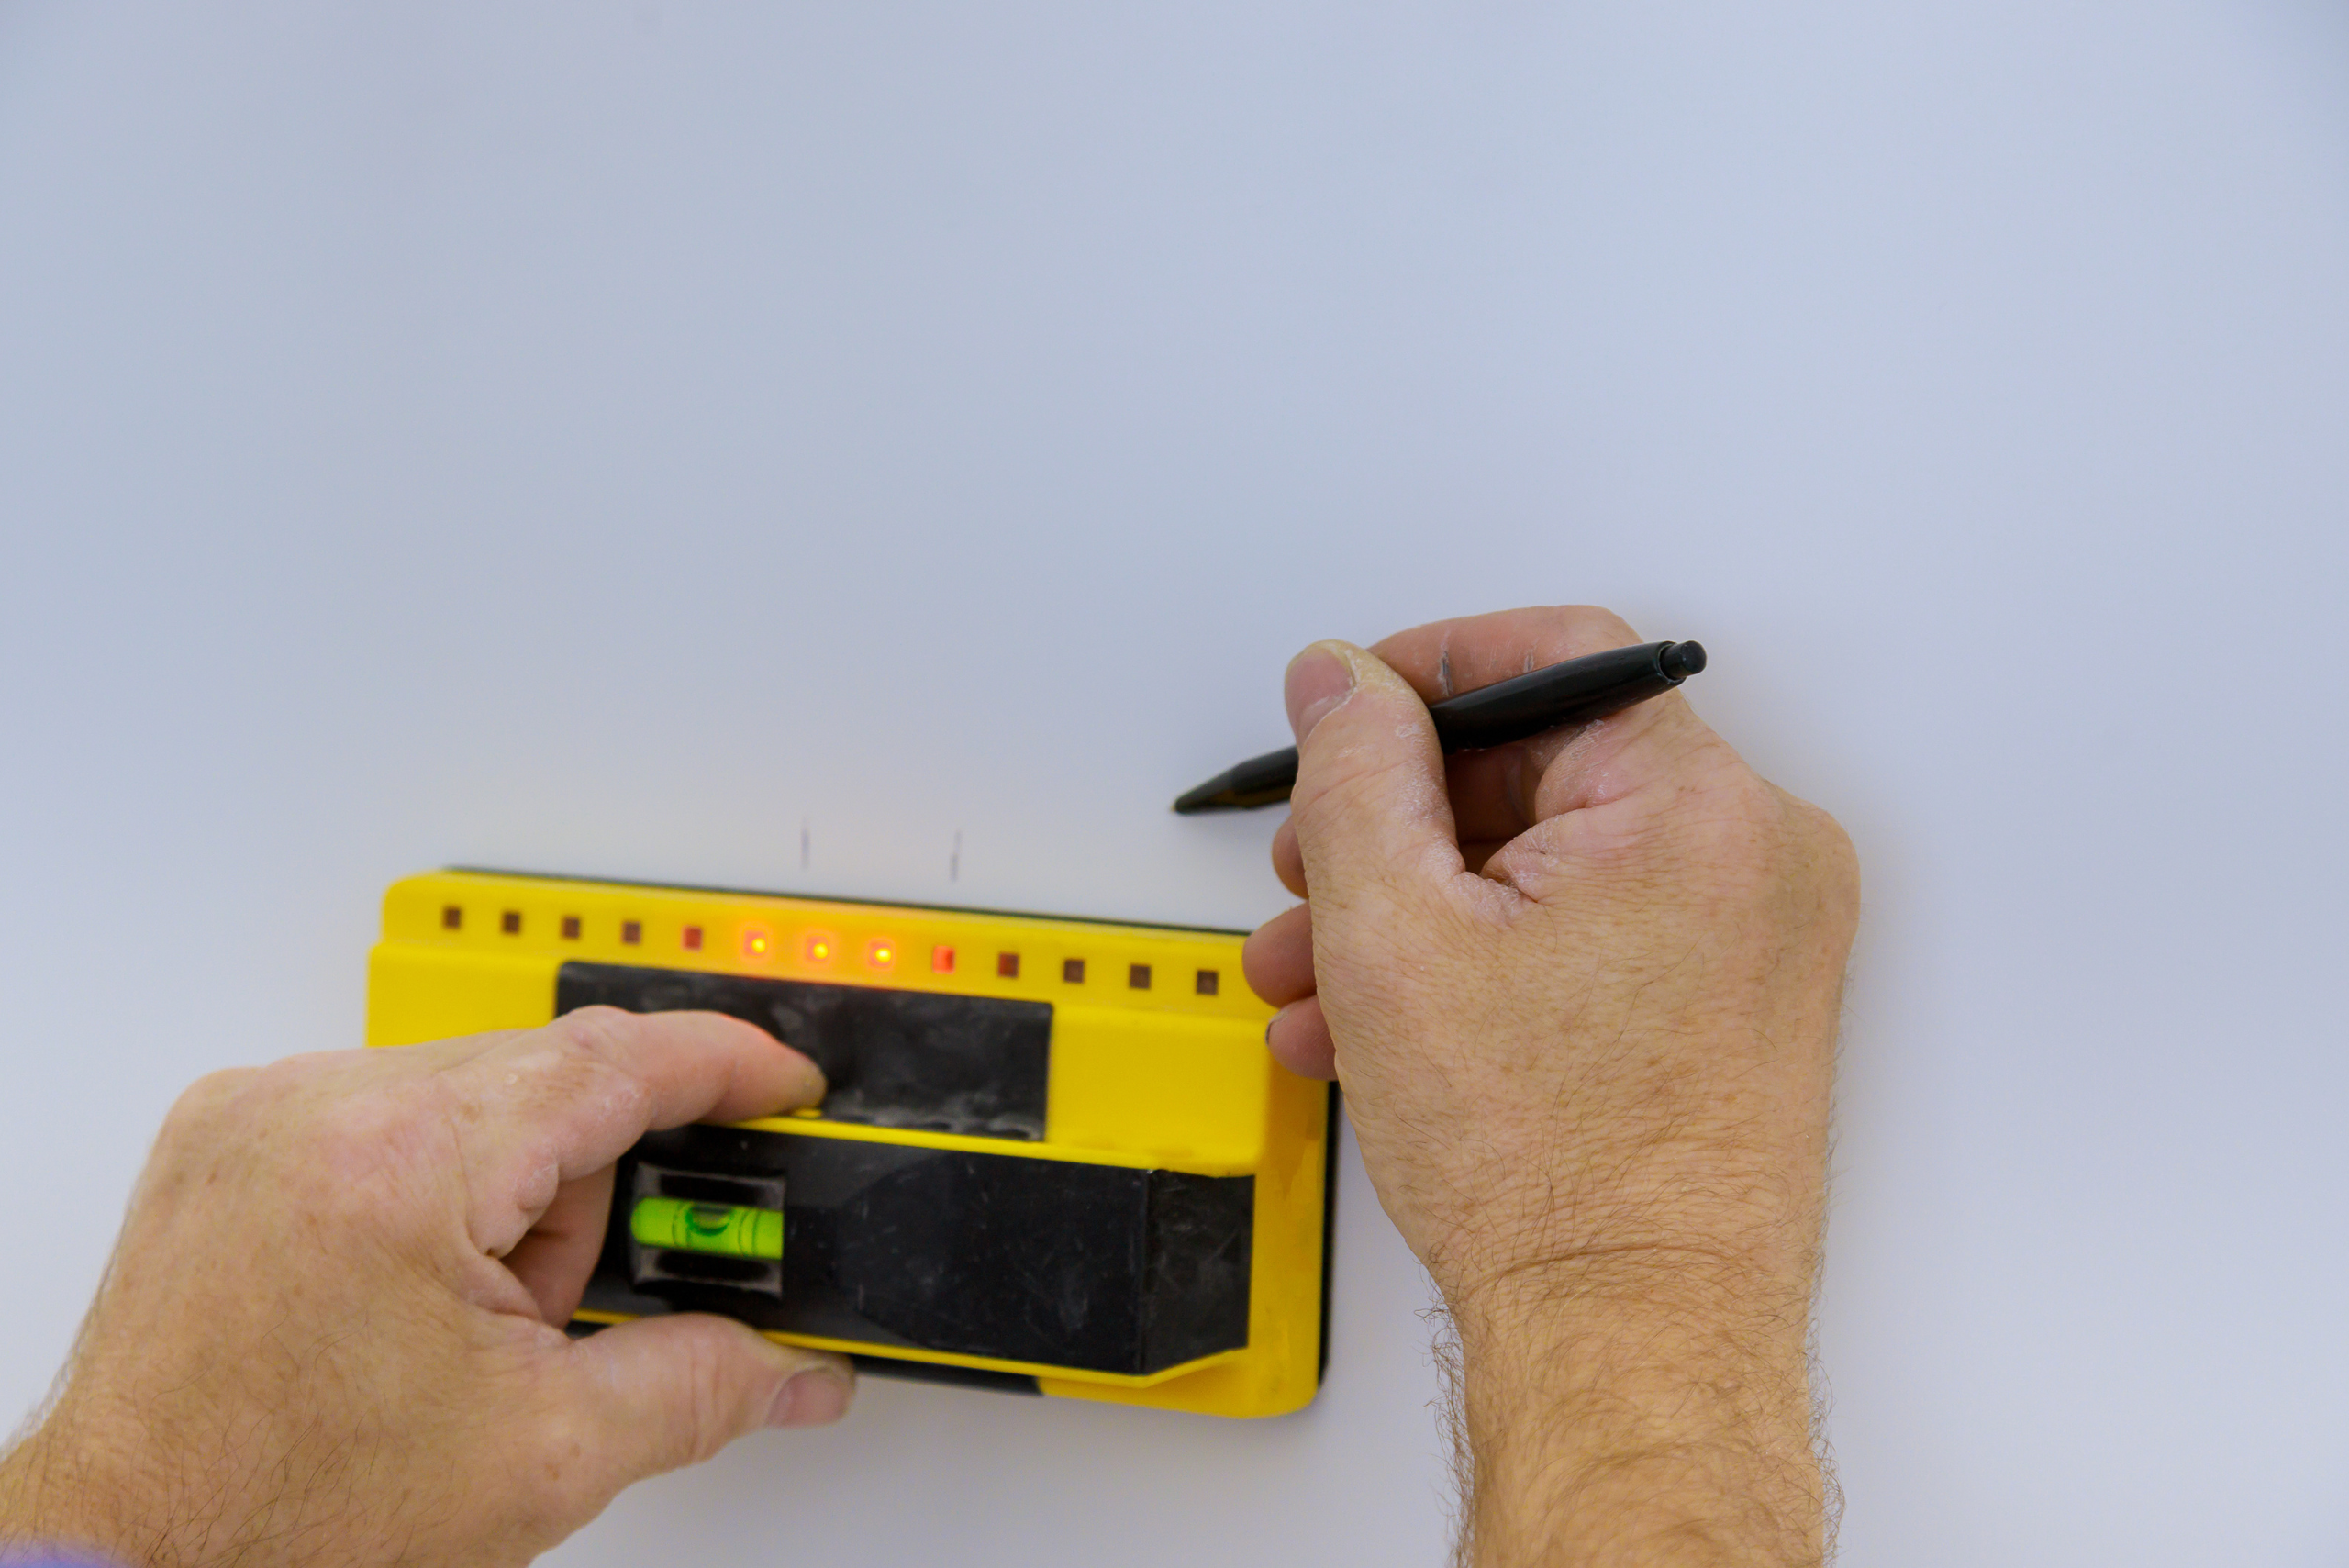
- ✦ It senses a change
The tool looks for a change in density, material, moisture, or metal behind the wall.
- ✦ It gives a signal
A light, beep, bars, or screen tells you when the tool detects a possible stud.
- ✦ It estimates the location
The reading helps you mark the stud, but the tool does not guarantee that every signal marks the exact center.
What Is a Wall Stud?
A wall stud is a vertical framing member inside a wall. In many U.S. homes, studs are made from wood, although metal studs are common in some commercial buildings and certain residential walls.
Drywall attaches to these framing members. A stud gives screws and other fasteners a solid place to grip, which is why finding one matters when you want to hang something heavy.
- ✦ Wood studs
These are common in wood-framed homes and usually sit behind drywall at regular intervals.
- ✦ Metal studs
These can appear in commercial and some residential construction and may need different mounting hardware.
Why the Tool Can Find Something You Cannot See
Drywall hides the framing, so your eyes cannot tell where a stud sits. A stud finder does not need a clear view because it measures a physical change beneath the surface.
Think of it like running your hand over a smooth surface and noticing a raised spot. The electronic sensor does a similar job with an invisible property of the wall.
How Electronic Stud Finders Detect Studs
Electronic stud finders are the type most people picture when they hear the term stud finder. They contain sensors and electronic circuits that measure changes behind the wall surface. Many models use capacitance to sense changes in the wall’s density.
The sensor creates an electrical field near the wall. As you move the tool over drywall, the reading changes when the material behind the drywall changes. A denser area, such as a wood stud, affects the reading differently from an open cavity.
This explains an important part of how does the stud finder work: the device is not directly detecting wood in the same way a metal detector detects metal. It is detecting a measurable change that often occurs when a stud is behind the drywall.
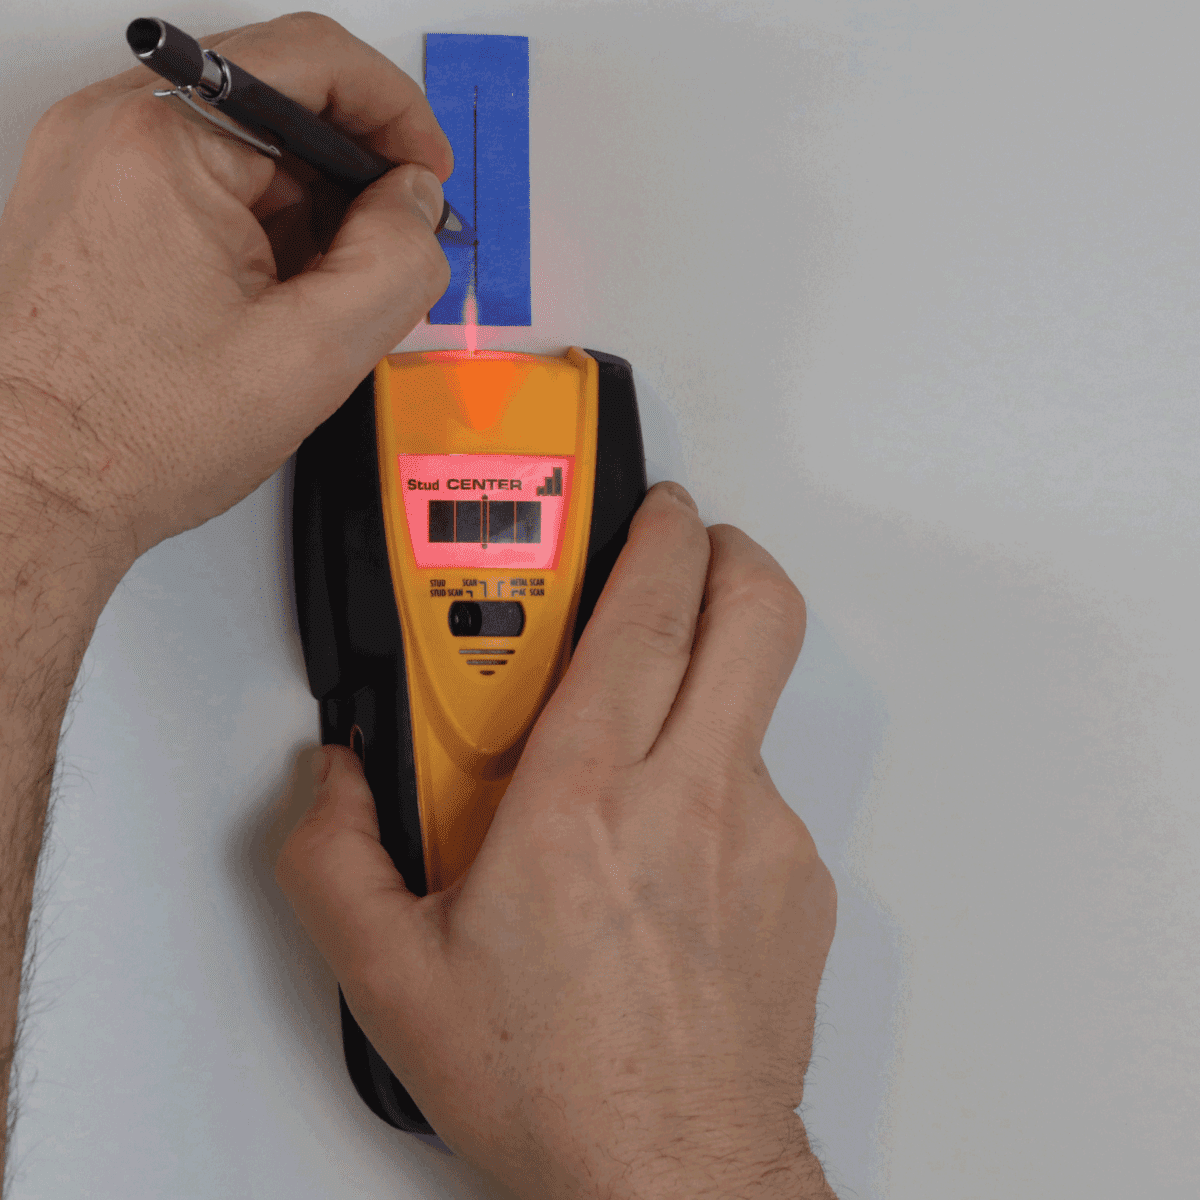
- ✦ Calibration matters
Many electronic models need to be calibrated on the wall before scanning. Calibration helps the sensor establish a baseline reading.
- ✦ Move at a steady pace
Slow, even movement makes it easier for the sensor to detect a change and helps reduce false readings.
- ✦ Watch for the center signal
Some models detect the stud edges and show the center. Others use a different display, so always follow the model’s instructions.
What Does a Density Change Mean?
A typical drywall wall has empty spaces between studs. When the sensor passes over a stud, more material sits behind the drywall. That extra material changes the sensor reading.
The tool converts that change into a signal. Depending on the model, you may hear a beep, see a light, or watch a graphic move across the display.
Why Electronic Models Can Give False Readings
Wall conditions are not always uniform. Moisture, thick paint, foil-backed insulation, plaster, dense wall coverings, and other materials can affect an electronic sensor.
This is one reason the answer to how does the stud finder work is not simply ‘it beeps over wood.’ The tool reacts to conditions behind the wall, and those conditions can come from more than one source.
- ✦ Moisture
Damp areas can change the sensor reading and may cause a false or wider detection.
- ✦ Thick materials
Tile, plaster, paneling, and other dense surfaces can make detection harder.
- ✦ Electrical wiring
Some advanced models can detect live AC voltage, but this feature varies by model and should not replace safe electrical practices.
How Does a Magnetic Stud Finder Work?
A magnetic stud finder works in a different way. Instead of sensing a change in wall density, it uses a magnet to locate metal fasteners. Drywall installers often use screws or nails to attach the drywall to the framing, so those fasteners can reveal where a stud is located.
This makes a magnetic stud finder very simple. Move the magnet across the wall, and it will pull toward a metal fastener. Find several fasteners in a vertical line, and you can usually trace that line back to the underlying stud.
The key point is that the magnet does **not normally detect the wood stud itself**. It detects the metal screw or nail attached to the stud. That distinction is important when understanding how does the stud finder work.

- ✦ No battery in many models
A basic magnetic stud finder can work without batteries because the magnet supplies the force needed to detect steel fasteners.
- ✦ Simple operation
You move the tool across the wall and watch or feel for the magnetic pull.
- ✦ Fastener location is the clue
Several fasteners lined up vertically can help you identify the position of the stud behind the drywall.
Magnetic vs. Electronic Stud Finders
A magnetic model can be simple and dependable when drywall fasteners are easy to detect. An electronic model can provide more information, such as stud edges or center lines, depending on its design.
Neither type is perfect for every wall. The best choice depends on the wall material, the project, and the type of information you need.
- ✦ Magnetic
Detects steel screws or nails. It is simple and does not need electronic calibration.
- ✦ Electronic
Senses changes behind the wall and may offer edge, center, deep-scan, or wire-detection features.
How to Use a Stud Finder Correctly
Knowing how does the stud finder work is useful, but correct technique matters just as much. A good tool can still give poor results if you start in the wrong place, move too fast, or skip calibration.
Before scanning, remove nearby objects that may affect the tool. Then place the finder flat against the wall and follow the manufacturer’s instructions for calibration. Keep the tool in contact with the wall as you move it slowly across the area.
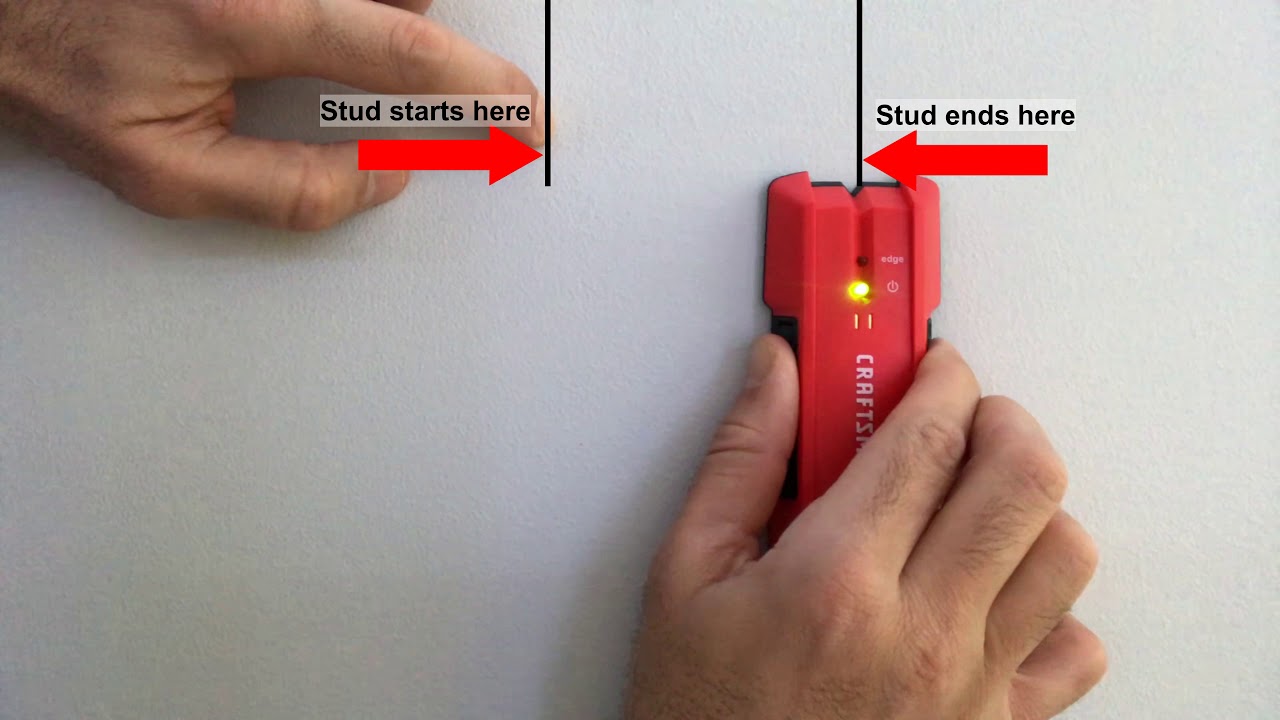
When the tool signals a stud, mark the location with a pencil. Then scan from the opposite direction and mark the second edge if the tool is designed to find edges. The midpoint between the two edge marks can give you a better estimate of the stud center.
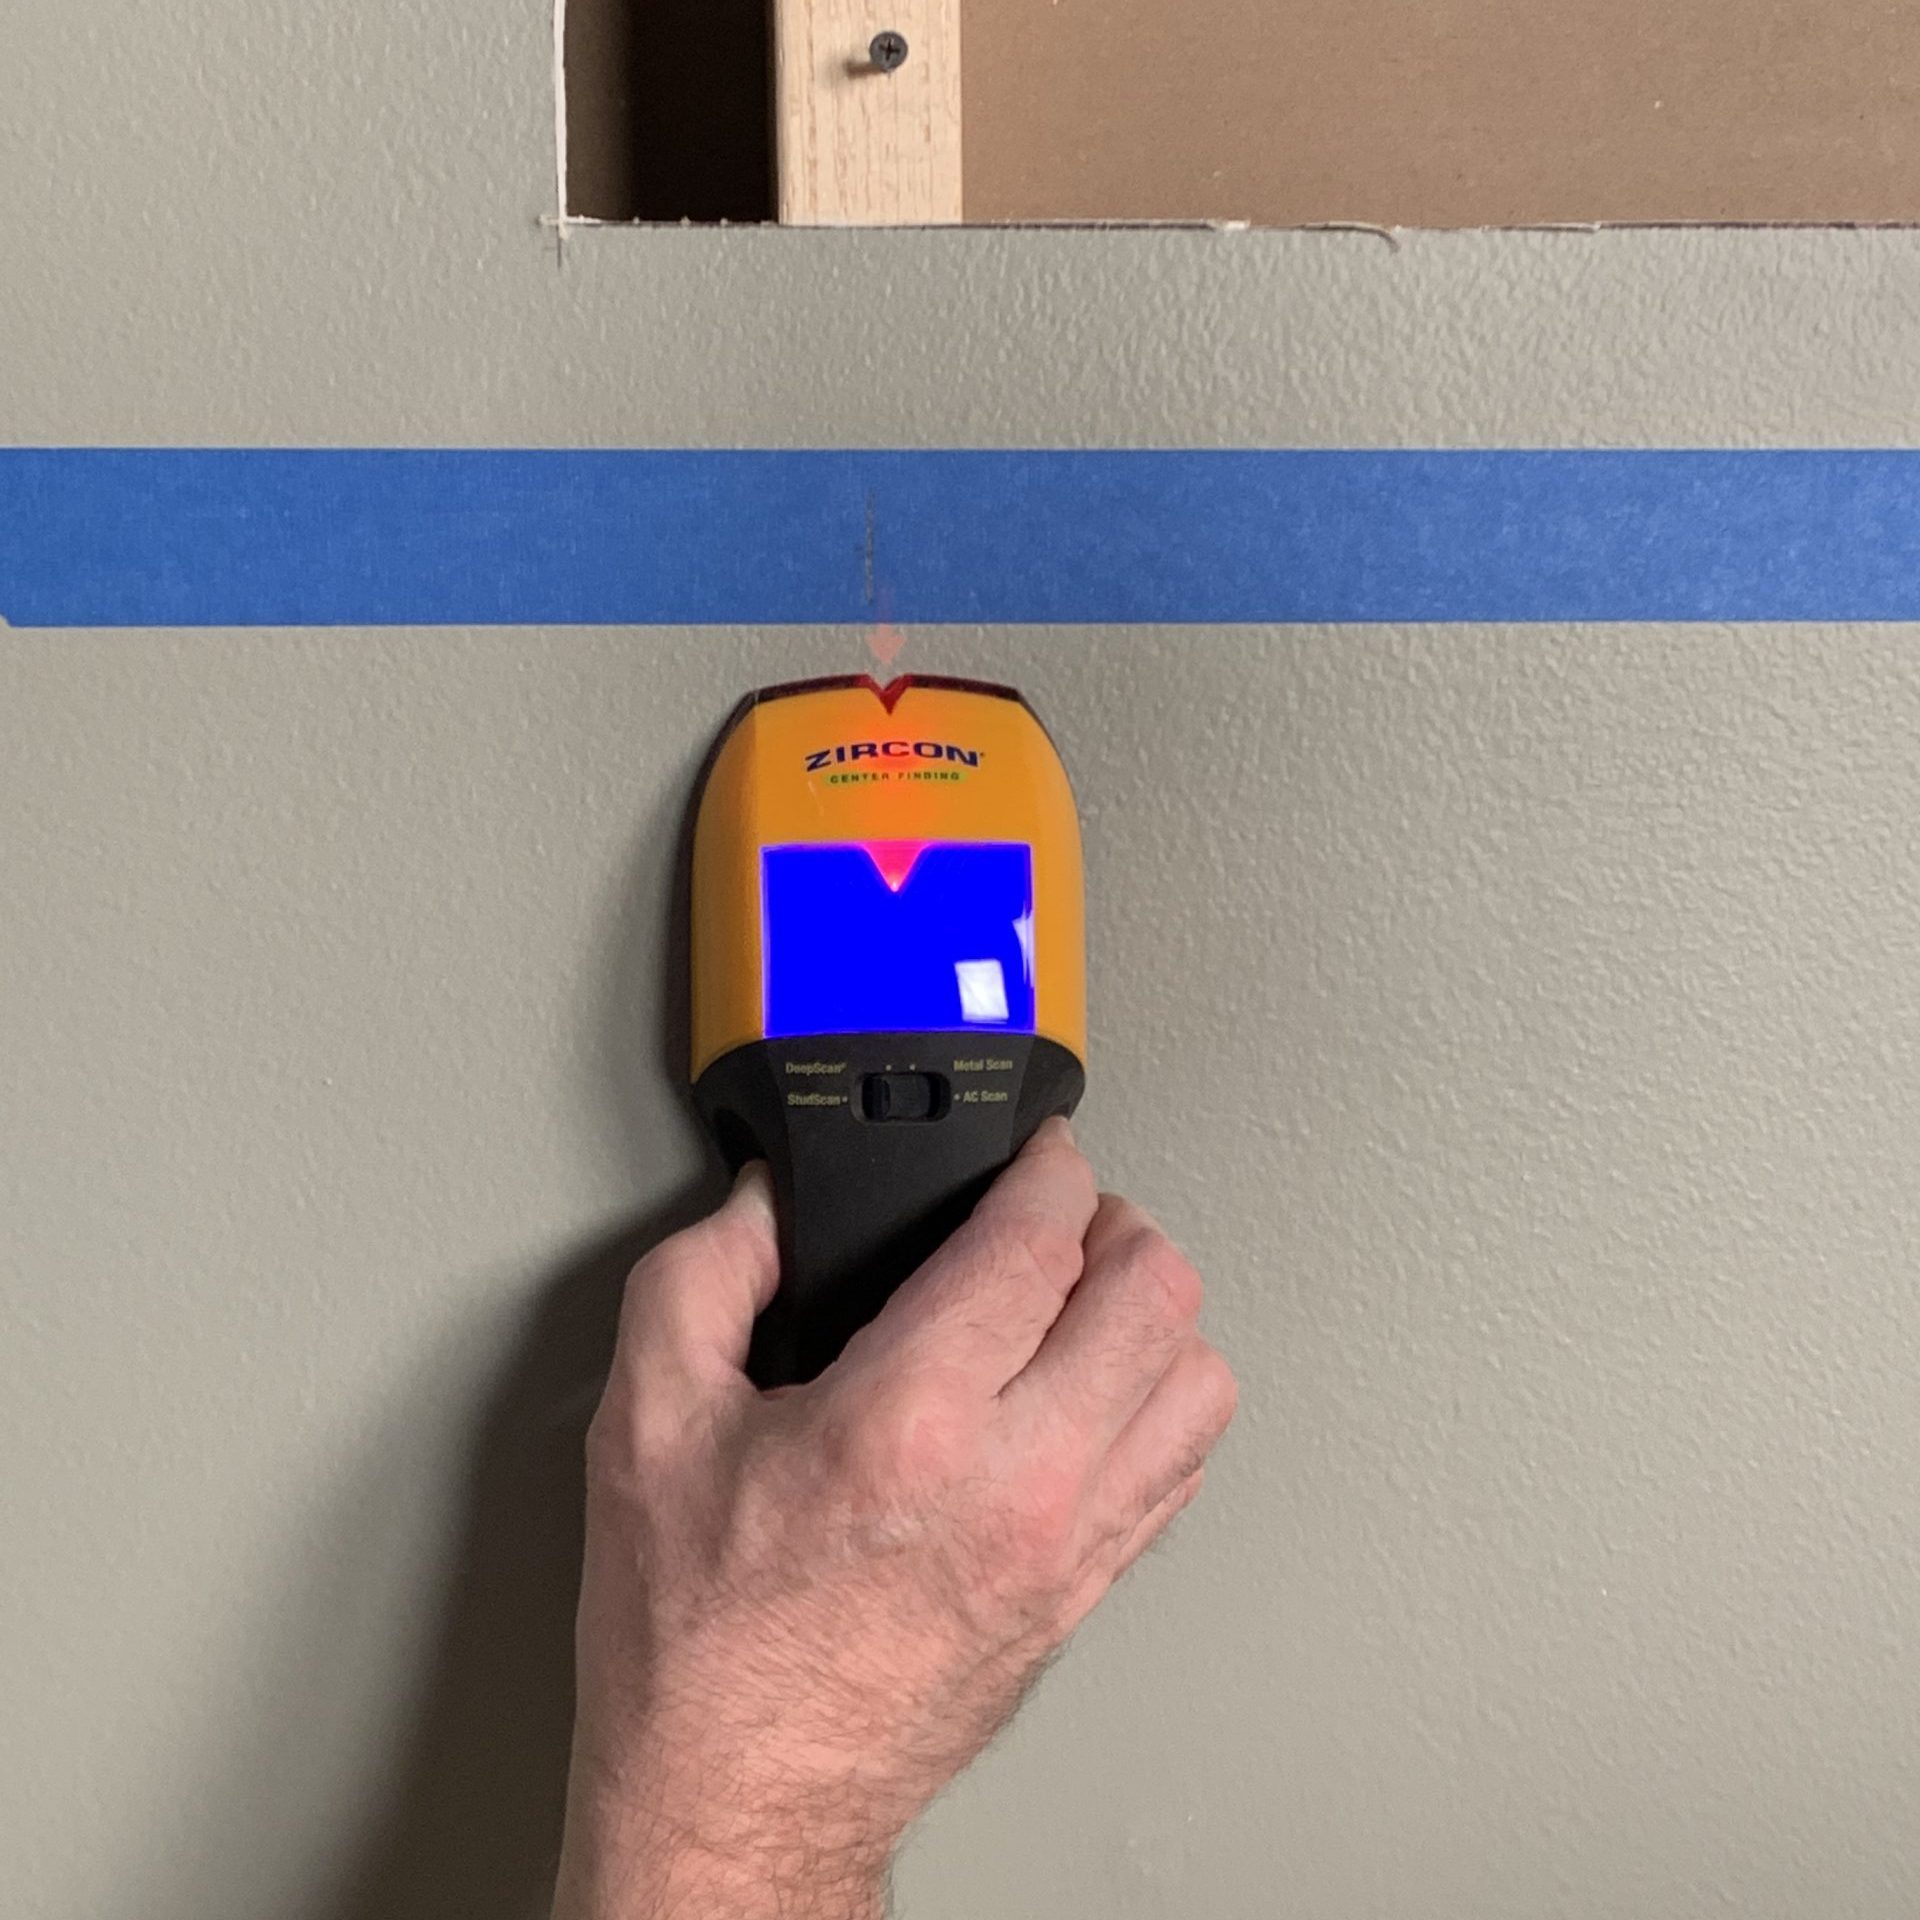
- ✦ 1. Prepare the wall
Clear the scanning area and keep the tool flat against the wall.
- ✦ 2. Calibrate the tool
Use the calibration process given by the manufacturer before you begin the scan.
- ✦ 3. Scan slowly
Move the tool at a steady pace instead of making quick passes.
- ✦ 4. Mark the signal
Use a pencil to mark the location where the tool indicates a stud.
- ✦ 5. Check from another direction
Scan back across the area to confirm the reading and estimate the stud center.
- ✦ 6. Check the surrounding area
Look for outlets, switches, pipes, and other clues before drilling into the wall.
How to Find the Center of a Stud
Finding a stud is only part of the job. For a strong screw connection, you usually want the fastener to enter the stud rather than just the drywall.
If your electronic stud finder has an edge mode, scan from both sides. Mark each edge, then use the area between those marks to estimate the center. For a magnetic finder, several fasteners in a vertical line can help you trace the stud.
- ✦ Use multiple readings
One beep or one magnetic pull is less useful than a clear pattern of repeated readings.
- ✦ Mark lightly
A pencil mark is easy to erase after the project is complete.
Confirm Before You Drill
A stud finder is a locating aid, not a guarantee that the drilling spot is safe. Walls can contain electrical cables, plumbing, and other hidden items.
Before drilling, consider the location of outlets, switches, plumbing fixtures, and heating or cooling equipment. Use an appropriate detector when needed, and follow safe drilling practices.
- ✦ Look for wall clues
Outlets, switches, pipes, and fixtures can provide useful information about what may be inside a wall.
- ✦ Use caution near electrical wiring
Do not assume that finding a stud means the area is free of wiring.
Why Stud Finders Sometimes Do Not Work Well
A common search question is not only how does the stud finder work, but also why the tool sometimes seems wrong. The answer often comes down to the wall itself. Sensors can react to moisture, thick finishes, dense materials, or changes that have nothing to do with a stud.
Some walls are also harder to scan than standard drywall. Plaster walls, tiled walls, wood paneling, and walls with unusual construction can reduce the usefulness of a basic stud finder.
When a reading seems odd, do not immediately drill. Scan the area again, change your direction, recalibrate if needed, and compare the result with other clues on the wall.

- ✦ Thick wall coverings
Tile, paneling, thick plaster, and other coverings can make it harder for the sensor to read the material behind them.
- ✦ Moisture
Damp drywall can change the electrical properties of the wall and affect electronic detection.
- ✦ Metal objects
Metal corner bead, fasteners, pipes, and other metal parts can attract magnetic tools or affect some electronic models.
- ✦ Uneven surfaces
A tool may not scan correctly if it cannot stay flat against a rough or heavily textured surface.
- ✦ Incorrect calibration
Starting calibration over a stud or another unusual area can produce a poor baseline on some electronic models.
What About Concrete or Brick Walls?
Standard stud finders are mainly designed for common framed walls. Concrete and brick behave very differently from drywall over wood framing, so a basic stud finder may not give useful results.
For masonry, the task may be to locate reinforcement, embedded metal, pipes, or another mounting point rather than a traditional wood stud. A tool designed for the material and job is often more suitable.
Can a Stud Finder Find Pipes and Wires?
Some advanced electronic models include modes for detecting live AC wires or metal. These features can be useful, but they do not make the tool a complete safety scanner.
A stud finder should never be treated as proof that a drilling area contains no pipe or wire. If the location presents a meaningful risk, use proper detection methods and take appropriate safety steps.
How Accurate Are Stud Finders?
Stud finder accuracy depends on the tool, wall, scan mode, and user’s technique. A quality tool can help you locate framing, but its reading should be treated as an estimate rather than an exact measurement.
The most useful approach is to look for a repeatable pattern. If the tool gives the same result when you scan from both directions, confidence in the location increases.
Another useful check is the wall’s construction pattern. In many U.S. framed walls, studs are commonly spaced at regular intervals, often around 16 inches on center, though 24-inch spacing and other layouts also occur. Never assume a spacing pattern proves a stud location.
- ✦ Repeat the scan
A second pass can help confirm whether the first signal was consistent.
- ✦ Scan both directions
Approaching the suspected stud from both sides can help define its position.
- ✦ Use construction clues
Corners, outlets, doors, windows, and visible fasteners can provide extra clues about framing.
- ✦ Do not rely on spacing alone
Regular stud spacing is common, but walls can contain openings, doubled studs, framing changes, and other exceptions.
Why the Center Can Be Hard to Identify
A stud has width, so the first signal you get may mark an edge rather than the center. Some tools make this clear on the display, while basic models may only indicate a change.
For important mounts, take time to identify both edges when possible. This simple step can help you avoid placing a screw close to the side of the stud.
A Practical Accuracy Check
If you need a high-confidence location, combine the stud finder reading with another clue. For example, several detected fasteners in a straight vertical line can support the result from an electronic scan.
For a heavy mount, use the mounting instructions for the product and make sure the fastener type and length fit the wall and framing. A stud location alone does not tell you which hardware to use.
Tips for Better Stud Finder Results
Once you understand how does the stud finder work, a few simple habits can make your results more consistent. The biggest gains usually come from slow scanning, good calibration, and checking a reading before you drill.
For everyday projects such as hanging shelves, pictures, cabinets, and TVs, take a few extra minutes to map the wall. That small amount of care can prevent misplaced holes and help you choose a better mounting point.
If the wall gives confusing readings, treat that as a reason to investigate rather than a reason to press harder or move faster. A stud finder works best when you use it as one part of the larger picture.
- ✦ Keep the tool flat
Maintain steady contact with the wall when the instructions call for it.
- ✦ Move slowly
A controlled scan makes changes easier for the sensor to detect.
- ✦ Calibrate correctly
Follow the manufacturer’s calibration steps and avoid starting over an area that may already contain a stud or other dense material.
- ✦ Mark both sides when possible
Edge marks can help you estimate the center of a stud.
- ✦ Confirm unusual readings
Scan again from another direction and compare the result with visible wall features.
- ✦ Know the wall type
A basic drywall stud finder may not perform well on masonry, tile, thick plaster, or unusual wall systems.
- ✦ Treat safety as a separate step
Finding a stud does not prove that the drilling area is clear of wires or pipes.
Common Stud Finder Mistakes
One common mistake is moving the tool too fast. Another is skipping calibration because the tool seems simple. Both can make a correct tool appear unreliable.
Another mistake is trusting one beep as absolute proof. Good results come from repeated readings, careful marking, and awareness of how the wall is built.
- ✦ Scanning too fast
Fast movement can make it harder to identify a clear change.
- ✦ Skipping calibration
An incorrect baseline can affect electronic detection.
- ✦ Trusting one reading
A single signal can come from a fastener, pipe, wiring, moisture, or another feature.
- ✦ Drilling without checking
A stud finder helps locate framing, but it does not replace safe checks for hidden services.
When to Use a Different Tool
If the wall is made from concrete, brick, stone, or another dense material, a standard stud finder may not be the right choice. The same is true when you need to locate metal, pipes, or electrical wiring rather than simply find wood framing.
Choose a detection tool based on the material and the task. Read the manufacturer’s limits before relying on any detection mode for a safety decision.