How to Find Studs for a Ledger Board: A Safe Step-by-Step Guide
Learning how to find studs for ledger board work is one of the most important steps in a deck project. The ledger transfers deck loads into the house wall, so its fasteners need solid framing behind them. A stud finder can help, but it should not be your only check.
In a typical wood-framed U.S. home, wall studs often sit behind drywall, siding, or another wall finish. Their spacing can help you predict the next stud after you find one. Still, older homes, remodels, corners, openings, and special wall systems can break the usual pattern.
A good field habit is simple: locate, mark, measure, and confirm. If the wall finish hides the framing or the connection is hard to verify, stop before drilling and have a qualified deck builder or building professional check the structure.
Why Finding the Right Studs Matters for a Ledger Board
A deck ledger is not just a trim board. It forms a key part of the deck connection to the house. The fasteners must reach the structural framing or another approved structural support system.
This is why knowing how to find studs for ledger board installation matters. A screw or lag that only grips drywall, sheathing, siding, or a thin finish does not create the same connection as one that reaches sound framing.
The exact connection depends on the house, deck design, wall assembly, and applicable code. Always follow the current local code and the instructions for the approved fasteners and hardware you plan to use.
- ✦ Load path
The ledger connection must transfer deck loads into the home’s structure through an approved load path.
- ✦ Fastener grip
Fasteners need adequate structural material and embedment. Surface finishes alone are not enough.
- ✦ Water control
The ledger area also needs proper flashing and water management so the connection does not create a path for water into the wall.
How to Find Studs for Ledger Board Step by Step
The safest way to approach how to find studs for ledger board work is to use more than one clue. Start with a stud finder, then compare its reading with visible wall features and known framing points.
Do not mark a stud from one quick scan and start drilling. Scan several times, mark both edges when possible, and use measurements to see if the layout makes sense.
- ✦ 1. Pick a clear starting area
Choose a wall section where you can scan easily. Remove loose items and note outlets, switches, doors, and windows.
- ✦ 2. Scan with a stud finder
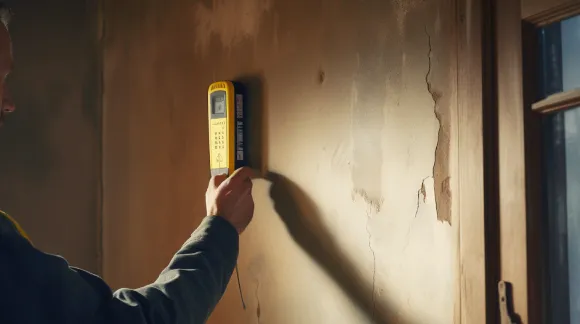
Move the tool slowly across the wall. Follow the tool instructions and mark the area where it detects the framing.
- ✦ 3. Find both stud edges
Scan from both directions when possible. Mark the left and right edges of the detected stud instead of relying on one center reading.
- ✦ 4. Mark the likely center
Use the two edge marks to estimate the stud center. A center mark gives you a better target for later verification.
- ✦ 5. Check the stud spacing
Measure from the confirmed stud to nearby marks. Common framing layouts may help you predict other studs, but do not assume every wall follows a standard pattern.
- ✦ 6. Confirm before drilling
Use a small test hole only where it is safe and appropriate, and check the material you hit. Stop if you encounter unexpected resistance, metal, wiring, plumbing, or other signs of a hidden service.
Use a Stud Finder Carefully
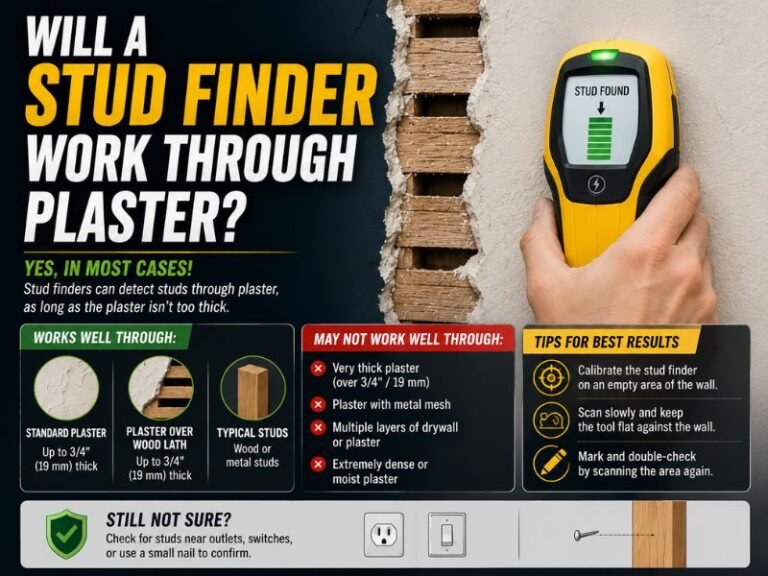
Electronic stud finders can detect changes in wall density. Some models detect edges, while others use different methods to estimate framing. Read the tool instructions before you rely on its reading.
Keep the tool flat and move it at a steady pace. Repeat the scan several times. A single reading can be affected by thick drywall, uneven surfaces, moisture, insulation, or other materials.
- ✦ Slow movement
Move slowly enough for the tool to detect a change. Fast passes can make marks less reliable.
- ✦ Repeat the scan
Scan the same area from different directions and compare the results.
- ✦ Mark lightly
Use pencil marks that you can remove after the work. Keep your marks clear and easy to measure.
Use Wall Features as Framing Clues
Electrical outlets and switches can offer useful clues because their boxes are often mounted to wall framing. The framing may sit on one side of the box, depending on how the box was installed.
Corners, wall intersections, doors, and windows also have framing around them. These areas can help you understand the wall layout, but they do not prove the exact location of every stud.
- ✦ Outlets and switches
Use them as clues to nearby framing. Never remove electrical devices or probe into a box just to locate a stud.
- ✦ Corners
Wall corners usually contain framing, though the layout can vary.
- ✦ Openings
Doors and windows have structural framing around them, but the exact layout depends on the wall design.
Confirm Stud Locations Before You Drill
Finding a likely stud is only half the job. Before you make a ledger connection, confirm that the marked location contains the type and depth of structural material required for your planned fastener.
A small test hole can reveal whether you are hitting wood, but use care. Do not drill blindly through a wall. Hidden electrical cables, plumbing, ducts, and other services may be present.
If the wall has thick siding, masonry, stucco, brick veneer, insulation, or several layers of finish, the path to the framing may not be obvious. In these cases, a simple stud finder reading may not tell you enough.
- ✦ Look for solid wood
A confirmed framing location should provide the structural material needed by the specified fastener and connection.
- ✦ Watch for metal
Unexpected metal can indicate a plate, connector, protection plate, metal framing, or another obstruction. Do not force a drill through it.
- ✦ Stop for hidden services
If you suspect wiring or plumbing, stop and identify the hazard before continuing.
- ✦ Verify the wall assembly
Know what sits between the ledger and the framing. The required connection can change with the wall construction.
Check the Stud Layout From More Than One Direction
A useful way to improve accuracy is to work from a known point in the wall. Once you confirm one stud, measure to nearby framing marks and compare the pattern. If the measurements do not make sense, investigate instead of forcing the expected layout.
This approach is especially useful when learning how to find studs for ledger board projects in older homes. Repairs and remodels can leave walls with unusual stud spacing or added layers.
- ✦ Measure from a known point
Use a confirmed stud, corner, or other reliable framing reference as your starting point.
- ✦ Compare several marks
A consistent pattern across several locations gives more confidence than one isolated reading.
Tools That Help You Find Wall Studs
You do not need a large tool kit to locate basic wood framing. The best setup combines a stud finder with simple hand tools and a way to make accurate measurements.
The tool is only part of the process. Good marks, careful measurements, and repeated checks often matter more than buying the most complex stud finder.
- ✦ Electronic stud finder
Useful for locating changes in wall density behind drywall and other finishes.
- ✦ Tape measure
Helps compare stud spacing and transfer measurements to the ledger.
- ✦ Level
Helps establish a straight reference line for the ledger location after the framing is confirmed.
- ✦ Pencil
Use it to mark stud edges, centers, measurements, and other reference points.
- ✦ Small drill bit
May help confirm wood framing in an appropriate location, but only after checking for possible hidden services and other hazards.
Do Magnetic Stud Finders Work?
A magnetic stud finder can locate metal drywall fasteners. If the screws or nails sit over a wood stud, a series of magnetic points can reveal a useful pattern.
The magnet does not directly detect the wood. It detects the metal fasteners. The method can work well on some drywall walls, but it may be less useful when fasteners are hard to detect or when the wall finish is thick.
How Stud Spacing Helps You Find More Framing
Once you confirm one stud, the spacing between nearby studs can help you locate the next ones. Many wood-framed walls use repeated layouts, but spacing is not universal and should never replace direct confirmation.
Measure from the center of a confirmed stud to the next suspected location. Then scan that area again with your stud finder. When several locations line up with the observed framing pattern, you have stronger evidence that the marks are correct.
- ✦ Do not assume 16 inches
Studs are often laid out on common spacing, but 16 inches on center is not a guarantee. Some walls use different spacing.
- ✦ Use center-to-center measurements
When checking framing, measure from the center of one stud to the center of another.
- ✦ Confirm each critical location
Ledger fastener locations are structural, so use direct evidence rather than relying only on a predicted pattern.
What Does On-Center Stud Spacing Mean?
On-center spacing is the distance from the center of one stud to the center of the next. It is a framing layout term, not the clear gap between the wood members.
For a ledger, the key point is not simply finding a row of studs. You need to know where the approved fasteners can pass into the structural framing and meet the required spacing and placement rules.
Finding Studs Through Siding, Stucco, or Other Wall Finishes
Exterior wall finishes can make how to find studs for ledger board installation much harder. A stud finder may not work well through thick materials, and the visible surface may not show where the framing sits.
Do not treat every exterior wall as if it were drywall over studs. Vinyl siding, fiber cement, stucco, brick veneer, stone veneer, and other systems have different details and may need special flashing or attachment methods.
The wall assembly also matters because the ledger should connect to the actual structural support, not simply to the outer finish. When the structure cannot be confirmed from the surface, get the wall evaluated before proceeding.
- ✦ Siding
Siding can hide the framing line and can also affect how the ledger and flashing must be installed.
- ✦ Stucco
Stucco may create a thick, layered surface that makes electronic stud readings less dependable.
- ✦ Masonry veneer
Brick or stone veneer is not automatically the same as structural wall framing. The connection needs to account for the full wall assembly.
- ✦ Concrete or masonry walls
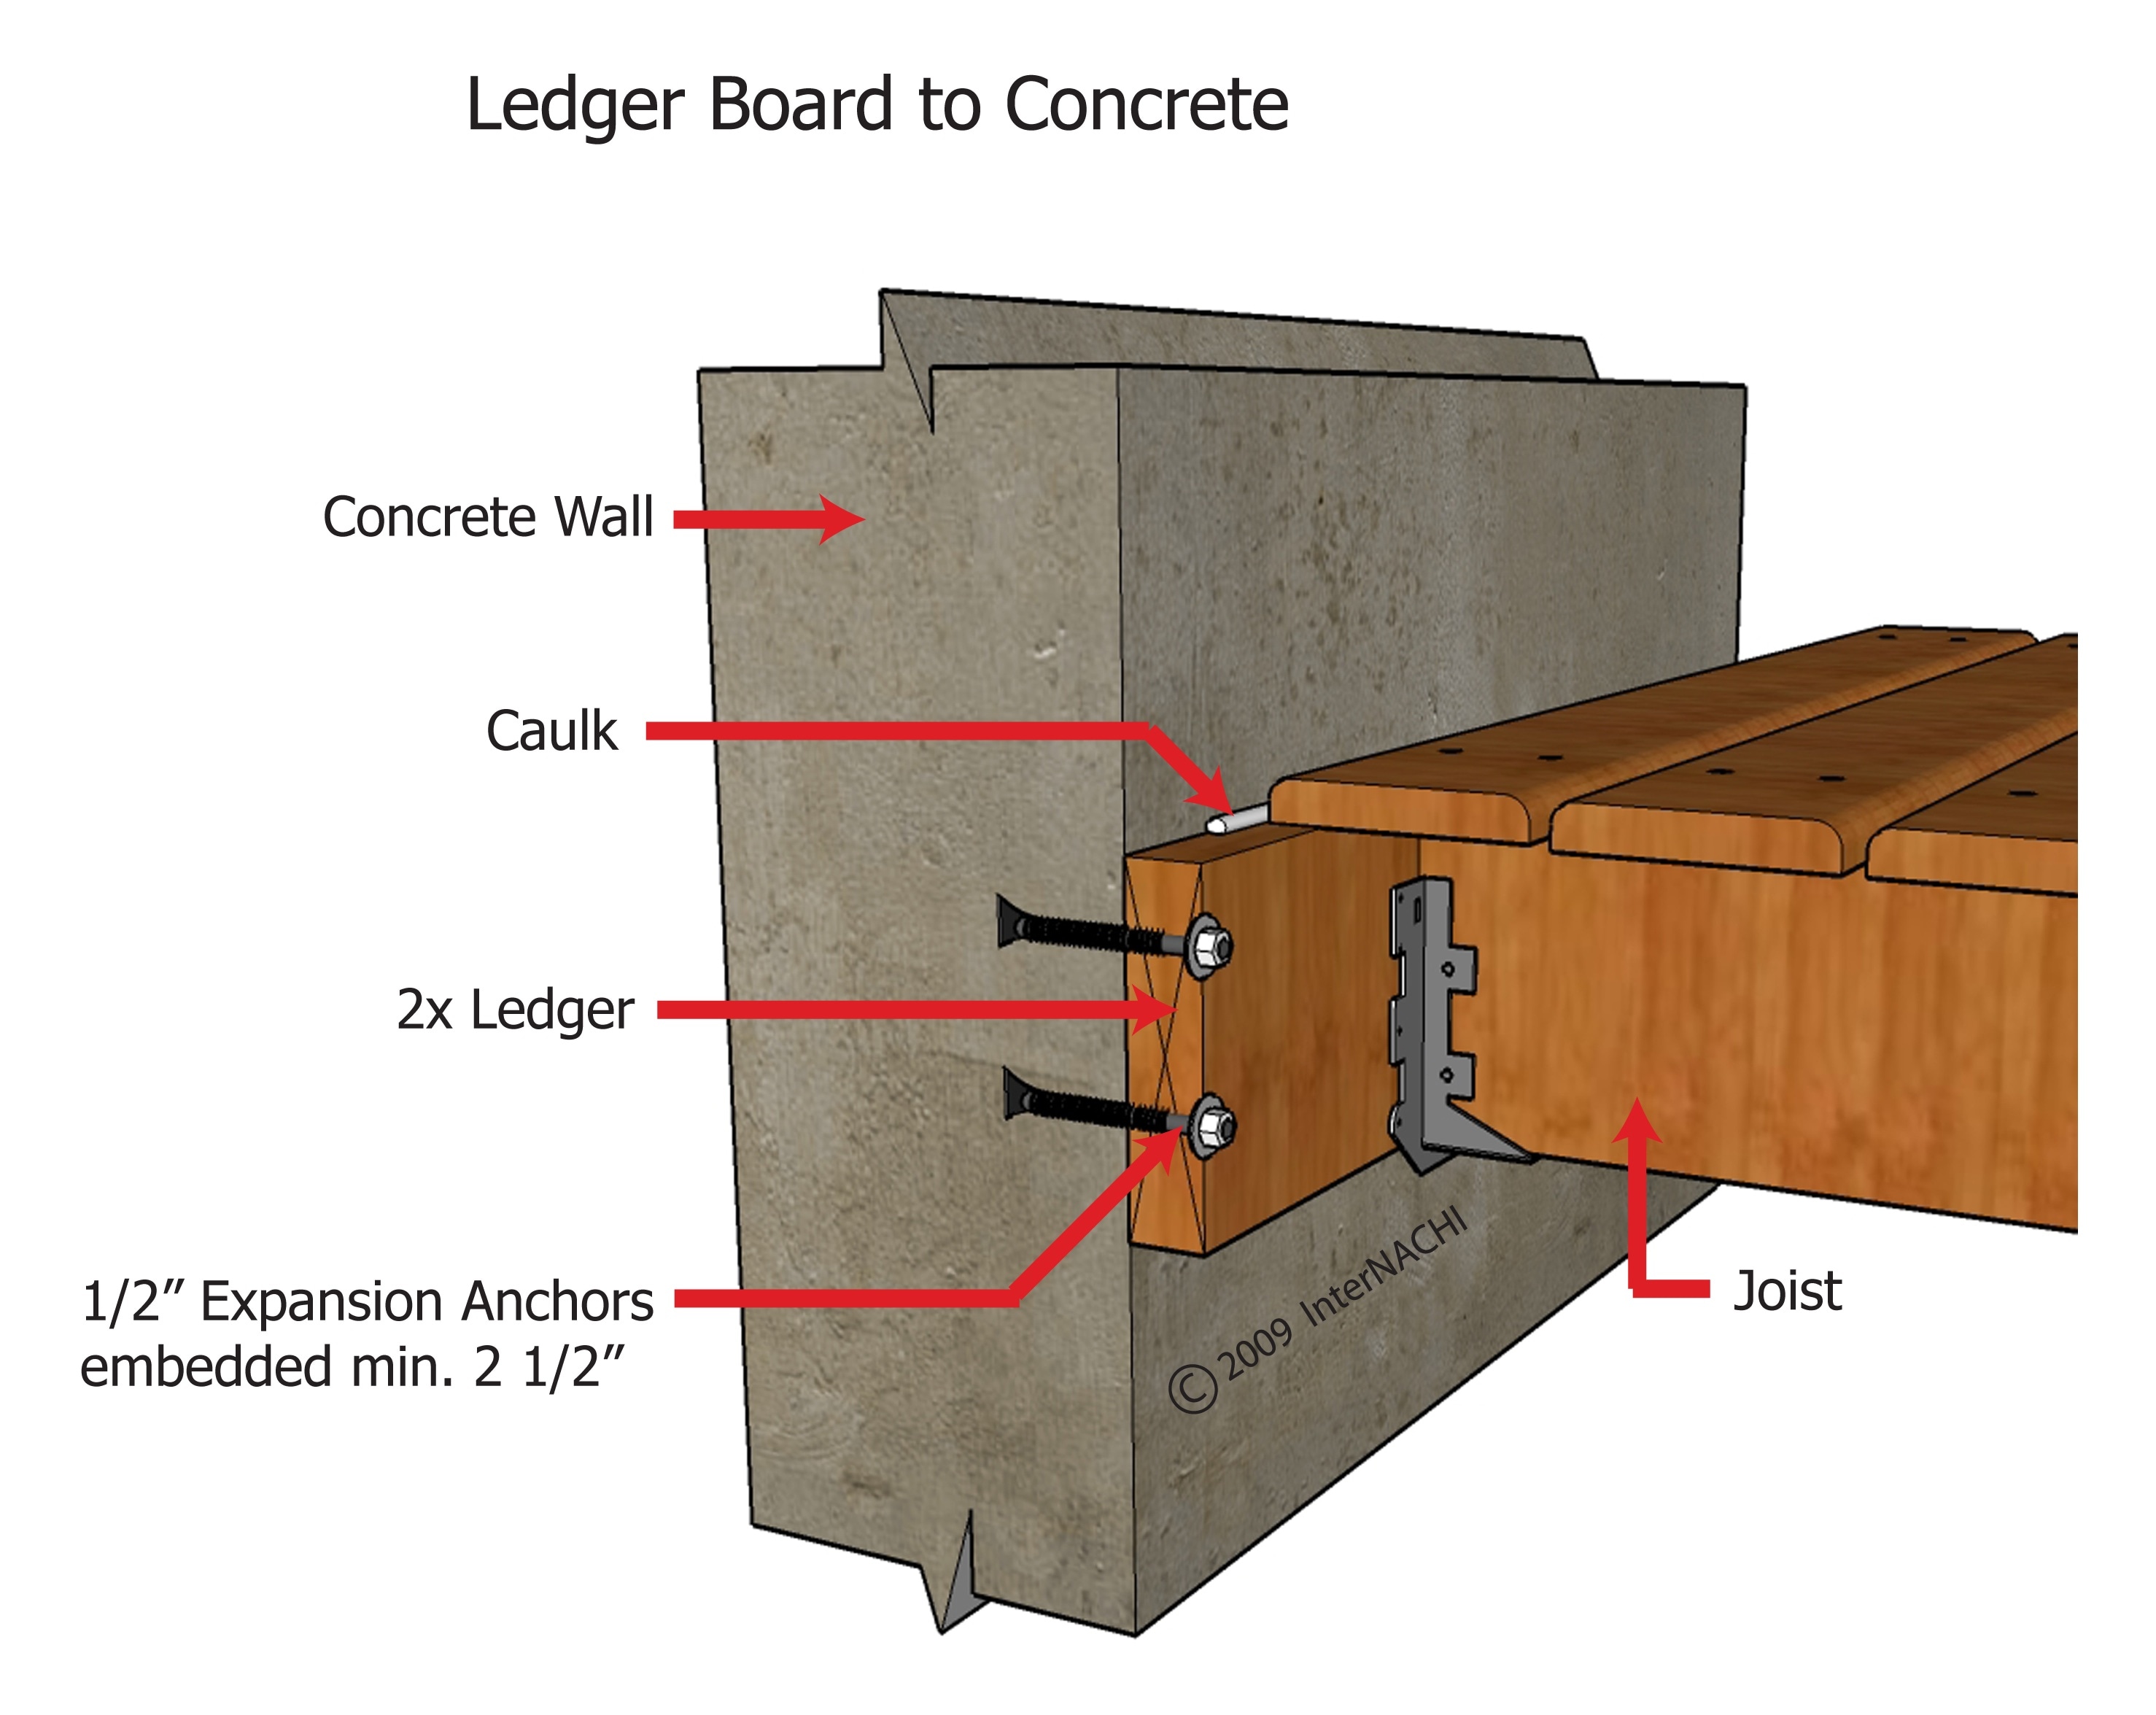
A concrete or masonry wall may not have wood studs at all. Use a connection designed and approved for that wall type.
Why Wall Type Changes the Answer
The question is not always simply where the studs are. The real question is where the approved ledger connection can safely transfer load into the building structure.
If you cannot clearly identify the structural wall and the correct attachment method, do not guess. A deck ledger connection is a place where the wall design, fasteners, flashing, and local requirements all work together.
Common Mistakes When Finding Studs for a Ledger Board
Many ledger problems start before the first fastener goes in. A wrong stud mark, an assumed spacing pattern, or a failure to account for the wall finish can lead to a weak connection.
The best way to avoid these problems is to slow down during layout. Confirm the structure first, then plan the ledger, fasteners, flashing, and other details as one system.
- ✦ Trusting one stud finder reading
A single scan can be wrong. Repeat the scan and compare it with other framing clues.
- ✦ Assuming every stud is 16 inches on center
Common framing patterns are useful clues, not proof of the layout.
- ✦ Fastening into sheathing only
Structural ledger fasteners need the required connection to the building structure. Sheathing alone may not provide the required support.
- ✦ Ignoring wall openings
Windows and doors can change the framing layout. Do not extend a normal stud pattern through an opening without checking.
- ✦ Drilling without checking for utilities
Hidden wiring and plumbing can create serious hazards. Stop when the material or resistance does not match what you expect.
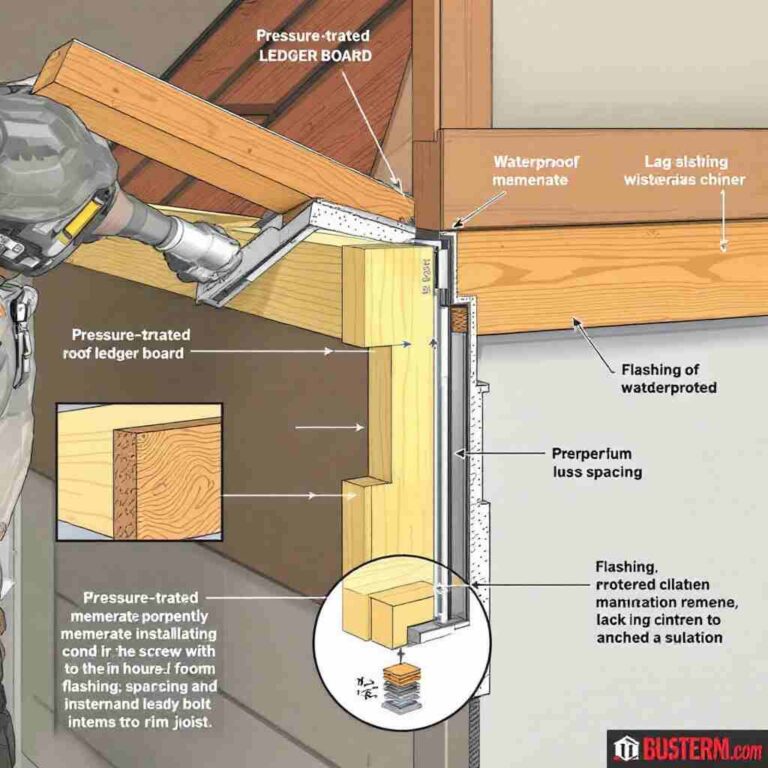
- ✦ Skipping flashing
A strong fastener layout does not replace proper water management at the ledger.
A Simple Accuracy Check
Before fastening, review every mark against the wall layout. Check the stud center, the planned fastener position, the wall finish, and the connection details together.
If one mark does not fit the rest of the evidence, treat that as a reason to investigate. It is easier to fix a pencil mark than a misplaced structural hole.
Ledger Board Fastener Planning and Safety
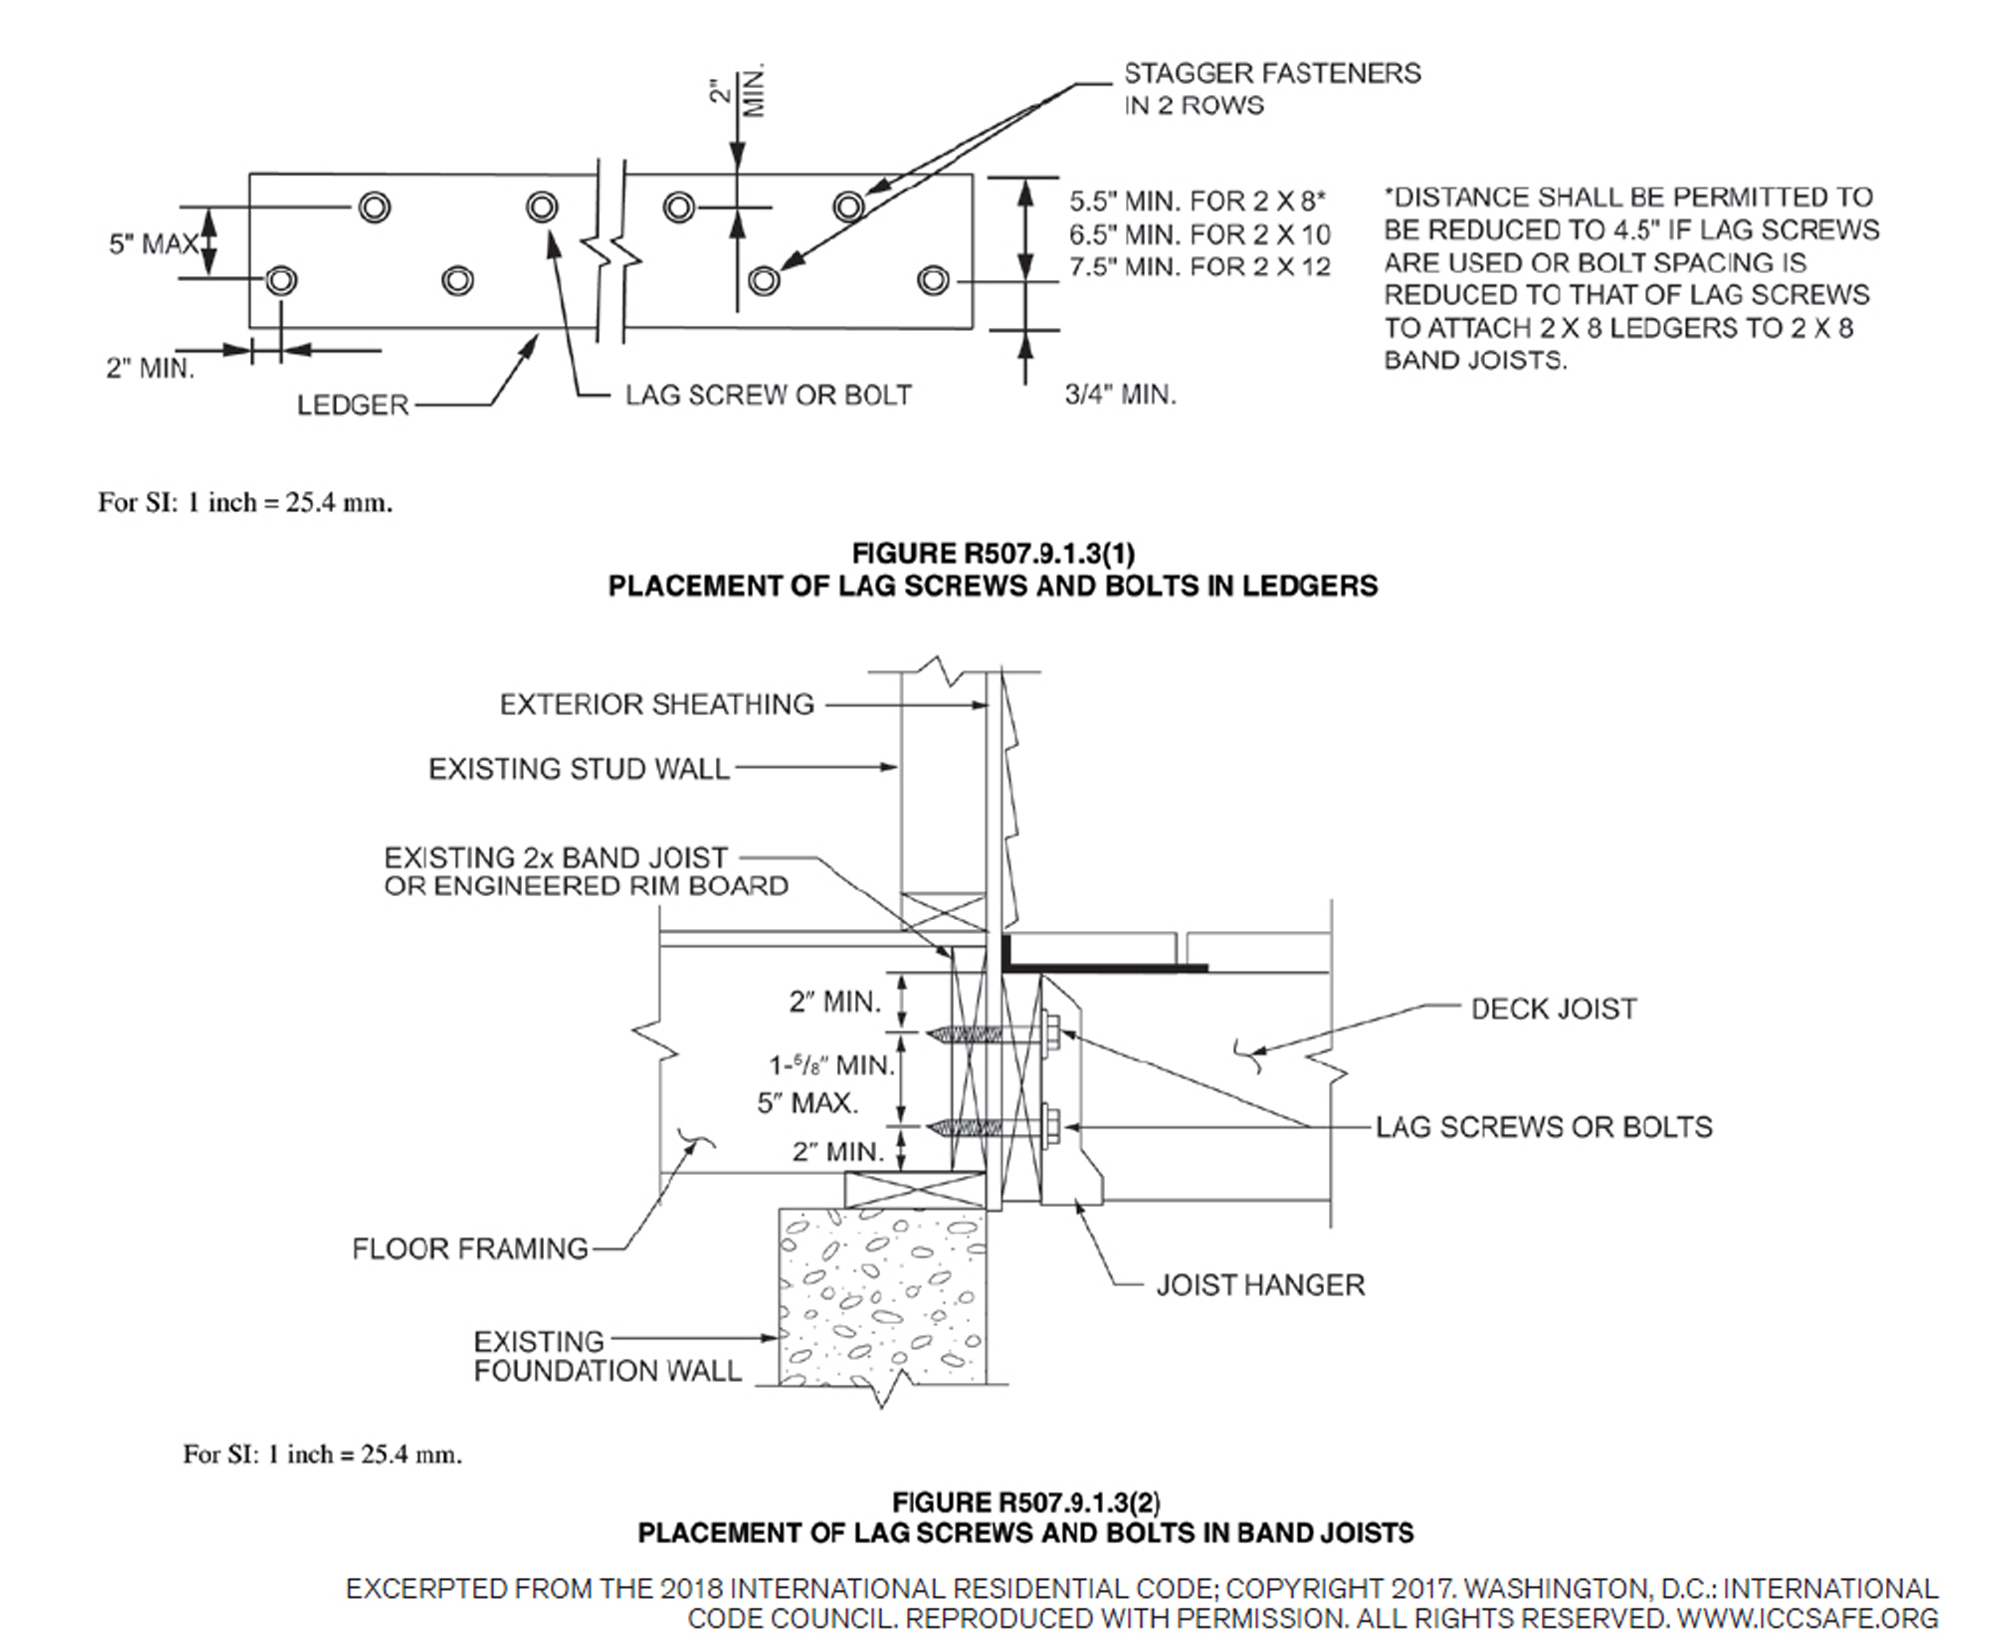
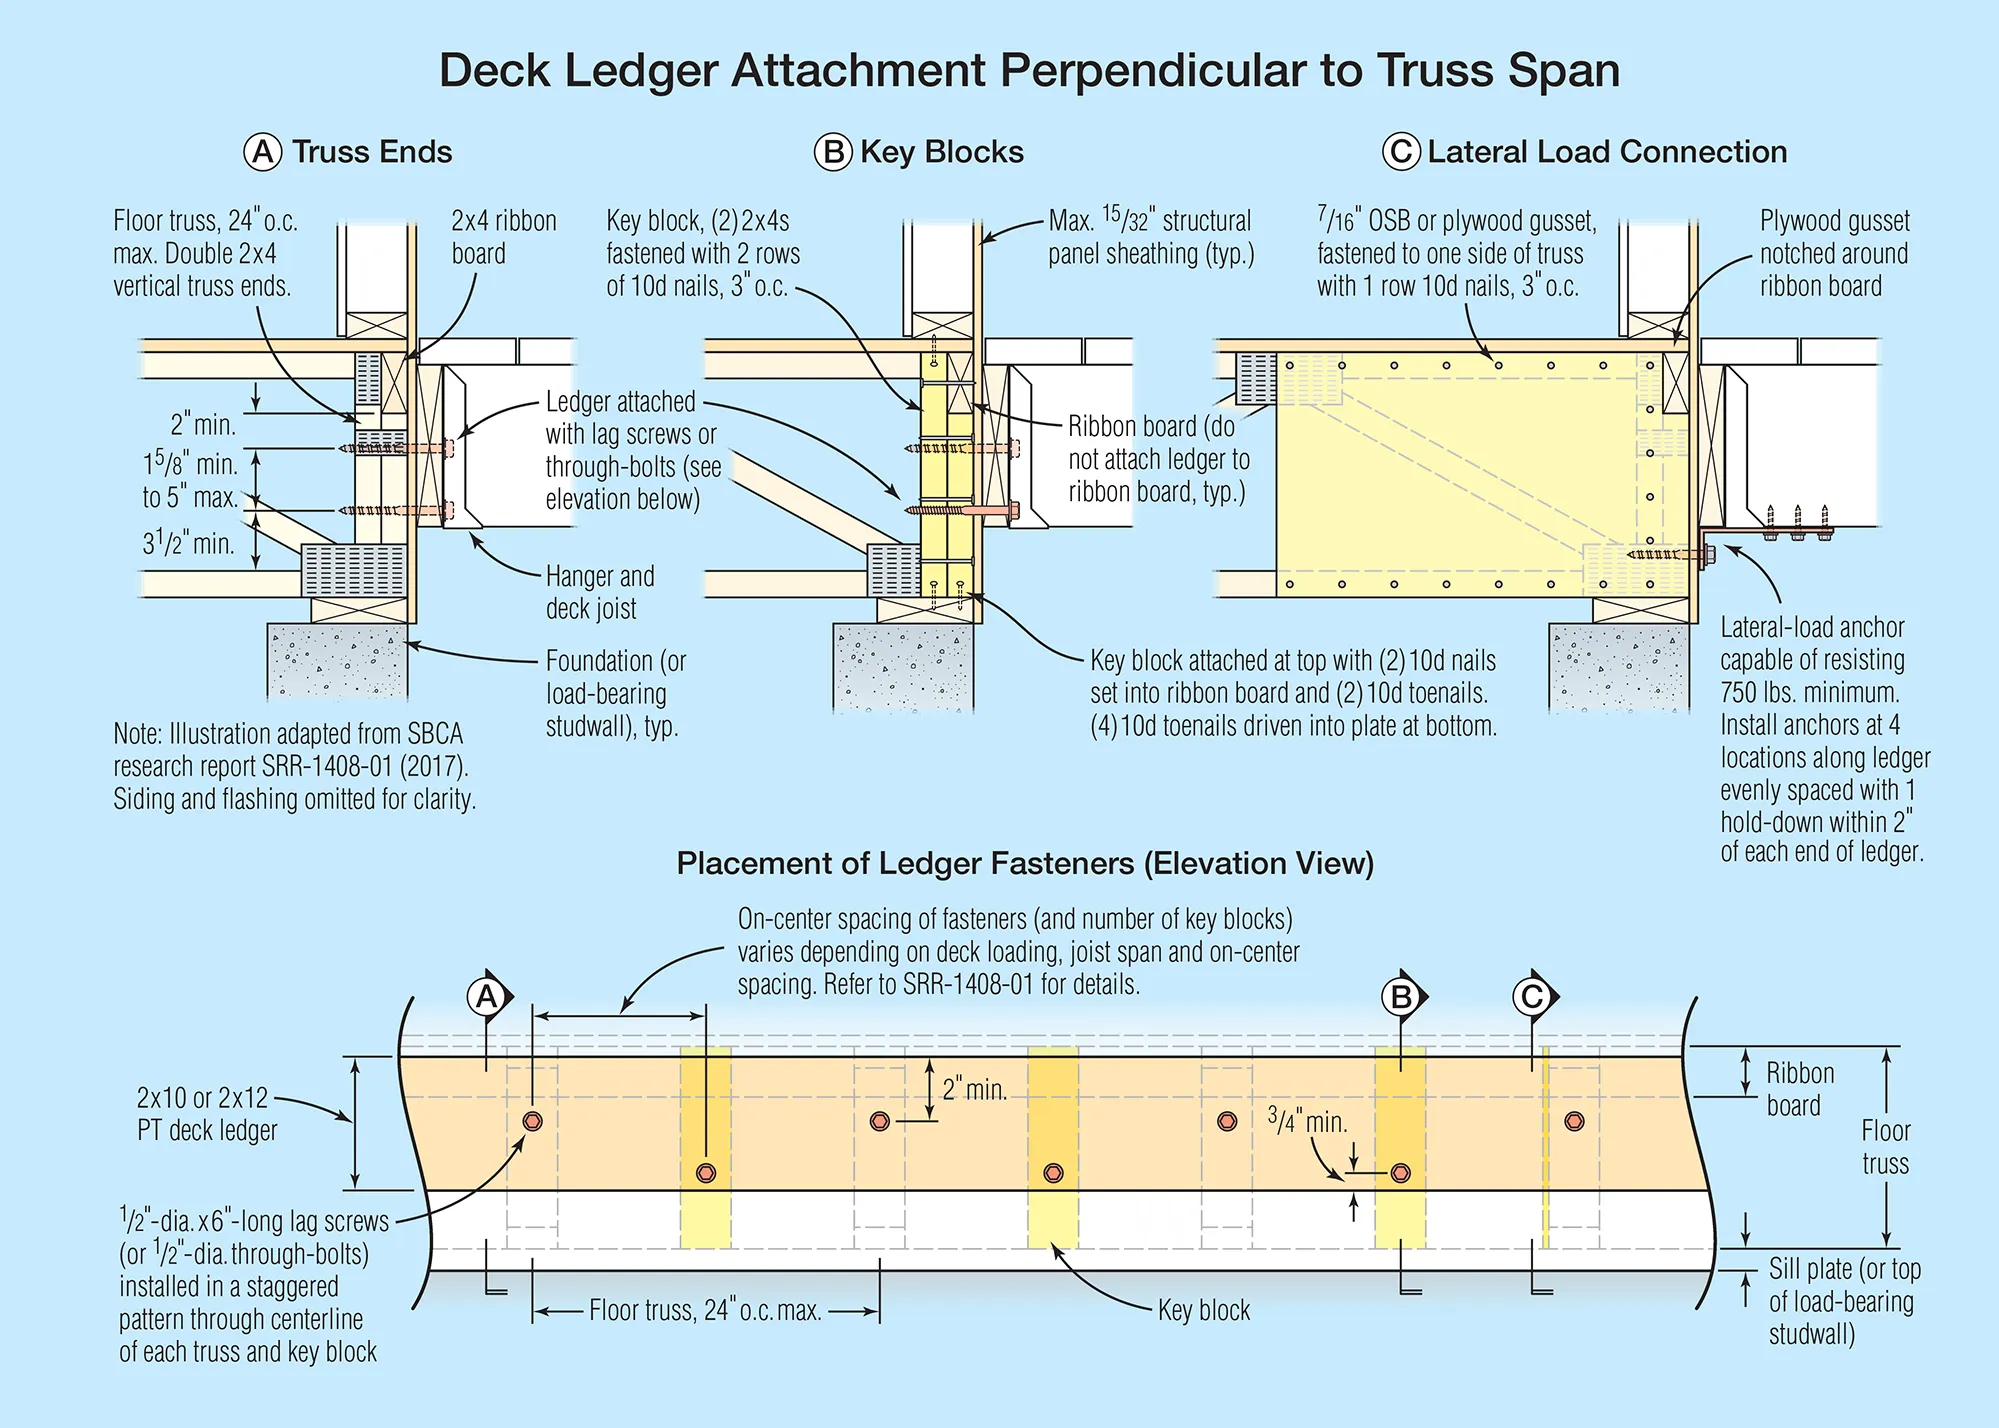
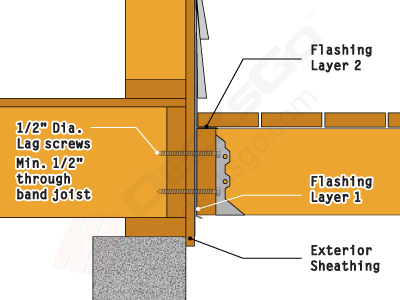
Finding the studs is only one part of a safe ledger installation. The fastener type, diameter, length, spacing, edge distance, and placement must match the approved connection design and the wall structure.
For wood-framed decks, follow the current applicable building code and the instructions for the specific structural screws, bolts, or connectors. Do not substitute a random fastener because it looks similar.
A ledger also needs proper flashing and separation from water paths. The exact details depend on the wall and deck design, so follow the applicable code and the product or engineering instructions.
- ✦ Use approved fasteners
Choose fasteners that are listed or specified for the ledger connection and use them as directed.
- ✦ Follow the connection layout
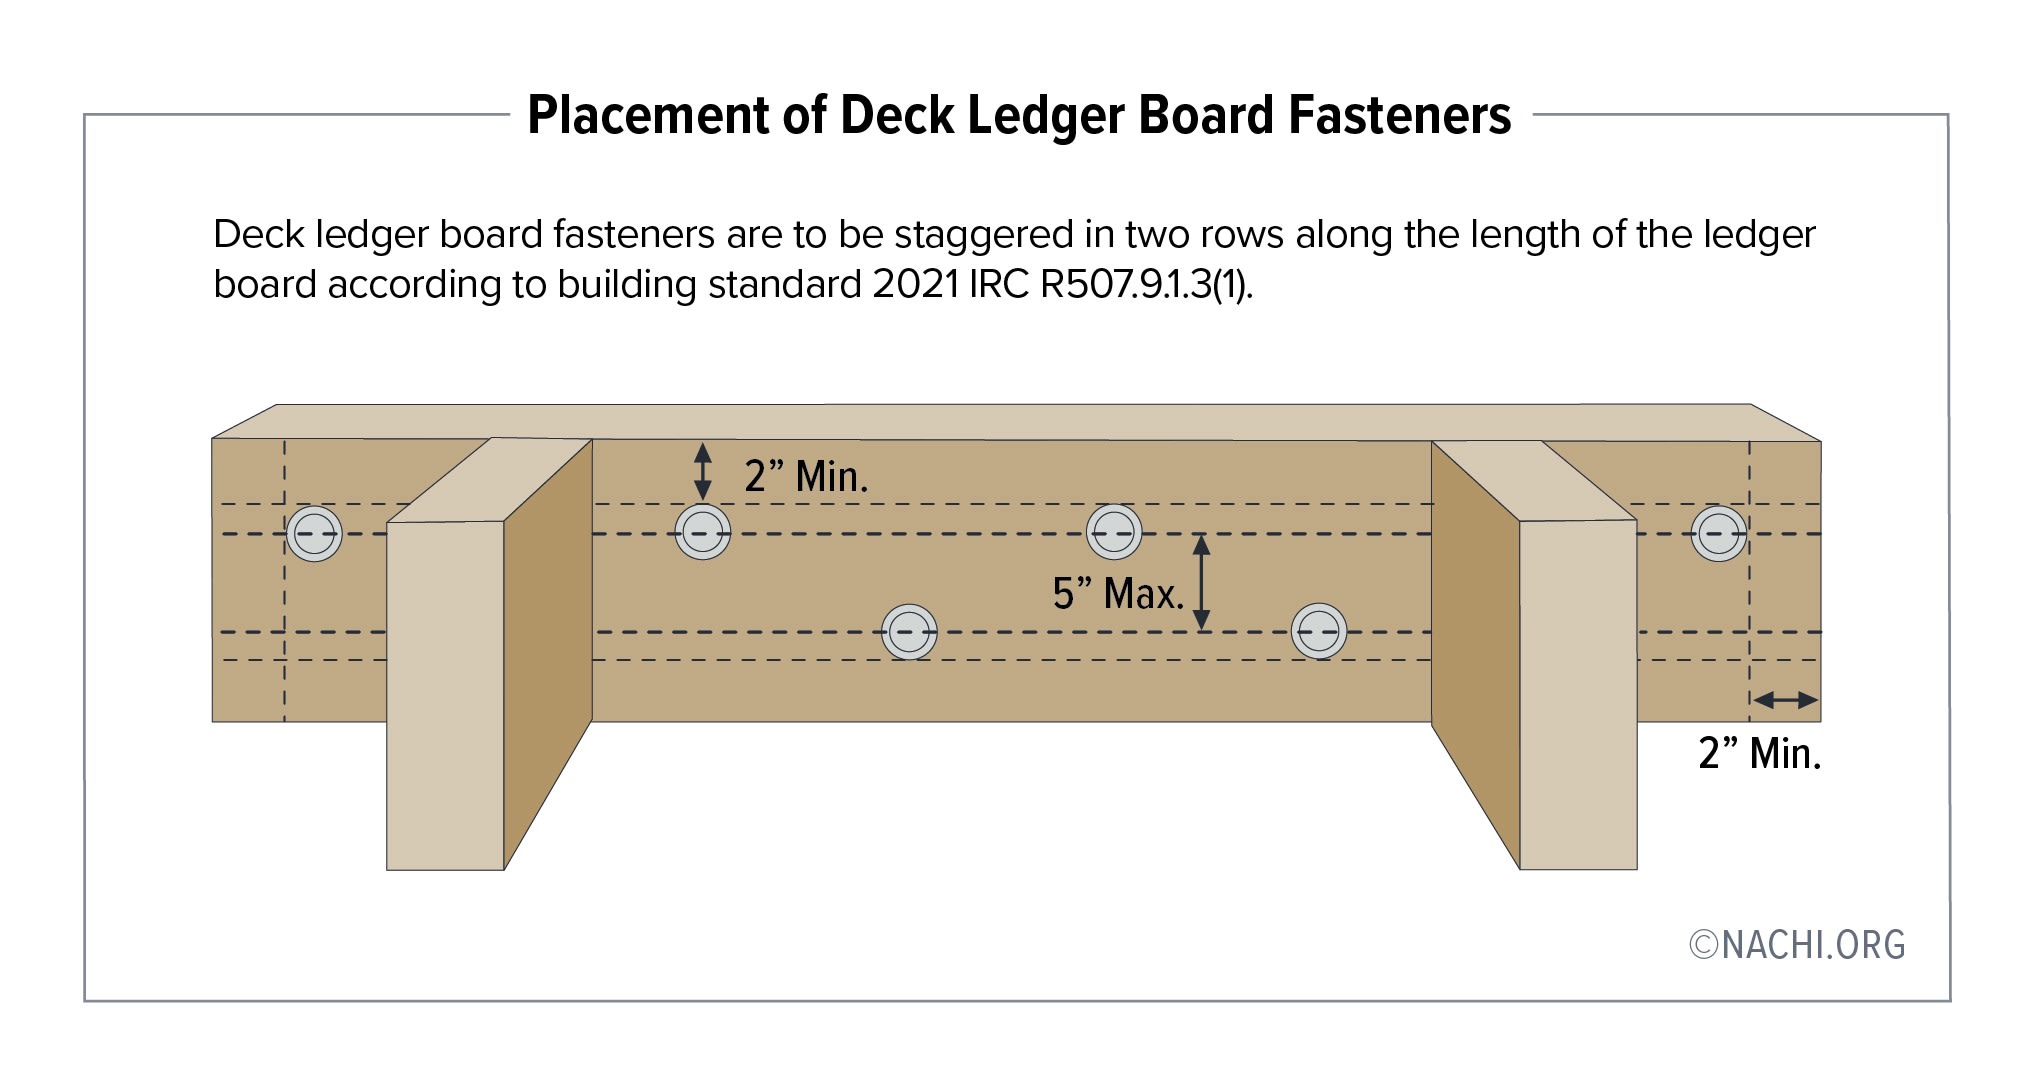
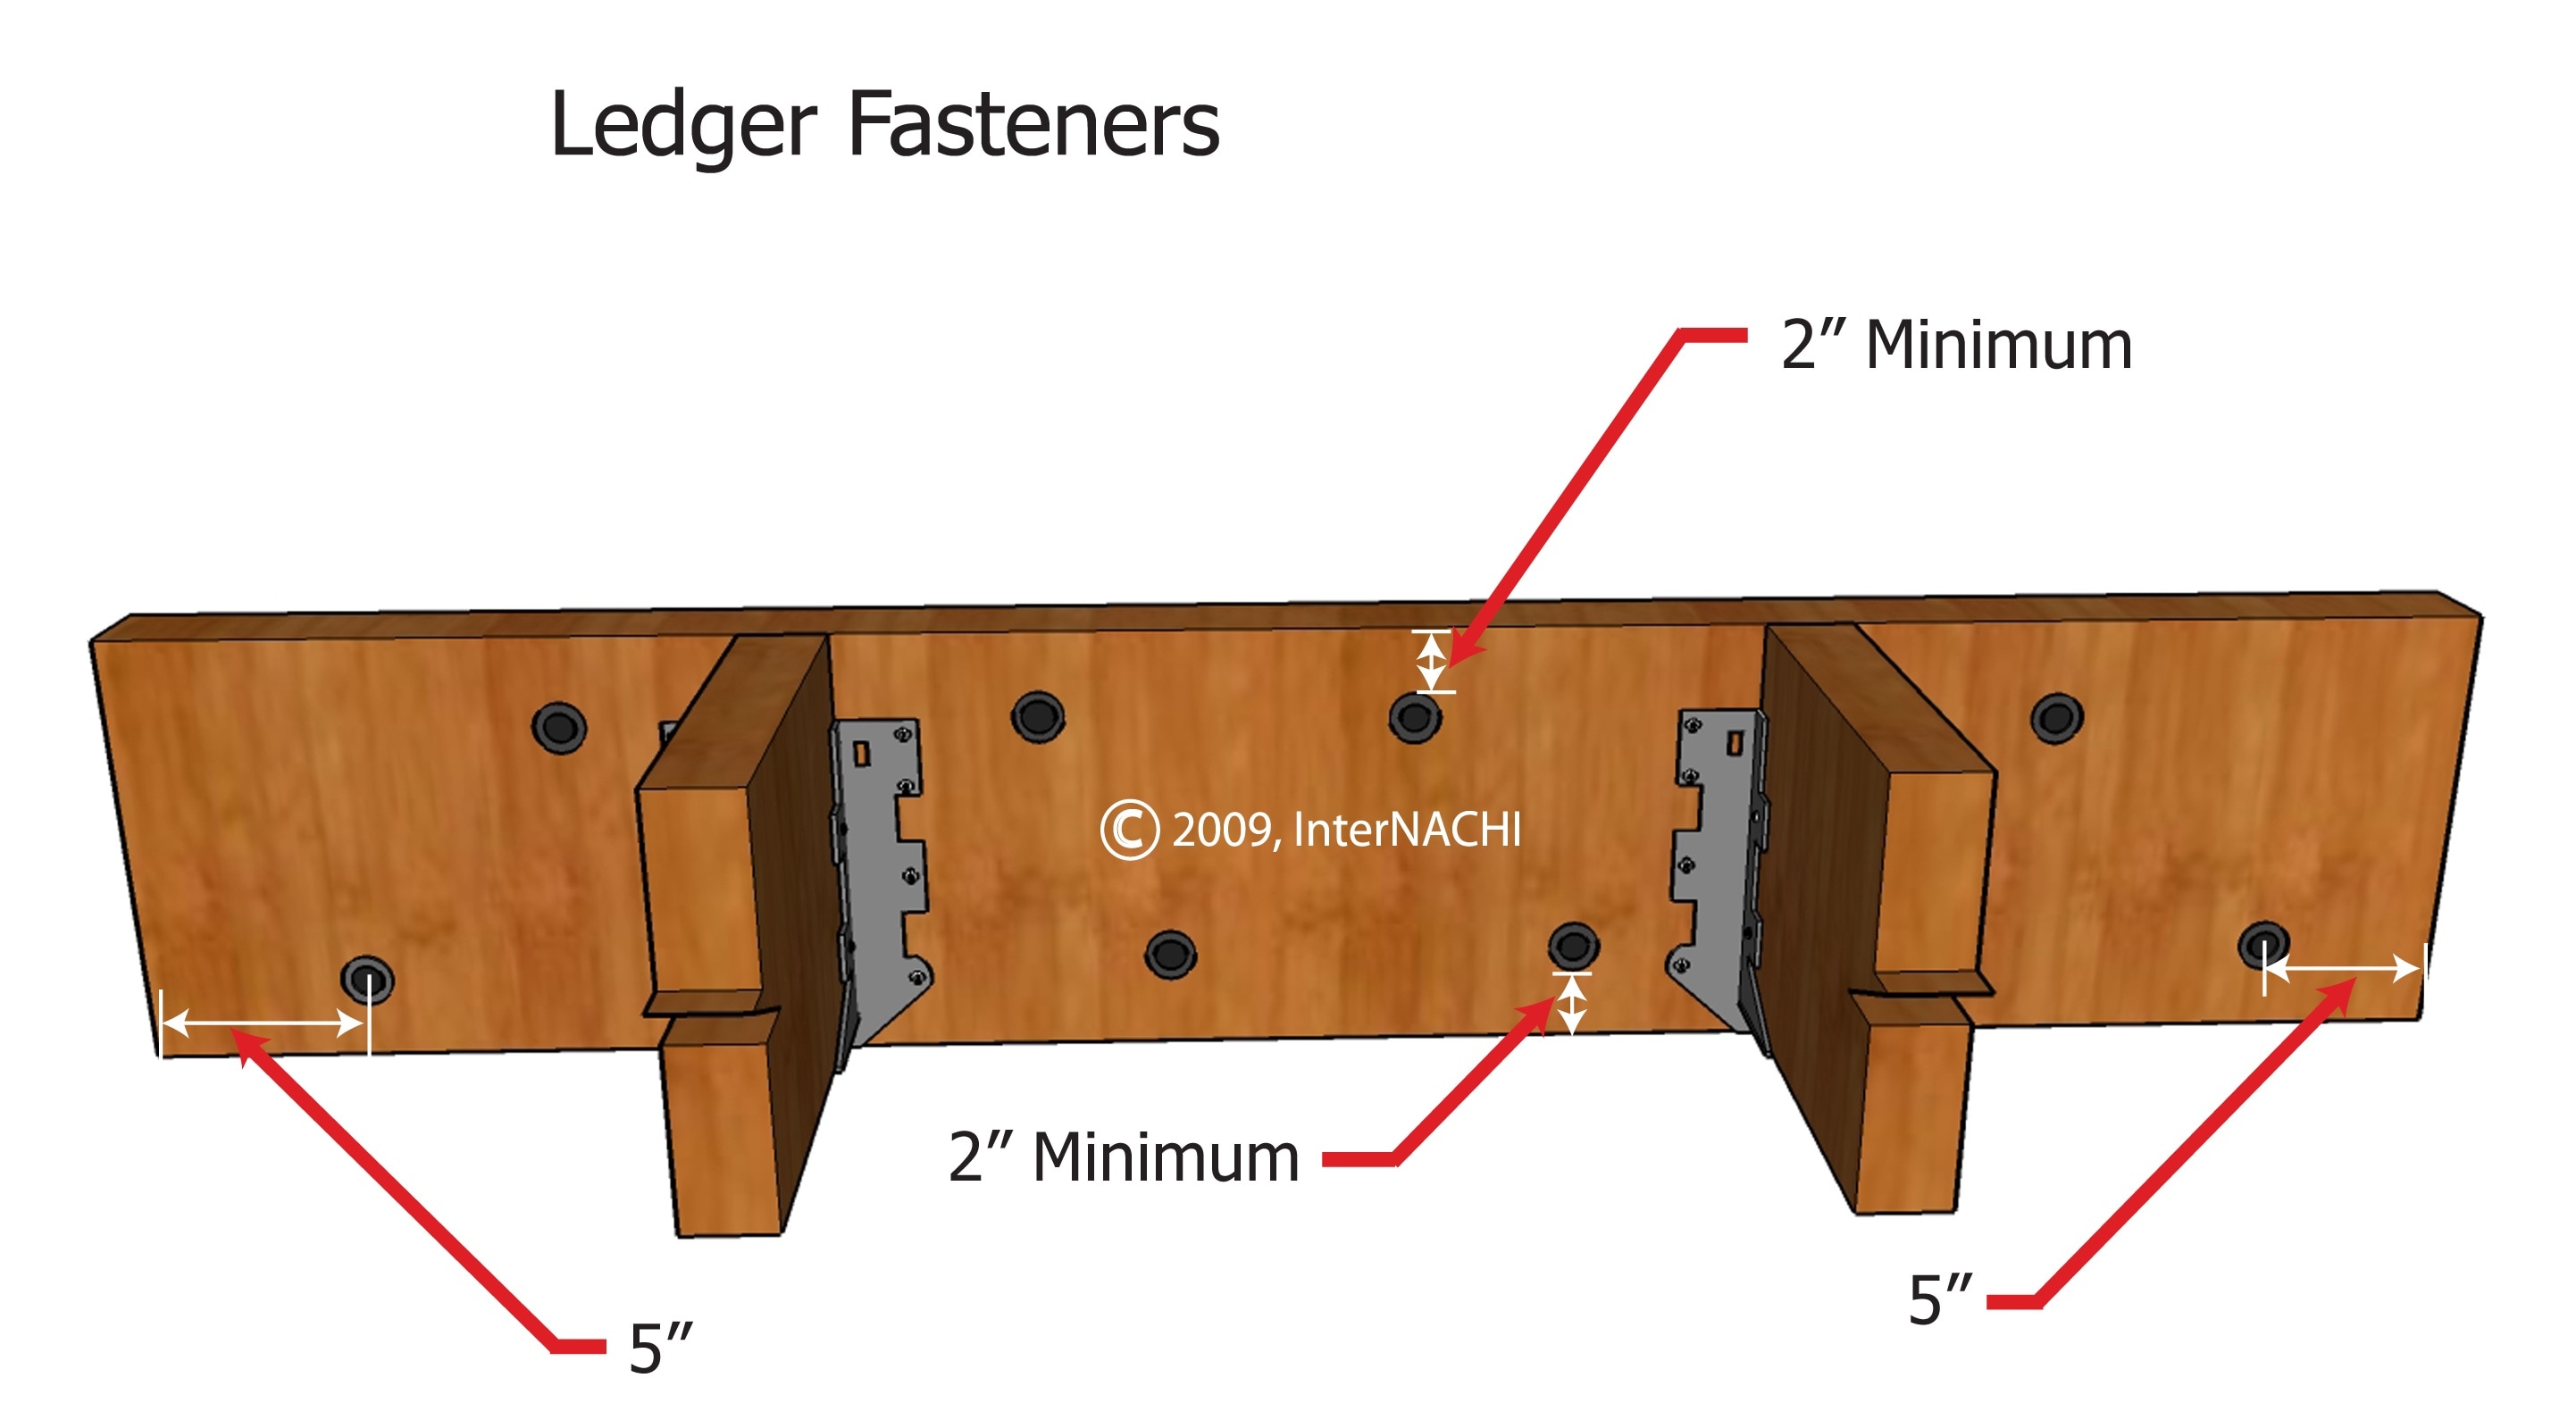
Place fasteners according to the required pattern rather than putting them wherever a stud happens to be convenient.
- ✦ Protect against water
Use the required flashing and water-management details for the wall system.
- ✦ Check local rules
Deck requirements can vary by location and project. Confirm the current requirements with the local building department or qualified professional.
- ✦ Know when to call a pro
Get professional help when the wall structure is unclear, the home uses unusual construction, or the ledger connection cannot be confidently verified.
When You Should Not Guess
If you cannot confirm the framing, do not use the ledger as a place to test your luck. A deck connection carries structural loads, and mistakes can be difficult to see after the deck is finished.
A qualified deck professional, contractor, engineer, or building official can help when the wall has unusual framing, masonry construction, complicated openings, or hidden conditions.
- ✦ Unclear framing
Stop if you cannot tell where the structural framing begins or how deep it is.
- ✦ Unexpected materials
Stop if a test location reveals metal, masonry, a cavity, or another material you did not expect.
- ✦ Complex wall systems
Get project-specific advice for unusual walls, multi-layer finishes, or conditions that do not match standard wood framing.
A Practical Workflow for How to Find Studs for Ledger Board Installation
For a typical wood-framed wall, the process can be kept simple. First identify the wall type. Then locate likely framing, confirm the stud centers, mark the ledger line, and compare the planned fastener locations with the required connection pattern.
Take photos and measurements before covering the work. Clear records can help during inspections and can also help you understand where the framing and fasteners sit later.
Most importantly, treat uncertainty as a reason to pause. The goal of how to find studs for ledger board work is not just to find wood behind the wall. It is to identify a safe, code-compliant structural connection.
- ✦ Identify
Determine the wall construction and likely framing system.
- ✦ Scan
Use a stud finder and other safe clues to locate likely studs.
- ✦ Confirm
Verify critical locations before drilling or fastening.
- ✦ Lay out
Transfer the confirmed framing marks to the ledger and planned connection.
- ✦ Protect
Include the required flashing, water control, fasteners, and other connection details.
- ✦ Inspect
Check the completed work against the applicable plans, product instructions, and local requirements.