How to Put a Socket on an Impact Wrench: A Simple Step-by-Step Guide
learning how to put a socket on an impact wrench is simple once you know what to check. The main points are the drive size, socket type, and retaining system. A proper fit keeps the socket secure while the tool delivers high torque.
For most home garages and U.S. auto repair jobs, the process takes only a few seconds. The key is to use an impact-rated socket, not a standard chrome hand-tool socket. The socket should fit the square drive with little side-to-side play.
Before you start, turn the impact wrench off and remove its battery or disconnect its air supply. This small step prevents an accidental trigger pull while you change the socket.
What You Need Before Putting a Socket on an Impact Wrench
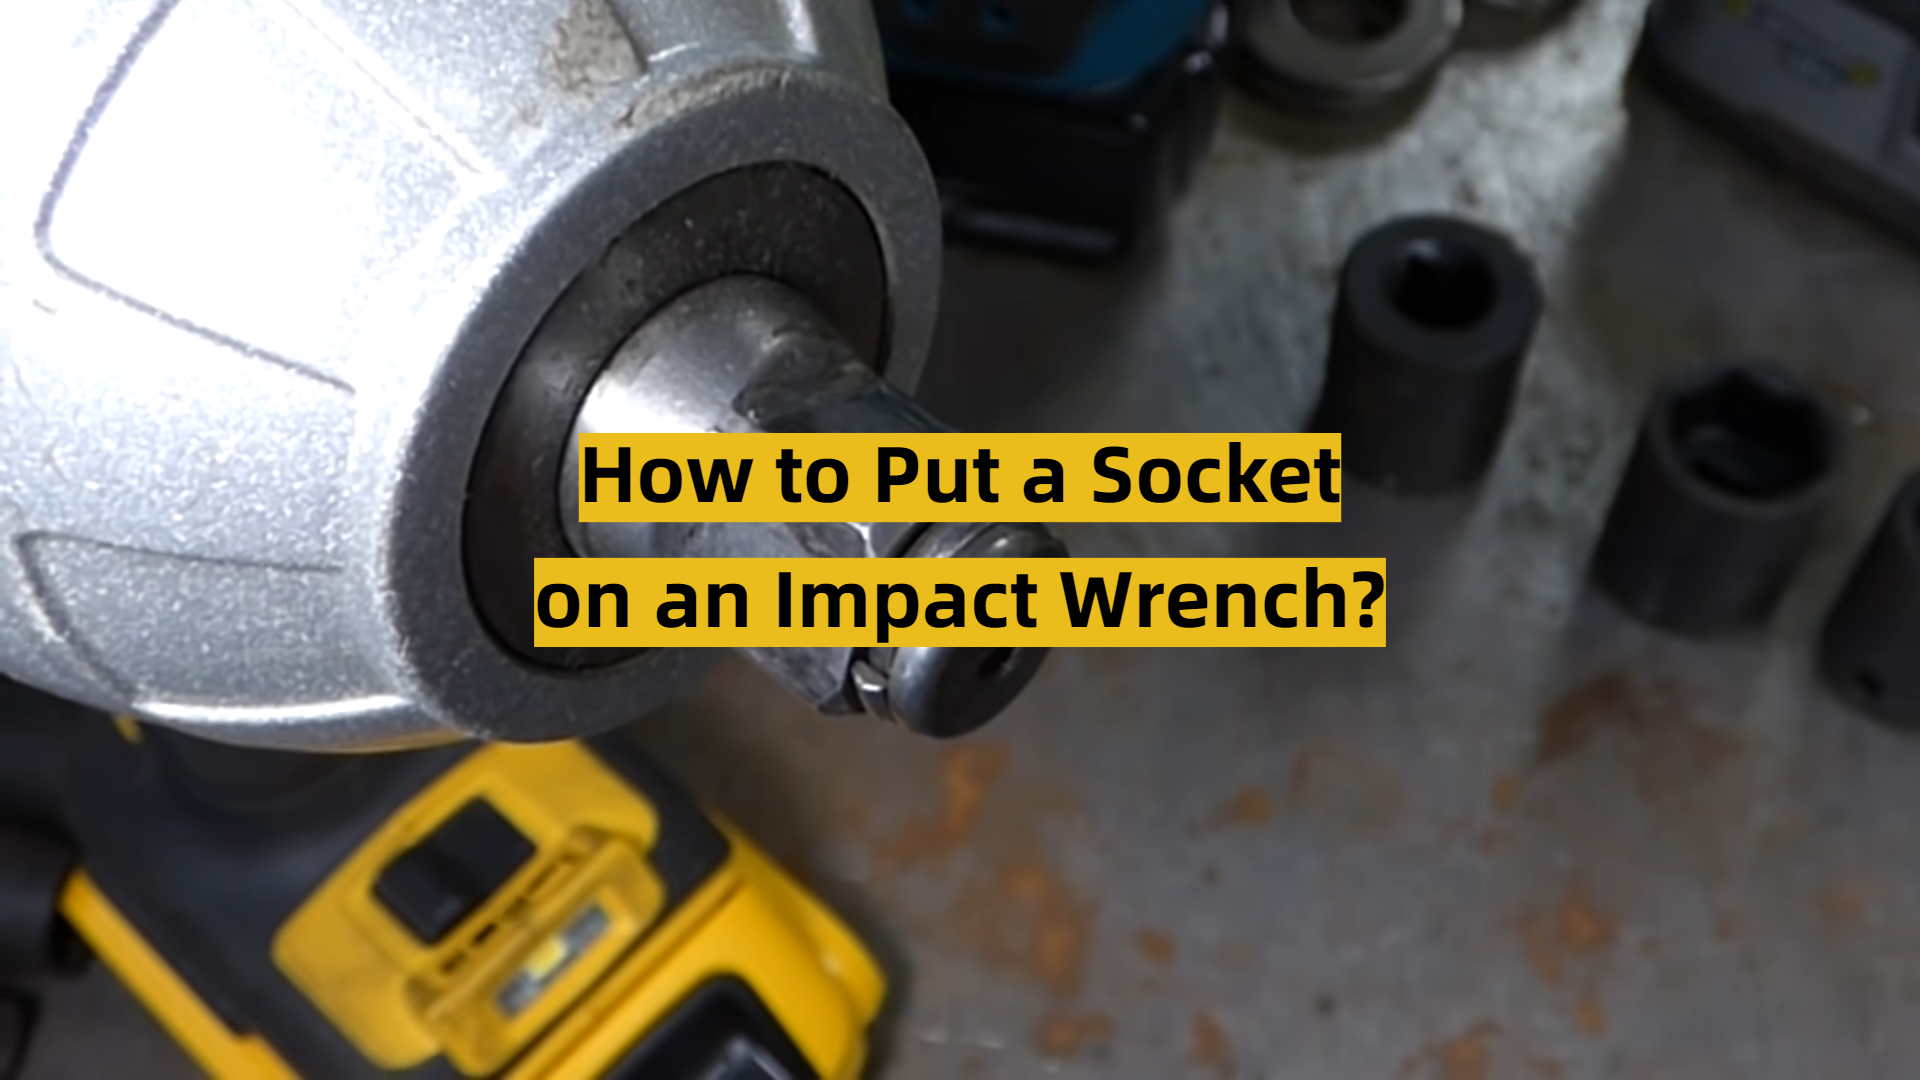
Before learning how to put a socket on an impact wrench, gather the right parts. You need the impact wrench, an impact-rated socket, and the fastener you plan to work on. If the wrench uses an air line, make sure the air supply is off before fitting the socket.
Check the drive size first. Common impact wrench drive sizes include 1/4 inch, 3/8 inch, 1/2 inch, and 3/4 inch. The socket drive must match the square drive on the wrench.
The socket size must also match the fastener. For example, a 1/2-inch drive socket does not mean the socket opening is 1/2 inch. The first measurement describes the drive, while the second describes the size of the nut or bolt head.
- ✦ Impact-rated socket
Use a socket made for impact tools. These sockets can handle repeated shock loads better than most standard chrome sockets.
- ✦ Matching drive size
Make sure the socket drive matches the square drive on the impact wrench.
- ✦ Correct socket size
Choose a socket that fits the fastener closely. A loose fit can damage the fastener and reduce control.
- ✦ Clean connection points
Remove dirt and heavy rust from the square drive and socket opening so they can seat properly.
Why You Should Use Impact Sockets
Impact sockets are built to handle the rapid force created by an impact wrench. They are often made from tougher materials and have a design suited to repeated impact loads. Standard chrome sockets can be more brittle under this type of use.
For routine jobs such as removing lug nuts, suspension bolts, and other stubborn fasteners, an impact-rated socket is the safer tool choice. Always follow the socket and wrench maker’s instructions for proper use.
- ✦ Better shock resistance
Impact sockets are designed for repeated hammering from powered impact tools.
- ✦ Safer tool pairing
Using a socket made for impact work reduces the risk of using a socket outside its intended application.
How to Put a Socket on an Impact Wrench Step by Step
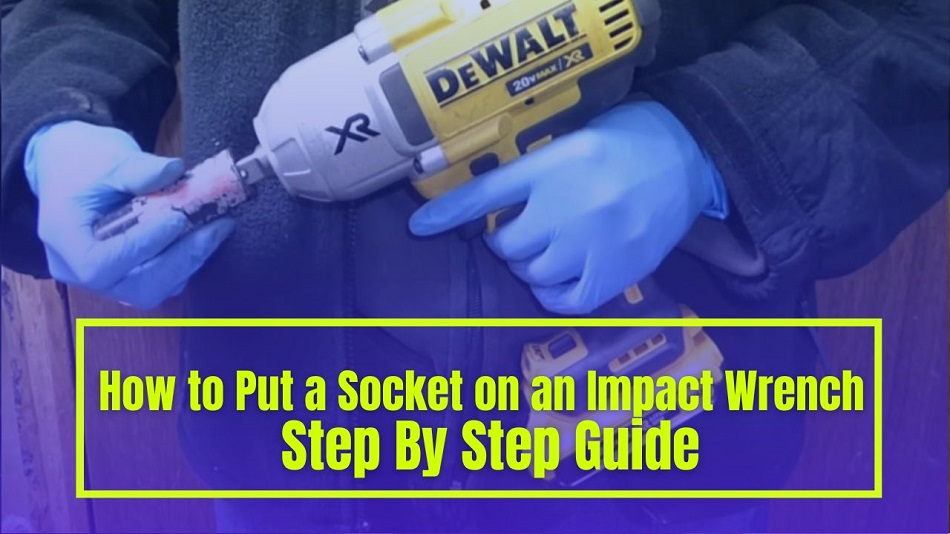
The basic answer to how to put a socket on an impact wrench is easy: line up the socket with the square drive and push it on. Some impact wrenches use a friction ring, while others use a pin and O-ring or another retaining system. The exact feel can vary by model.
Start with the tool switched off. For a cordless model, remove the battery if practical. For a pneumatic model, disconnect the air supply before fitting or removing the socket.
Hold the socket square to the wrench drive. Push it straight on with firm pressure. Do not force it at an angle or strike it with another tool unless the manufacturer’s instructions specifically call for that method.
- ✦ Step 1: Turn off the wrench
Remove the battery or disconnect the air supply before changing the socket.
- ✦ Step 2: Check the socket
Confirm that the socket is impact-rated and that its drive size matches the wrench.
- ✦ Step 3: Align the socket
Place the socket opening directly over the square drive.
- ✦ Step 4: Push the socket on
Press the socket straight onto the drive until it seats fully.
- ✦ Step 5: Check the fit
Give the socket a gentle pull to confirm that the retaining system is holding it.
How to Tell if the Socket Is Fully Seated
A properly installed socket should sit squarely against the end of the drive. It should not hang halfway off the square drive. On many tools, you may hear or feel the retaining ring engage.
Do not rely only on the sound of a click. Look at the connection and make sure the socket is fully pushed on. A quick visual check can prevent the socket from falling off during use.
- ✦ Look at the gap
The socket should sit fully against the tool’s drive area with no obvious gap caused by incomplete seating.
- ✦ Check retention
Pull the socket gently by hand. It should stay attached while still allowing removal through the tool’s normal release method.
How Different Impact Wrench Socket Retainers Work
Not every impact wrench holds a socket in the same way. The most common systems use a friction ring, a pin and O-ring, or a quick-change mechanism. Knowing which system your tool has makes socket changes much easier.
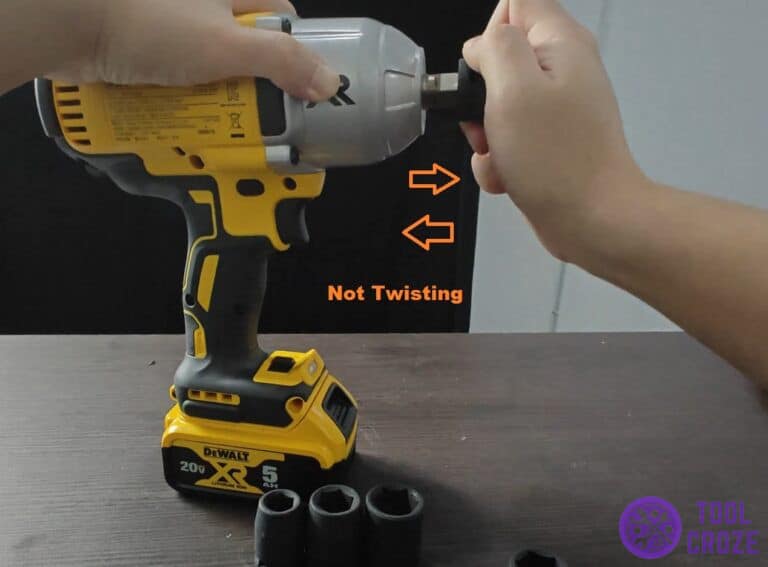
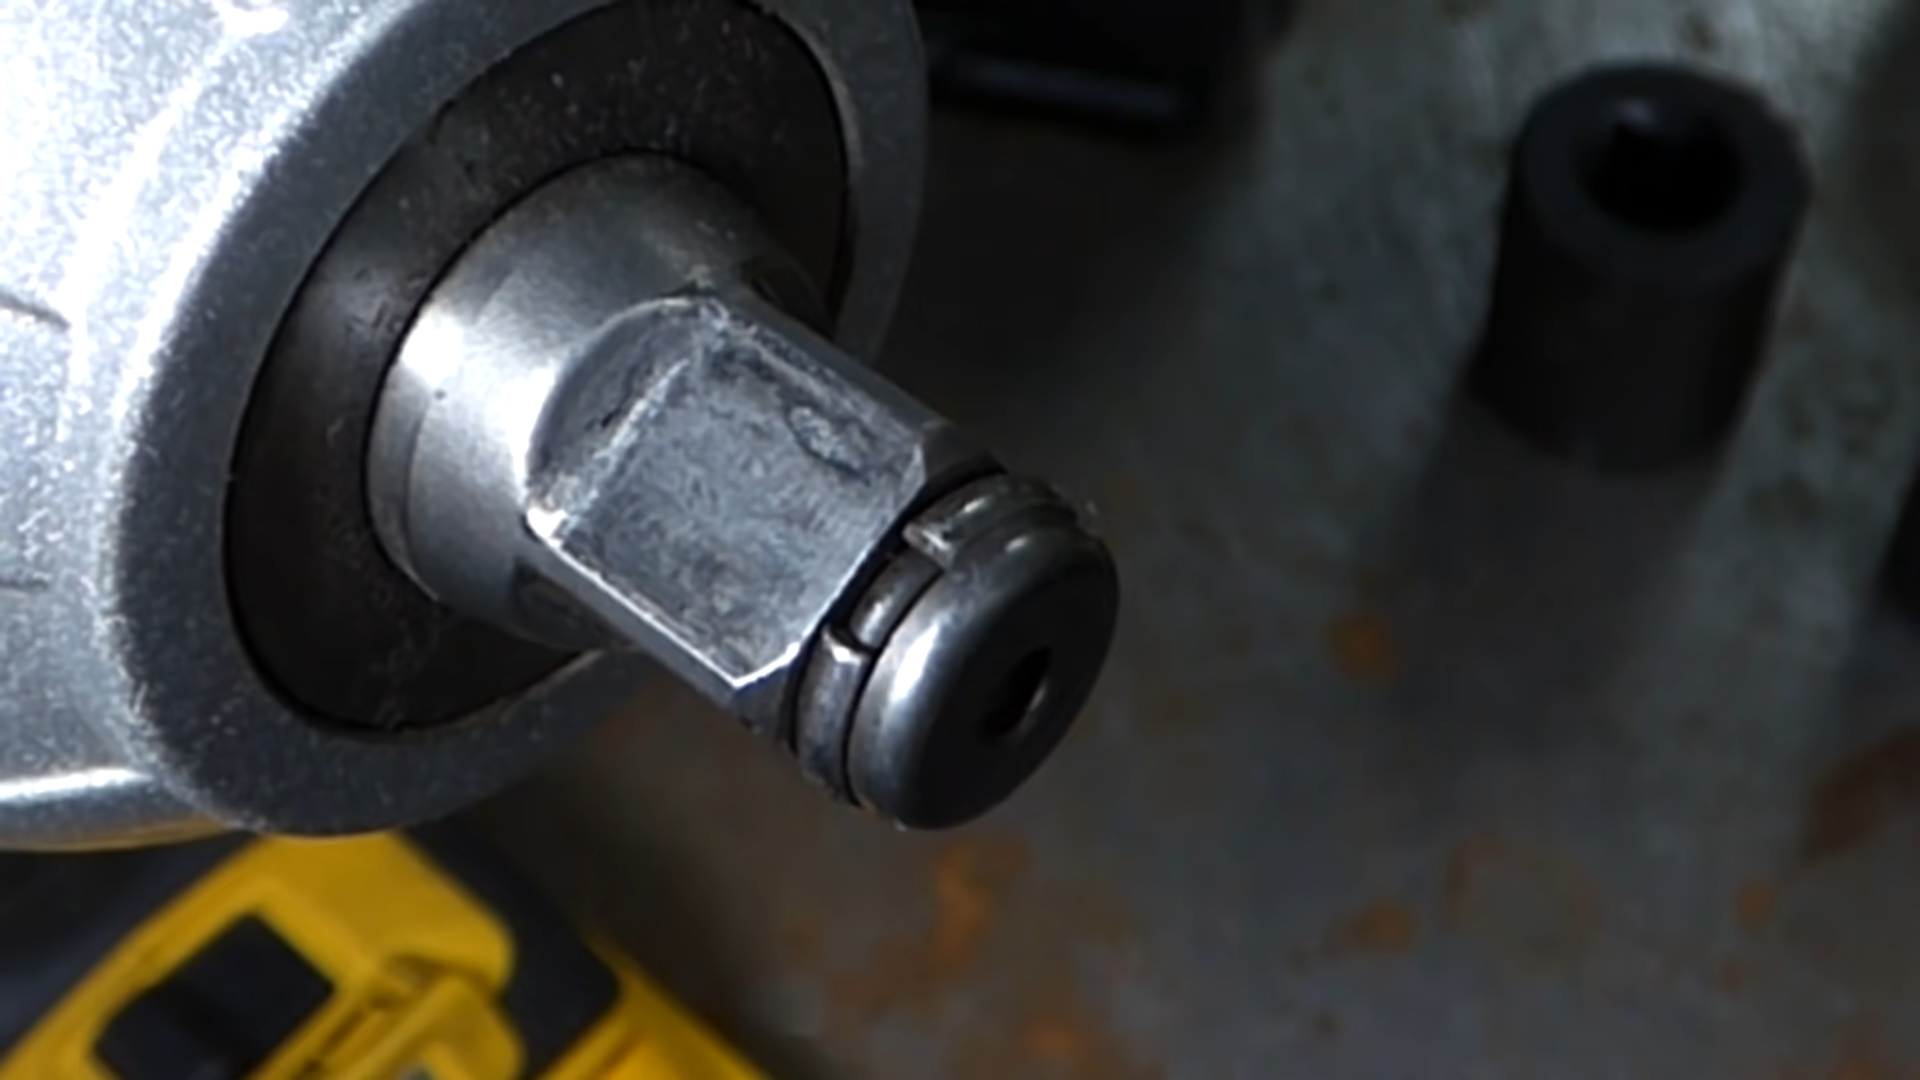
A friction ring uses a retaining ring around the square drive. The socket slides over the ring and stays in place through friction. This type is common on many automotive impact wrenches.
A pin-style system uses a small hole in the socket and a retaining pin on the drive. An O-ring may also hold the pin in place. These systems can feel tighter when removing the socket, but they provide a secure connection.
- ✦ Friction ring
Push the socket over the retaining ring until it seats. The ring holds the socket by friction.
- ✦ Pin and O-ring
Align the socket hole with the retaining pin and push the socket fully onto the drive.
- ✦ Quick-change drive
Some compact tools use a quick-change system. Follow the tool maker’s instructions instead of forcing a regular socket onto the drive.
Why a Socket Can Feel Hard to Remove
A tight socket does not always mean something is wrong. Friction rings can grip firmly, especially when the tool and socket are new or dirty. A pin-and-O-ring system can also require more hand force than a loose friction fit.
Keep the tool disconnected while removing the socket. Rock the socket gently from side to side while pulling straight off. Avoid using excessive force that could damage the drive, retaining ring, socket, or your hands.
- ✦ Clean the drive
Remove dirt and debris from the square drive and retaining parts.
- ✦ Pull straight
Use a steady pull instead of twisting the socket aggressively.
- ✦ Inspect damaged parts
Replace a damaged socket or worn retaining component rather than forcing the connection.
How to Choose the Right Socket Size for an Impact Wrench
Knowing how to put a socket on an impact wrench is only useful if you choose the right socket first. There are two sizes to check: the wrench drive size and the socket opening size. Both must match the job.
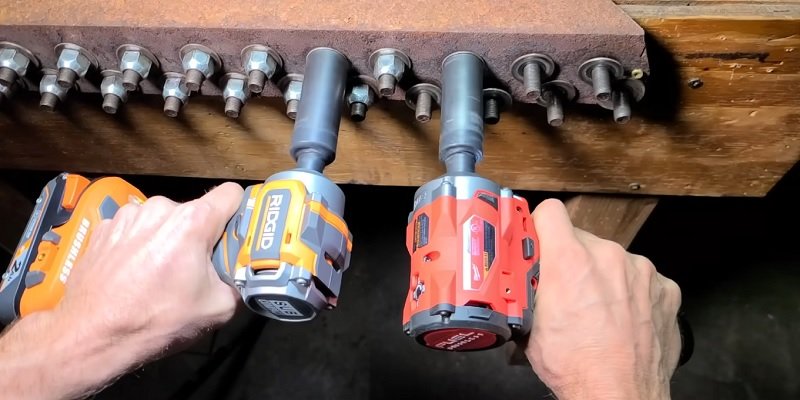
The drive size must match the square drive on the impact wrench. The socket opening must fit the fastener. For example, a 1/2-inch drive impact wrench can accept a 1/2-inch drive socket, but that socket may have a 17 mm, 19 mm, 21 mm, or other opening.
Metric and SAE sockets are not interchangeable in every situation. A close fit matters because impact tools apply high torque. If a socket feels loose on the fastener, stop and select the correct size.
- ✦ Check the drive
Match the socket drive to the impact wrench drive, such as 3/8 inch or 1/2 inch.
- ✦ Check the fastener
Match the socket opening to the nut or bolt head.
- ✦ Choose SAE or metric
Use the correct measurement system for the fastener instead of guessing from appearance.
- ✦ Avoid adapters when possible
Use a direct-fit socket when the correct size is available. If an adapter is needed, make sure it is rated for impact use.
3/8-Inch vs. 1/2-Inch Drive
A 3/8-inch drive is common for smaller fasteners and lighter automotive or mechanical work. A 1/2-inch drive is common for many wheel and automotive jobs because it supports larger sockets and higher torque tools.
The drive size alone does not tell you how much torque the wrench can make. Always check the impact wrench specifications and use sockets and accessories rated for the tool.
- ✦ 3/8-inch drive
Often useful for smaller fasteners and lighter repair work.
- ✦ 1/2-inch drive
Common for automotive work, including many wheel and suspension tasks.
Common Mistakes When Putting a Socket on an Impact Wrench
Most socket problems come from using the wrong size, the wrong socket type, or too much force. The process should not require hammering, prying, or complex tools. If a socket will not fit, stop and check the drive and retaining system.
Another common mistake is using a regular chrome socket on an impact wrench. Chrome sockets are made mainly for hand tools and may not be intended for the repeated impact forces produced by an impact wrench.
It is also easy to confuse the drive size with the socket size. Read the markings on both the wrench and socket before you start. This simple check saves time and helps prevent damage.
- ✦ Using the wrong drive size
A socket that does not match the wrench drive will not seat correctly. Do not force it.
- ✦ Using a standard chrome socket
Use an impact-rated socket for powered impact work.
- ✦ Forcing the socket
If the socket does not slide onto the drive, inspect the parts instead of striking or prying them.
- ✦ Ignoring a loose fit
A socket that moves too much on the fastener may be the wrong size or damaged.
- ✦ Changing sockets with power connected
Disconnect the battery or air supply before installing or removing a socket.
What to Do if the Socket Will Not Go On
First, confirm that the socket drive and wrench drive are the same size. Then inspect the square drive for dirt, burrs, or damage. Check the socket opening for debris or damage as well.
If the sizes match but the socket still will not seat, inspect the retaining ring or pin. A damaged retaining part may block the socket. Do not continue forcing the socket because that can turn a small issue into a damaged tool.
- ✦ Recheck the size
Confirm the drive markings on the wrench and socket.
- ✦ Inspect for damage
Look for bent edges, burrs, cracks, or damaged retaining parts.
- ✦ Clean the connection
Remove dirt, rust, and other debris that may prevent full seating.
How to Remove a Socket From an Impact Wrench
Once you know how to put a socket on an impact wrench, removal is just as important. Always disconnect the tool from its power source before taking the socket off. This prevents accidental operation while your hand is near the drive.
For a friction-ring socket, grip the socket firmly and pull it straight off. A gentle rocking motion can help release a tight fit. For a pin-and-O-ring system, you may need to align the retaining pin or use the release method specified by the wrench manufacturer.
Do not hit the socket with a hammer or use a pry bar unless the manufacturer specifically provides that removal procedure. Excess force can damage the retaining ring, drive, or socket.
- ✦ Disconnect power
Remove the battery or disconnect the air supply before removing the socket.
- ✦ Grip the socket
Hold the socket firmly with your hand and keep your fingers clear of damaged edges.
- ✦ Pull straight
Pull the socket away from the square drive with steady force.
- ✦ Use the proper release
Follow the manufacturer’s method when the tool uses a pin, O-ring, or special retaining system.
When to Replace an Impact Socket
Inspect impact sockets regularly. Replace one if you find cracks, severe rounding, deep damage, or other signs that it may not safely grip the fastener. A damaged socket can slip and make the job harder.
Also check sockets that repeatedly fall off the wrench. The socket may have a worn drive opening, or the wrench’s retaining ring or pin may need attention.
- ✦ Cracks
Do not use a cracked impact socket.
- ✦ Rounded opening
Replace a socket that no longer grips the fastener properly.
- ✦ Severe wear
Heavy wear can affect fit and tool control.
Safety Tips for Using an Impact Wrench With a Socket
An impact wrench can deliver much more force than a hand ratchet. Good socket technique matters, but safe tool use matters just as much. Wear suitable eye protection and follow the instructions for your specific wrench and socket.
Keep hands, loose clothing, cords, and other objects away from the moving parts. If you work under a vehicle, support the vehicle with properly rated jack stands or another suitable support system. Never rely on a jack alone to hold a vehicle while you work underneath it.
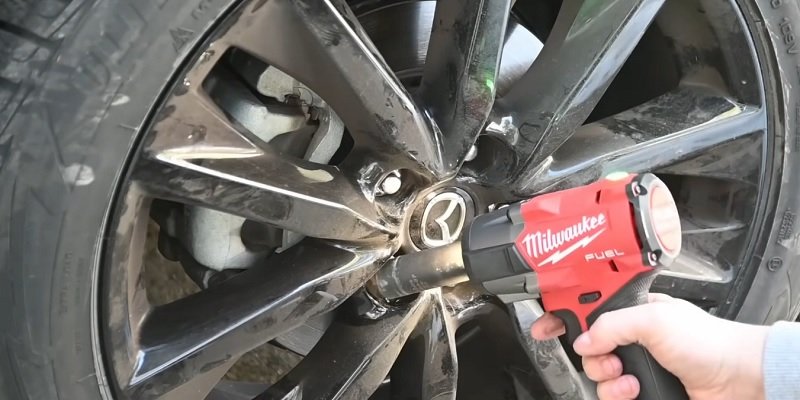
For wheel work, follow the vehicle maker’s torque specifications. An impact wrench is useful for removing lug nuts and for initial installation, but final tightening should follow the vehicle and tool manufacturer’s instructions. A calibrated torque wrench is often used for final torque checks.
- ✦ Wear eye protection
Protect your eyes from dirt, metal particles, and debris that may become airborne during tool use.
- ✦ Use impact-rated accessories
Choose impact sockets and impact-rated adapters or extensions when they are required.
- ✦ Keep the tool disconnected during socket changes
Remove the battery or disconnect the air supply before installing or removing a socket.
- ✦ Use proper vehicle support
When working under a vehicle, use equipment rated and intended to support it safely.
- ✦ Follow torque specifications
Use the correct torque value for the fastener and follow the vehicle or equipment manufacturer’s instructions.
Why Correct Socket Fit Matters
A socket that fits correctly transfers force more evenly to the fastener. A loose or damaged socket can slip, round the fastener, or reduce your control of the tool.
This is especially important on automotive jobs. Lug nuts, suspension fasteners, and other parts can require substantial torque, so use the right socket and follow the vehicle service instructions.
- ✦ Better control
A snug socket fit helps keep the tool aligned with the fastener.
- ✦ Less fastener damage
The correct socket size reduces the chance of rounding the fastener.