How to Find Studs Behind Stucco: 7 Reliable Methods
Learning how to find studs behind stucco takes more care than finding studs behind drywall. Stucco is hard and dense, and the wall may have several layers between the finish and the framing. A normal electronic stud finder may not read the wall well.
The good news is that you have several ways to locate framing. The best approach is to start with clues that do not damage the wall. Then confirm the spot before you drill. This helps protect the stucco and gives your fastener a solid place to hold.
Why Finding Studs Behind Stucco Can Be Difficult
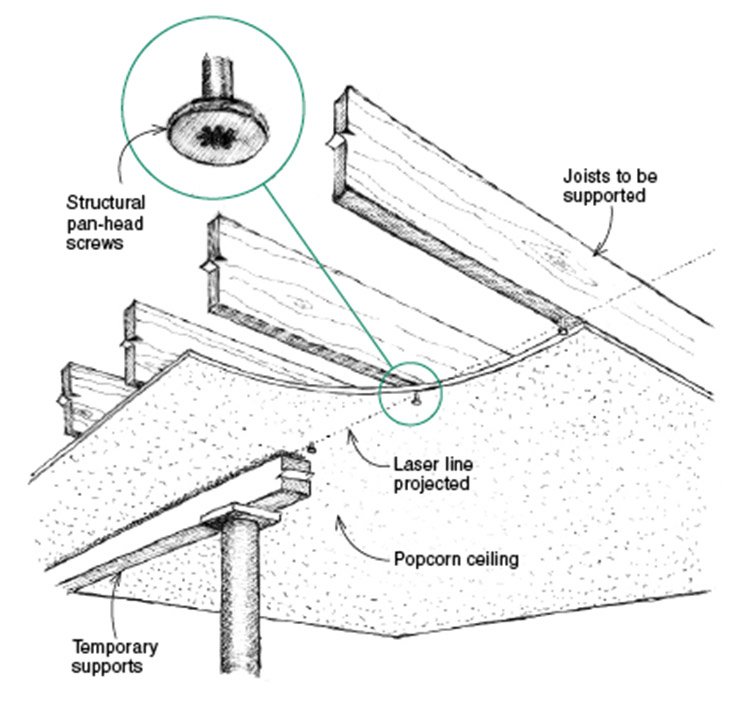
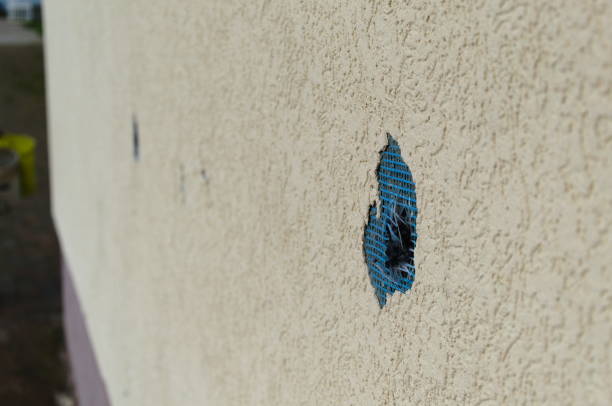
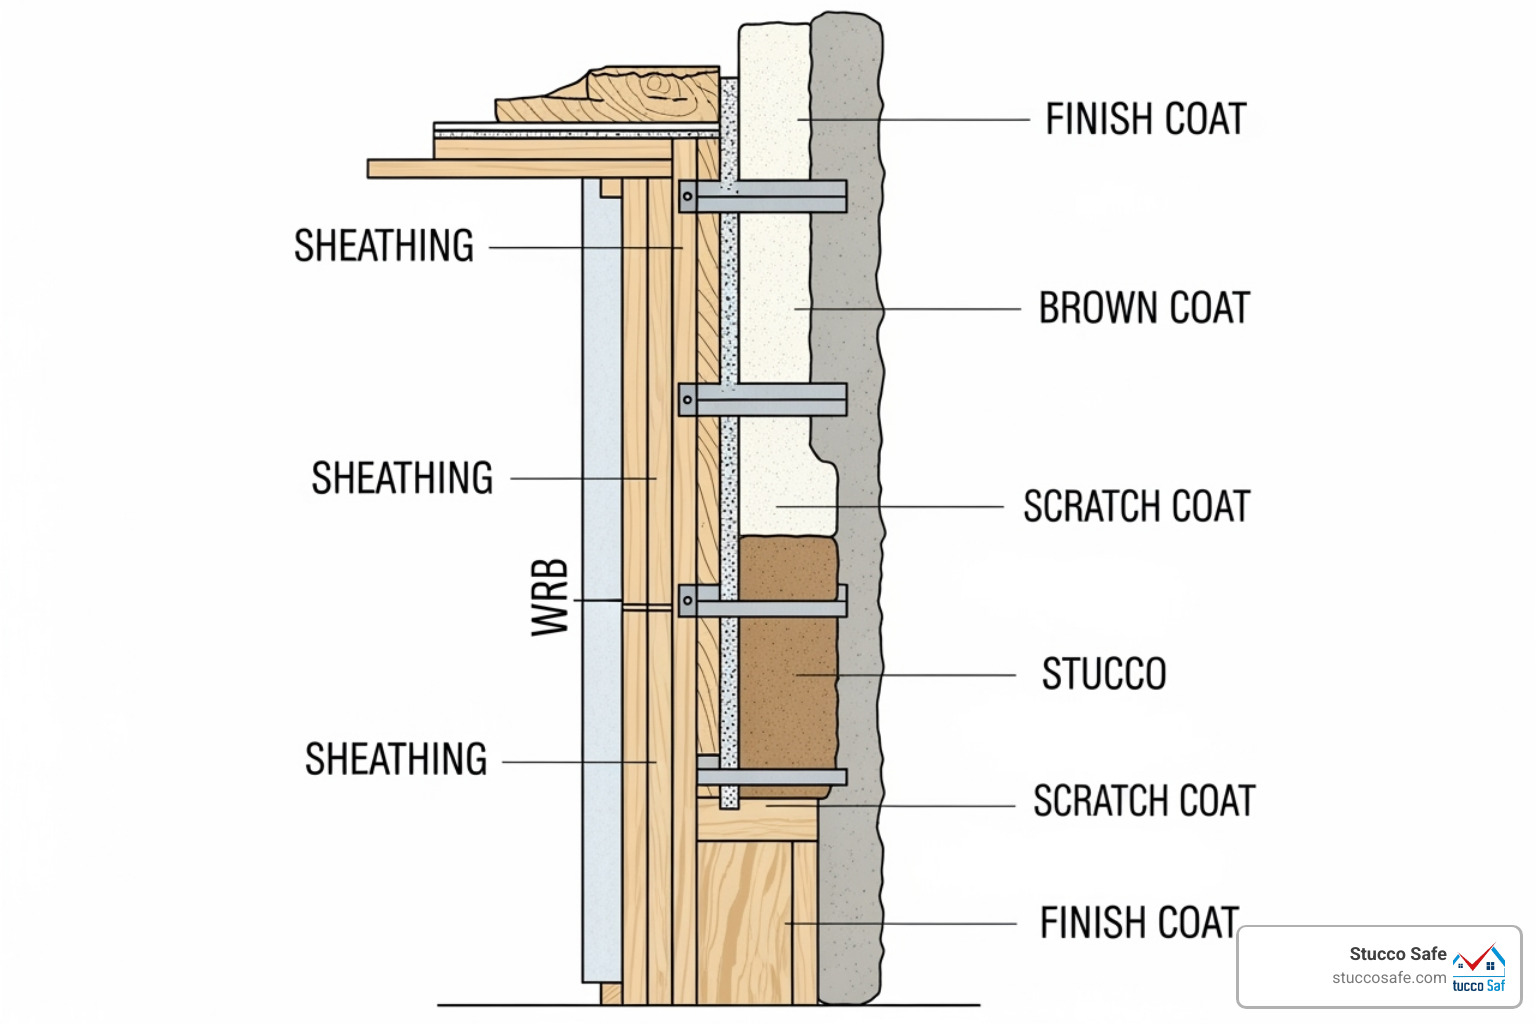
Stucco does not behave like drywall. A typical stucco wall can have a hard cement-based finish, a metal or wire layer, sheathing, and then wood or metal framing. Each layer can affect the tool you use.
Older homes and newer homes can also use different wall systems. Some walls have traditional three-coat stucco. Others use newer stucco systems with foam or other materials. Because of this, one method may work well on one wall and fail on another.
Before learning how to find studs behind stucco, think about what sits behind the surface. You want to locate the actual framing, not just a metal lath layer or another material that can give a false signal.

- ✦ Hard surface
Stucco can make it hard for a normal stud finder to sense the framing below.
- ✦ Metal lath
Metal mesh can trigger magnets and electronic tools across a wide area, which can make the exact stud location less clear.
- ✦ Multiple wall layers
Sheathing, house wrap, lath, and stucco can add distance between the outside surface and the framing.
- ✦ Different framing
The wall may use wood studs or metal studs. The correct mounting method depends on which type you have.
What Is Usually Behind Stucco?
Many residential stucco walls have framing covered by structural sheathing and a stucco assembly. Traditional systems may include paper, wire lath, a base coat, and a finish coat. The exact layers vary by home and construction method.
This matters because the stucco itself is not the same thing as the framing. A screw that only grips the stucco may not safely support a shelf, light fixture, hose reel, or other heavy item.
- ✦ Wood framing
Wood studs are common in residential construction and provide a strong place for many fasteners.
- ✦ Metal framing
Some buildings use metal studs. They require different fasteners and may not provide the same holding power as solid wood.
How to Find Studs Behind Stucco With Measurements
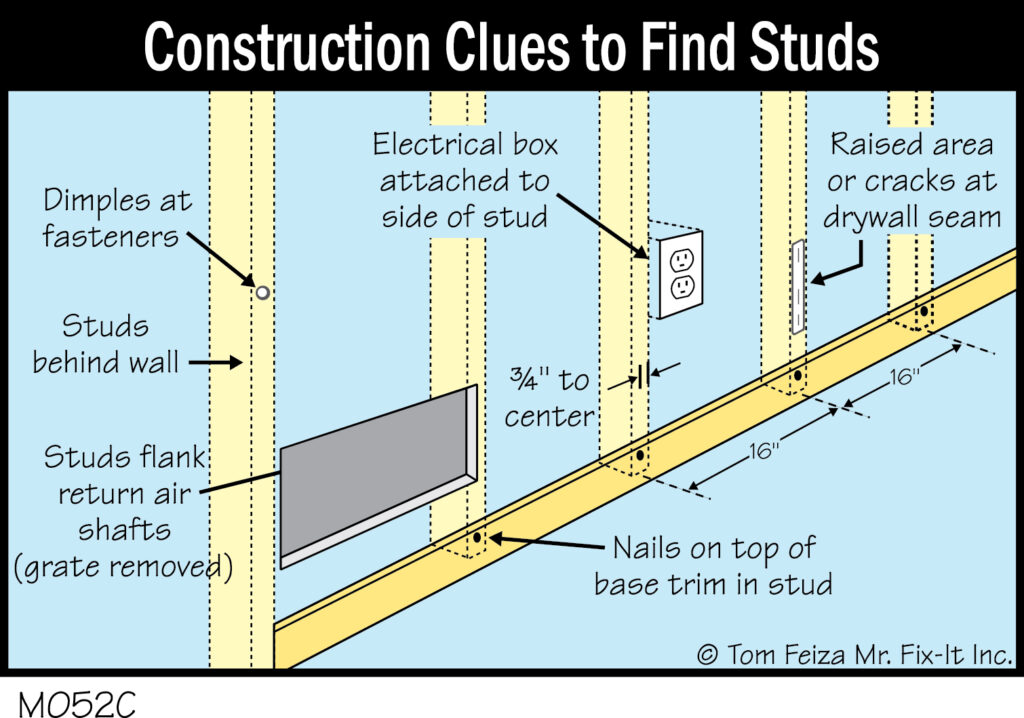
One of the simplest ways to learn how to find studs behind stucco is to use known building dimensions. Studs are often placed at regular centers, commonly 16 inches apart in many wood-framed walls. Some walls use 24-inch spacing, so treat the measurement as a guide rather than proof.
Start at a corner, window, door, or other known framing point. Measure along the wall and mark likely stud positions. A tape measure can get you close, but you should confirm the location before making a permanent hole.
This method works best when you can identify a reliable starting point. Window and door openings often have framing around them, but the exact framing pattern can vary. Do not assume every mark at a fixed interval is a stud.
- ✦ Start at a corner
Measure from a wall corner and mark common stud intervals such as 16 inches or 24 inches on center.
- ✦ Use openings
Doors and windows can provide clues because their openings need structural framing.
- ✦ Check several points
Follow the same line across the wall and look for a consistent pattern before drilling.
- ✦ Confirm the result
Measurements are clues. Use another method to verify the stud before placing a load.
What Does On Center Mean?
On-center spacing means the distance from the center of one stud to the center of the next. For example, 16-inch on-center framing means the stud centers are 16 inches apart.
The actual wall can differ from this pattern near corners, windows, doors, pipes, and other openings. That is why measurements should help you narrow the search instead of serving as the only proof.
- ✦ 16-inch spacing
This is a common framing pattern in many U.S. residential walls.
- ✦ 24-inch spacing
Some walls use wider spacing, so check the building rather than assuming one standard.
Use a Strong Magnet to Search for Metal Fasteners
A strong magnet can help you find the fasteners that attach wall layers to framing. This can be useful when an electronic stud finder struggles with the stucco surface.
Move the magnet slowly across the wall. A strong pull can indicate a screw, nail, or other metal part. If several strong points form a vertical line, that line may point toward a stud.
There is an important catch. Stucco walls may contain metal lath. That metal mesh can attract the magnet across much of the surface. In that case, a magnet may tell you that metal is present but may not tell you where the stud is.
- ✦ Choose a strong magnet
A small rare-earth magnet can give a stronger response than a basic household magnet.
- ✦ Move slowly
Scan the surface in small passes so you can notice changes in magnetic pull.
- ✦ Look for a pattern
Several fastener points in a straight vertical line can provide useful framing evidence.
- ✦ Watch for metal lath
A broad magnetic response may come from the stucco reinforcement rather than the framing.
Can a Magnet Find a Wood Stud?
A magnet cannot directly detect wood. It detects metal. On a wood-framed stucco wall, the useful signal comes from the nails or screws that connect the wall assembly to the framing.
If the fasteners are too deep or the wall contains a large amount of metal, the method may be less useful. Use it with measurements or another confirmation method.
- ✦ Wood stud
The magnet does not detect the wood itself.
- ✦ Metal fastener
The magnet may detect screws or nails linked to the framing.
Try an Electronic Stud Finder Carefully
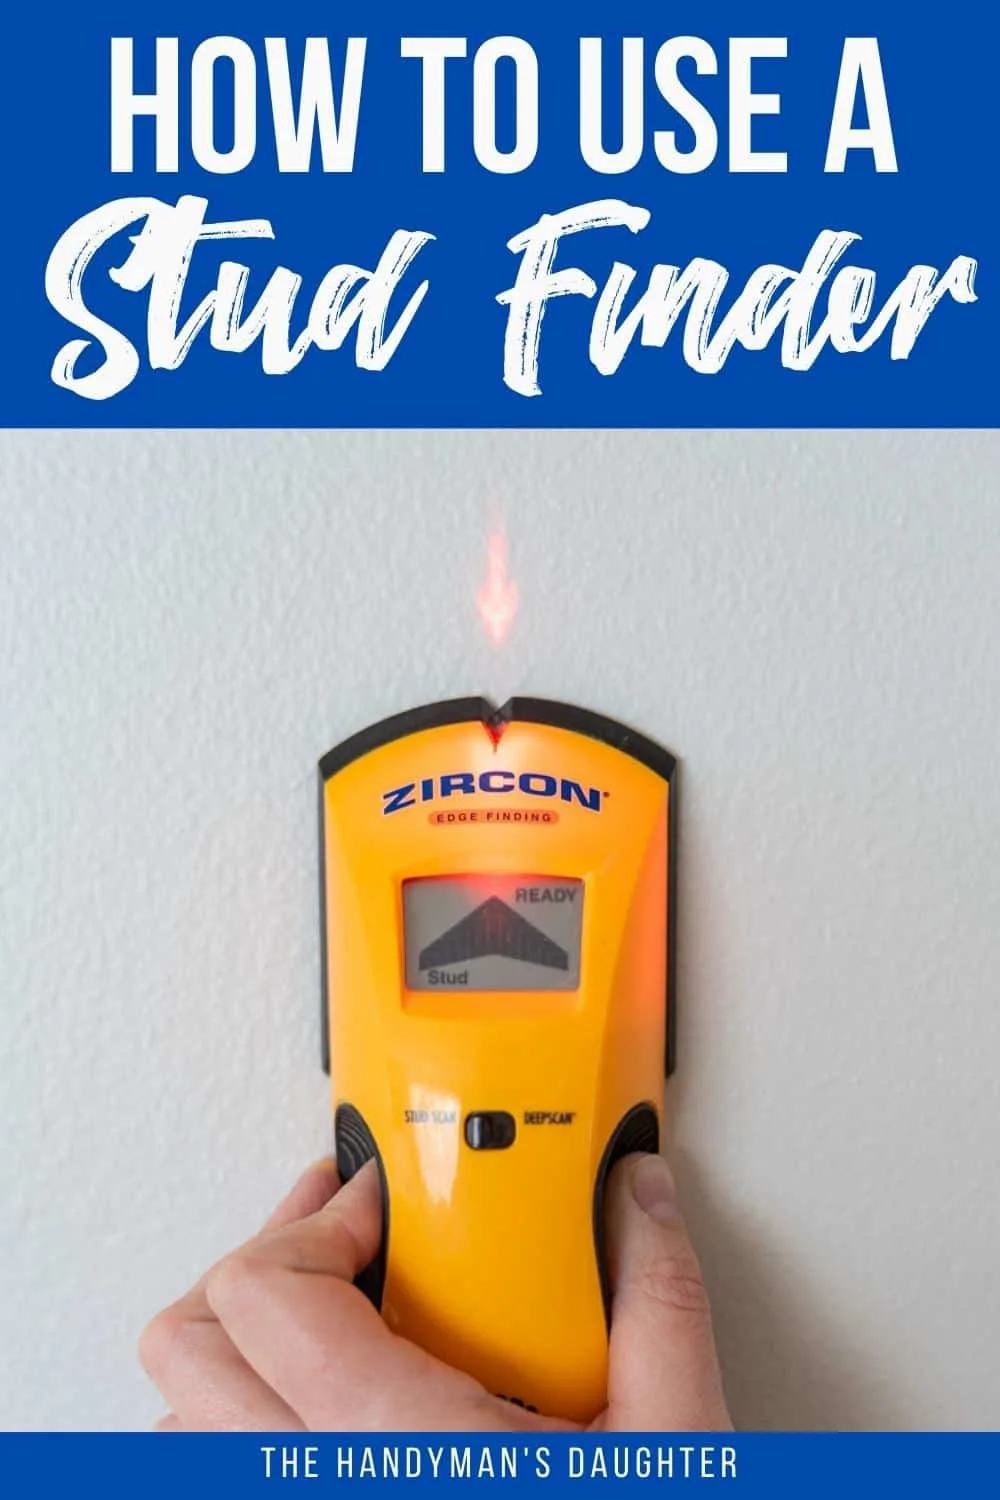
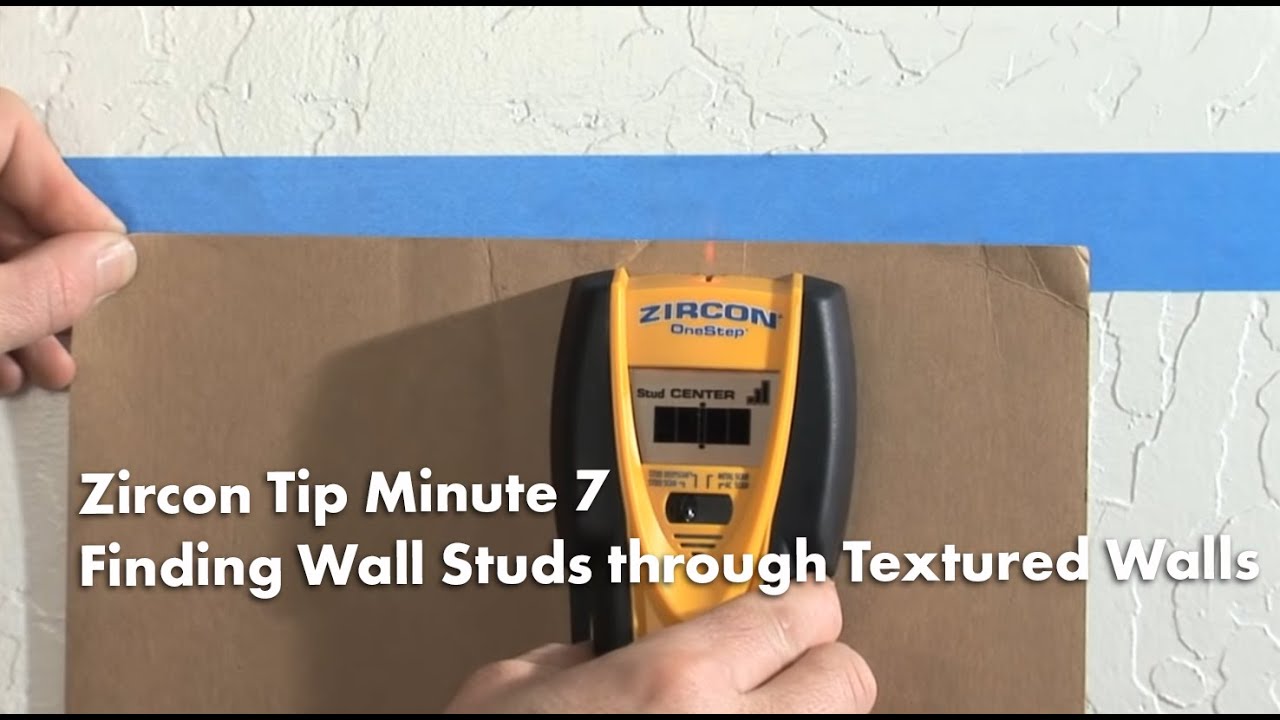
Electronic stud finders can work through some wall finishes, but stucco creates a harder test. The thick, uneven surface can affect the sensor. Metal lath can also create false readings.
If you use a stud finder, read the instructions first. Set it up as the manufacturer recommends, and scan a small area several times. Mark the center of any repeated signal rather than trusting one beep.
Some advanced scanners can detect changes in density or locate objects deeper in a wall. These tools can cost more, but they may help when a basic stud finder gives poor results.
- ✦ Calibrate correctly
Follow the tool instructions because some models need calibration on a clear section of the wall.
- ✦ Scan more than once
A repeated signal is more useful than a single reading.
- ✦ Mark the edges
If the tool gives a wide signal, mark both sides and estimate the center.
- ✦ Use a second method
Confirm the reading with measurements, a magnet, or another suitable method before drilling.
Why a Stud Finder May Fail on Stucco
A basic stud finder looks for changes in wall density or moisture. Thick stucco and metal reinforcement can make those changes hard to read. The tool may also detect the metal lath instead of the stud.
This does not mean electronic tools are useless. It means you should treat their readings as clues. When the signal changes from scan to scan, use another way to locate the framing.
- ✦ Thick finish
The sensor may have trouble reaching the framing through the stucco assembly.
- ✦ Metal interference
Wire or metal lath can produce strong signals that hide the framing pattern.
Confirm the Stud With a Small Test Hole
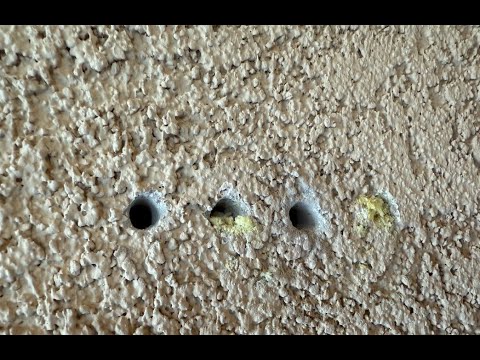
When other methods point to the same location, a small test hole can provide a final check. This is one of the most direct ways to learn whether you have reached framing, but it does create a small repair point in the stucco.
Choose a spot where a small mark will be easy to repair or where the final hardware will cover it. Use a small bit and work slowly. Stop if the drilling feels unusual or if you meet unexpected resistance.
A test hole should not be the first step when the wall may contain electrical wiring, plumbing, or other hidden services. For a deeper hole or a high-risk location, check the wall from the interior side or use a professional inspection method.
- ✦ Use a small bit
A small test hole limits damage and gives you enough information to check the material behind the stucco.
- ✦ Drill slowly
Slow work gives you better control and makes it easier to notice changes in resistance.
- ✦ Do not force the bit
Unexpected resistance may indicate metal, a structural element, or another material that needs further investigation.
- ✦ Repair the opening
Seal and repair any test opening so water cannot enter the wall system.
How to Tell If You Hit a Stud
A drill can feel different when it moves from the stucco layers into wood framing. You may notice a change in resistance and then steady resistance from the wood. The exact feel depends on the wall construction and the bit.
Do not use drill feel alone as proof. A metal plate, lath, sheathing, or another hidden component can also change resistance. Confirm the location before installing a heavy load.
- ✦ Consistent resistance
Wood framing often gives steady resistance after the bit passes through the outer wall layers.
- ✦ Metal resistance
A hard metallic stop may signal a protective plate or other metal component rather than the stud itself.
Use Windows, Doors, and Other Construction Clues
Your home itself can provide useful clues. Window and door openings need framing, and corners usually contain framing members. Exterior trim, vents, and other features can also help you understand how the wall was built.
If you can access the same wall from inside the home, check that side too. Interior drywall often makes stud locations easier to find. You can then transfer the measurement to the exterior with care.
This approach is especially helpful when learning how to find studs behind stucco on an older house. Plans may not be available, and framing may not follow the pattern you expect.

- ✦ Windows
Framing is usually required around a window opening, giving you a useful reference point.
- ✦ Doors
Door openings contain framing that can help establish a measurement line.
- ✦ Corners
Wall corners commonly contain framing members, although the exact layout can vary.
- ✦ Interior wall
If accessible, the interior side may provide an easier way to locate and measure the framing.
Look at the Interior Side When Possible
If the exterior wall has drywall inside, finding the studs from the interior can be much easier. Mark the center of a known stud, then measure toward the area where you plan to mount the exterior item.
Be careful when transferring measurements around corners. Exterior and interior reference points may not line up in the simple way you expect because of wall thickness and framing details.
- ✦ Find an interior stud
Use the easier interior surface to locate a known framing member.
- ✦ Measure carefully
Transfer the position while accounting for corners, wall thickness, and the exact mounting location.
Choose the Right Method for Your Project
The best method depends on what you plan to attach and how much damage you can accept. A small decorative item may need less certainty than a heavy shelf, exterior light, or large wall-mounted fixture.
For a light item, measurements and a careful fastener choice may be enough. For a heavy load, confirm the framing and make sure the fastener reaches the structural member. Stucco alone should not be treated as a substitute for structural framing.
A useful field lesson is to avoid relying on one signal. When measurements, a magnet, and another tool all point to the same location, you have much stronger evidence than you get from a single reading.
- ✦ Light items
Start with measurements and non-damaging clues, then choose hardware suited to the wall system.
- ✦ Medium loads
Confirm the framing location and use a fastener that provides reliable support.
- ✦ Heavy loads
Locate the actual structural framing and follow the hardware manufacturer’s load and installation guidance.
- ✦ Uncertain walls
Consider professional help when the wall construction is unclear or drilling could cause major damage.
How to Find Studs Behind Stucco Without Damaging the Wall
Start with the least invasive options. Measure from a corner or opening, scan with a magnet, and use an electronic tool if it works well on the surface. Only consider a test hole after these methods give you a likely location.
You can reduce damage even further by choosing a mounting location where an existing opening, trim piece, or other feature already gives you access. Always seal any new exterior penetration against water.
- ✦ Step 1
Identify a reliable reference point such as a corner, window, or door.
- ✦ Step 2
Measure likely stud locations based on the visible construction.
- ✦ Step 3
Scan the area with a magnet or compatible stud-finding tool.
- ✦ Step 4
Compare the results and confirm the location before drilling.
What Tools Do You Need?
You do not need a large tool kit for most stud-finding jobs. A tape measure, pencil, strong magnet, and suitable drill bit can cover many basic projects. A quality stud finder can add another useful signal.
For larger projects, you may also need a level, appropriate exterior screws, a drill, and a way to seal the finished penetration. The hardware should match the framing and the weight of the item.
- ✦ Tape measure
Use it to measure from corners, openings, and other framing clues.
- ✦ Strong magnet
Use it to search for metal fasteners when the wall surface allows a useful magnetic signal.
- ✦ Stud finder
Use one that can work through the wall conditions you have, and confirm its readings.
- ✦ Drill and bit
Use the correct bit for the stucco and the material behind it, and work slowly.
Safety Tips Before Drilling Into Stucco
Finding the stud is only part of the job. You also need to think about what may be inside the wall. Electrical wires, plumbing, gas lines, and other services can run through or near framing.
Do not assume that a stud location is safe to drill deeply. Electrical and plumbing systems can cross framing, and protective metal plates may cover areas where services pass. Stop if you encounter unexpected metal or resistance.
Exterior holes also need careful sealing. Water that enters behind stucco can lead to damage that is far more costly than the original mounting project.

- ✦ Check for utilities
Think about nearby outlets, switches, plumbing fixtures, vents, pipes, and other signs of hidden services.
- ✦ Avoid deep drilling
Use only the penetration depth needed for the hardware and wall construction.
- ✦ Stop at metal
Unexpected metal can be a protective plate or another component that should not be drilled through.
- ✦ Seal the penetration
Use a suitable exterior sealant or flashing method so water cannot enter the wall assembly.
- ✦ Get help for complex work
A professional can help when the wall system, framing, or hidden utilities are difficult to identify.
When You Should Not Drill
Do not force a drill through a hard metal obstruction. A metal plate may protect a wire or pipe. Drilling through it can create a serious safety problem.
You should also pause when the wall has signs of water damage, cracks, loose stucco, or other structural concerns. Fixing the wall may need to come before mounting anything to it.
- ✦ Unexpected metal
Stop and investigate instead of trying to push through a metal obstruction.
- ✦ Damaged stucco
Cracks, bulges, loose areas, or water damage can mean the wall needs inspection first.
- ✦ Unknown construction
If you cannot tell what is behind the stucco, use a more suitable inspection method or seek professional help.