How to Find Metal Studs Behind Drywall: 7 Easy Methods That Work
Learning how to find metal studs is useful when you hang a TV, shelf, cabinet, mirror, or wall rack. Metal studs are common in some U.S. homes, apartments, offices, and commercial buildings. They can look much like wood studs once drywall covers them.
The key is to **confirm the stud instead of trusting one signal**. Metal studs can be thin, flexible, and harder to detect than wood. A careful check with two or more methods can help you avoid a bad hole and choose the right fastener.
If you are learning how to find metal studs for a heavy wall mount, take extra care. A metal stud can support some loads, but the drywall, stud gauge, framing layout, and mounting hardware all matter. For very heavy loads, check the mount instructions and consider adding proper blocking or getting professional help.

What Are Metal Studs?
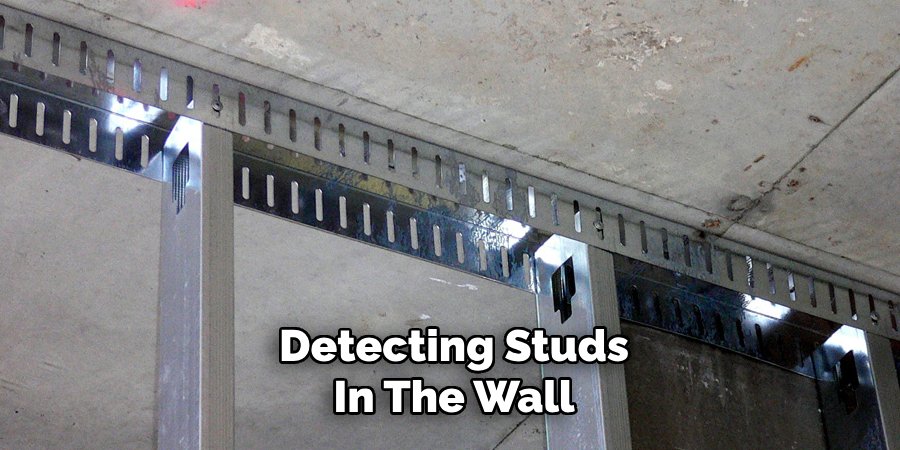
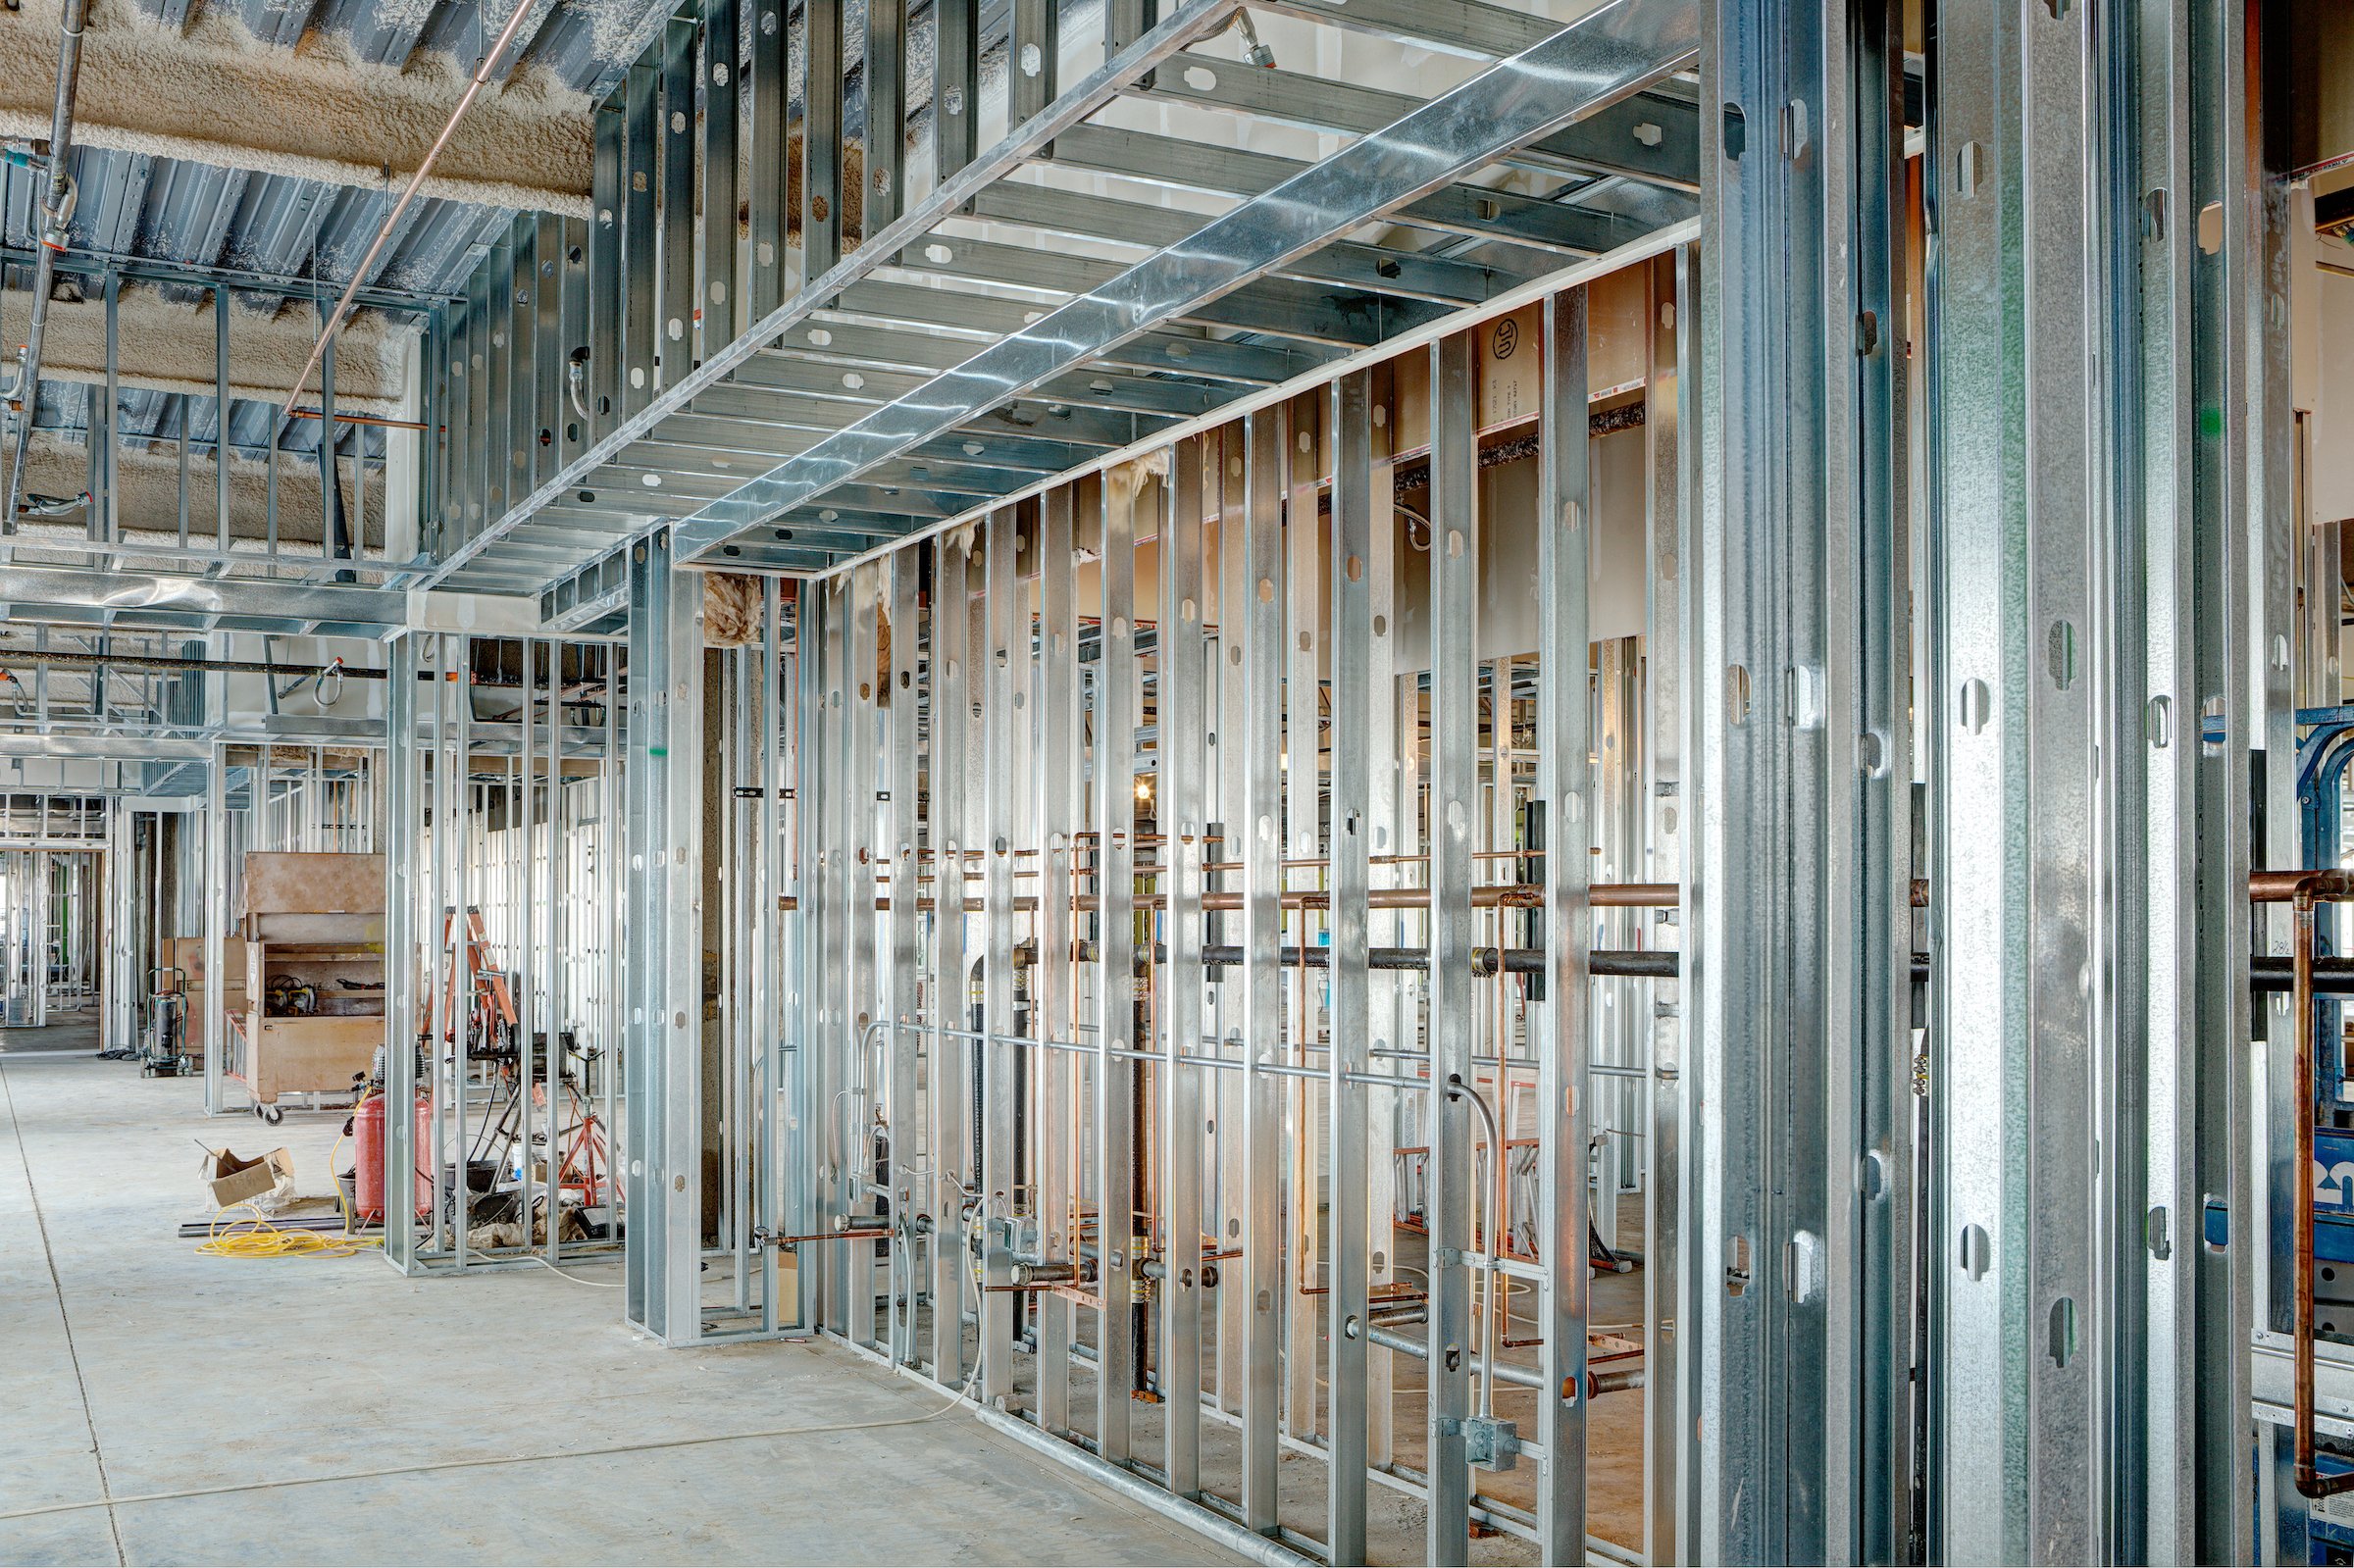
Metal studs are framing members made from formed steel. They are often used with metal tracks to build interior walls. Unlike solid wood studs, metal studs have a light, hollow shape with flanges and a web.
In many interior walls, metal studs are spaced at regular centers. A common layout is 16 inches on center, but 24-inch spacing and other layouts can occur. **Do not assume the spacing until you confirm it on your wall.**
Knowing the wall type helps when learning how to find metal studs. A metal-framed wall can behave differently from a wood-framed wall when you drill, hang a load, or choose an anchor.
:max_bytes(150000):strip_icc()/find-a-stud-in-a-wall-182288-02a-aae36145598949d184d73248f4397979.jpg "Finding a stud behind a finished wall")
- ✦ Light steel frame
Metal studs are often made from thin galvanized steel. They are lighter than many wood framing members.
- ✦ Hollow shape
Most metal studs have an open or shaped center. This means a screw may not grip them in the same way it grips solid wood.
- ✦ Regular layout
Metal studs are usually installed in a planned pattern, which can help you predict the next stud after you find one.
- ✦ Not all walls use them
Some walls use wood, some use steel, and some use a mix of framing methods. Wall age, building type, and construction style can affect what you find.
Why Metal Studs Can Be Hard to Find
Drywall hides the framing, so you cannot see the stud itself. A metal stud also gives a different signal from a wood stud because the steel is thin and may not create the same response on every stud finder.
Electrical wires, pipes, corner beads, screws, nails, and other metal parts can also create signals. That is why **one beep does not always mean one stud**.
- ✦ Thin steel
Thin-gauge steel may produce a weaker or narrower signal than expected.
- ✦ Other metal
Metal corner bead, fasteners, pipes, and electrical parts can confuse a detector.
How to Find Metal Studs With a Stud Finder
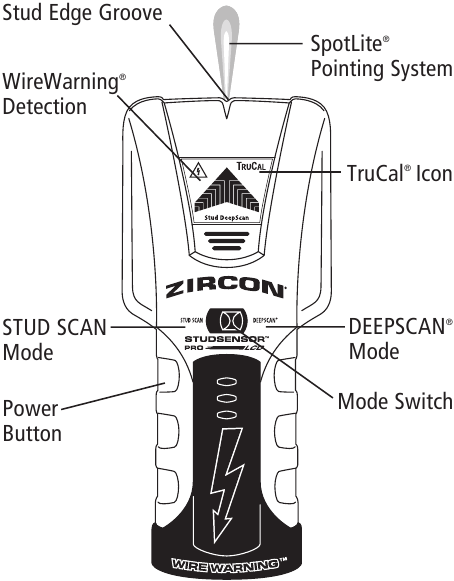
A quality electronic stud finder is often the easiest starting point. Look for a model that can detect metal or has a metal-scan mode. Read the instructions first because each model works a little differently.
Start with a clear section of wall. Keep the tool flat against the surface and scan slowly. **Move in both directions rather than stopping at the first signal.** This helps you find the center of the detected area.
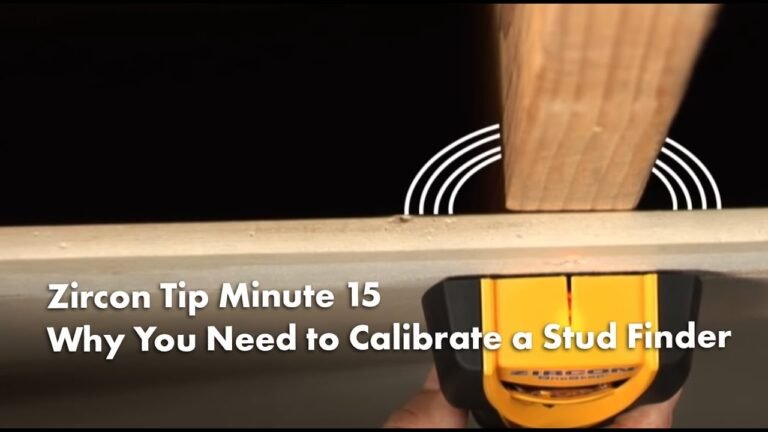
If your tool has a calibration step, follow it carefully. Calibration over a metal stud can cause an incorrect starting point on some devices. Move the finder across the wall and mark the strongest or most consistent signal.

- ✦ Scan slowly
Move the finder at a steady pace. Fast movements can make a weak signal easier to miss.
- ✦ Mark both edges
Scan across the signal from each side and mark where the detection begins and ends.
- ✦ Find the center
The center of a consistent detection area can give you a better target than the first beep.
- ✦ Scan again
Repeat the scan from a slightly different height. A real stud should usually create a repeatable pattern.
How to Read a Metal Stud Finder Signal
A metal-scan mode may detect a broad area rather than a single sharp point. That is normal for some tools. The goal is to map the signal and then confirm the stud line with another method.
If the signal appears only at one small spot, it may be a screw, nail, corner bead, pipe, or other metal object. A long, repeatable vertical signal is more useful when you are trying to locate a stud.
- ✦ Long signal
A signal that continues vertically at different heights may indicate a metal framing member.
- ✦ Single spot
A small isolated signal may be a fastener or another metal object rather than a stud.
How to Find Metal Studs With a Magnet
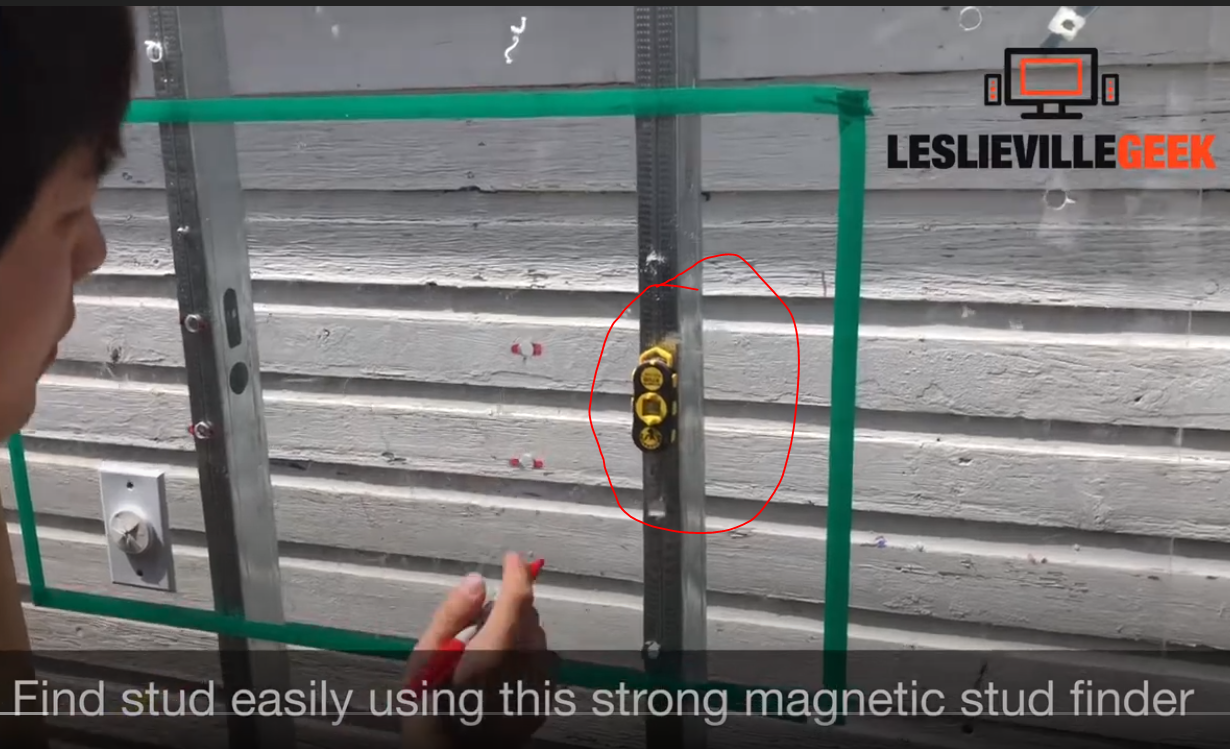
A strong magnet can be a simple way to find the screws that hold drywall to the framing. This method does not always detect the entire metal stud. Instead, it helps you find a row of fasteners that can reveal the stud location.
Move the magnet slowly across the wall. When it sticks or pulls toward the surface, mark the spot. Then scan above and below it. **Several metal fasteners lined up vertically are a useful clue that a stud runs behind that line.**
This approach works best when the drywall screws are steel and are close enough to the surface for the magnet to sense them. Paint, joint compound, thick finishes, tile, or other wall coverings can weaken the response.
- ✦ Use a strong magnet
A small but strong rare-earth magnet can give a clearer response than a weak household magnet.
- ✦ Move in a grid
Scan left to right and then up and down. A grid pattern makes it easier to spot a row of fasteners.
- ✦ Mark each hit
Use removable tape or a pencil to mark several points. A group of aligned hits is more useful than one.
- ✦ Confirm the pattern
Check the same line at several heights before treating it as a metal stud.
Can a Magnet Find the Metal Stud Itself?
Sometimes, but the result depends on the wall and the magnet. A metal stud sits behind the drywall, and the drywall may create enough distance to reduce the magnetic pull. The screws may be easier to detect than the stud body.
For this reason, a magnet is best used as a **confirmation tool**. Pair it with a stud finder or measurements when accuracy matters.
- ✦ Best use
Use the magnet to trace screw lines and help confirm a stud location.
- ✦ Main limit
A magnet may not clearly show the full width or exact center of the stud.
How to Find Metal Studs by Measuring From a Known Point
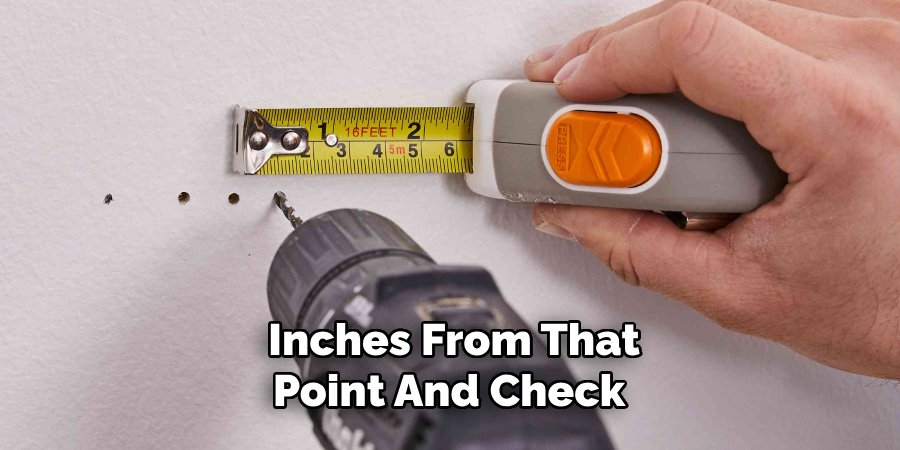
Once you locate one stud, measurements can help you find others. Many walls use a regular framing layout. In common construction, studs may be placed 16 inches on center, but you should verify the actual spacing before relying on that pattern.
Measure from the center of a confirmed stud and check for another stud at the expected interval. If you find a match, repeat the process. **A consistent series of measurements is much stronger evidence than a single measurement.**
This method is especially helpful when a stud finder gives several confusing signals. It can also help you mark a wider area before installing a bracket or other wall-mounted item.
- ✦ Start from a confirmed stud
Do not measure from a guessed location. Confirm your first stud with a second method.
- ✦ Check likely spacing
Test common spacing such as 16 inches on center, but do not assume it applies to every wall.
- ✦ Measure from the center
Use the center of the known framing member as your reference point.
- ✦ Verify each new point
Use a finder, magnet, or another check before drilling at a measured location.
Why Measuring Alone Is Not Enough
Buildings can have openings, corners, doors, windows, and framing changes. A wall may also use spacing that differs from the common 16-inch layout. Renovations can create unusual framing patterns too.
Use measurements to narrow the search area, not to replace confirmation. This small step can prevent a misplaced screw or hole.
- ✦ Doors and windows
Framing around openings may not follow the same simple spacing as the open wall.
- ✦ Corners
Framing at corners can use more members or a different layout.
How to Confirm a Metal Stud Before Drilling
Finding a likely stud is only half the job. Before you drill, confirm the location and think about what may be inside the wall. Electrical cables and plumbing can run through framed walls, so avoid drilling blindly.
Use a stud finder with electrical detection when available, but remember that no consumer tool can guarantee a completely clear wall. Look for outlets, switches, plumbing fixtures, and other clues that may show where utilities run.
If you need a small test hole, choose a location that will be hidden by the final hardware when possible. **Do not use a test hole as a reason to drill deeper or harder.** Stop if you meet unexpected resistance or suspect a utility.
- ✦ Scan for utilities
Check for electrical and other warning signals before drilling.
- ✦ Check the wall layout
Look at outlets, switches, corners, doors, and windows for clues about framing.
- ✦ Confirm from another direction
Scan the same stud line at more than one height or from both sides of the suspected center.
- ✦ Stop when something feels wrong
Unexpected resistance, a strange sound, or an uncertain location is a reason to pause and reassess.
How to Avoid Wires and Pipes
There is no simple rule that makes every wall safe to drill. Electrical wiring and plumbing can cross or run beside framing. Older buildings and remodeled spaces can also have unexpected layouts.
For a critical installation, use a professional inspection method when needed. When you do drill, keep the hole as controlled and shallow as the job allows until you know what you are contacting.
- ✦ Watch for outlets
Electrical boxes can help show where wiring may be routed in the wall.
- ✦ Watch for plumbing fixtures
Sinks, toilets, showers, and other fixtures can indicate nearby water or drain lines.
How to Find Metal Studs When the Wall Gives False Signals
False signals are common when you search for metal studs. A finder can react to screws, corner bead, pipes, metal ductwork, or other objects. The surface itself can also affect the tool.
If the reading looks strange, change your approach. Scan at several heights, move more slowly, use a magnet, and compare the results. **A real stud should produce a pattern that makes sense across the wall.**
Do not assume every metal signal marks a framing member. A strong signal near a corner may come from metal corner bead. A small signal may come from one screw. A wide signal may come from a larger metal object.

- ✦ Recalibrate
If your detector allows calibration, repeat the process according to its instructions.
- ✦ Change height
Scan above and below the original area to see whether the signal continues.
- ✦ Use a magnet
Check whether several fasteners form a vertical line.
- ✦ Check the edges
A signal that follows a corner may be metal corner bead rather than a stud.
Signs You May Have Found a Metal Stud
A likely metal stud often shows a long, repeatable vertical signal. A row of drywall fasteners can support the same conclusion. Regular spacing with nearby studs provides another useful clue.
No single clue proves the answer in every wall. The safest approach is to combine several observations before choosing the drilling point.
- ✦ Vertical pattern
The signal continues up or down rather than appearing at only one point.
- ✦ Fastener line
Several magnetic hits appear in a straight vertical line.
- ✦ Regular spacing
Other confirmed framing members appear at a consistent distance.
How to Find Metal Studs for TV Mounts, Shelves, and Heavy Items
The reason you are looking for a stud matters. Hanging a light picture is very different from mounting a large TV or cabinet. A heavy load needs a mounting plan that accounts for the stud type and the load path.
Metal studs can require different hardware from wood studs. A screw that works well in solid wood does not automatically provide the same holding power in thin steel. Some mounts use anchors, special screws, or reinforcement to spread the load.
Before you drill, read the mount instructions and check the manufacturer’s weight and installation requirements. **For a heavy or high-value installation, confirm the framing and hardware rather than relying on a generic anchor.**
- ✦ TV mounts
Confirm the stud locations and use mounting hardware designed for the wall and mount type.
- ✦ Shelves
Consider the shelf weight, the items placed on it, and how far the load extends from the wall.
- ✦ Cabinets
Cabinets can create high loads, especially when filled. Proper fastening and reinforcement may be needed.
- ✦ Heavy mirrors
Use hardware rated for the mirror’s weight and the actual wall construction.
Metal Studs Versus Wood Studs for Mounting
Wood studs are solid members, so a suitable structural screw can bite into a substantial amount of material. Metal studs are often hollow and made from thinner steel, so the connection can work in a different way.
This does not mean metal studs are unusable for mounting. It means the **fastener and load method must match the wall construction**. Some installations also use blocking between studs or other reinforcement when a high load is expected.
- ✦ Know the framing
Confirm whether the wall uses light-gauge metal studs, heavier structural steel, wood, or another framing system.
- ✦ Match the hardware
Choose fasteners and anchors that the manufacturer approves for the wall type and load.
- ✦ Spread the load
A mounting system that uses several attachment points can distribute the load more effectively.
Common Mistakes When Finding Metal Studs
Many stud-finding problems come from rushing. People often stop at the first beep, assume a 16-inch layout, or drill at the first magnetic hit. These shortcuts can work sometimes, but they can also lead to a misplaced hole.
A better process is simple: **detect, mark, cross-check, then drill**. This takes only a few extra minutes and gives you much more confidence in the result.
If the wall is unusual, the load is heavy, or you cannot get a reliable reading, do not force the process. A professional can identify the framing and help choose a safe mounting method.

- ✦ Mistake: trusting one beep
A single signal can come from many things. Scan around it and look for a repeatable pattern.
- ✦ Mistake: assuming 16-inch spacing
Common spacing is not universal. Confirm the first few studs before using measurements.
- ✦ Mistake: drilling too soon
Confirm the stud location and check for possible utilities before making the hole.
- ✦ Mistake: using wood screws by default
Metal framing may need different fasteners or reinforcement. Follow the hardware and mount instructions.
- ✦ Mistake: confusing corner bead with a stud
A metal corner can create a strong signal. Compare the signal at several points away from the corner.
A Simple Metal Stud Finding Routine
Start by scanning the wall with a suitable finder. Mark the likely center. Then check the same vertical line at another height and use a magnet to look for fasteners.
If the evidence agrees, measure toward the next likely stud and confirm that location too. This routine is quick, simple, and more reliable than using one tool in isolation.
- ✦ 1. Scan
Use a metal-capable stud finder to locate a likely framing line.
- ✦ 2. Mark
Mark the edges and center of the detected area.
- ✦ 3. Cross-check
Use a magnet or another scan at a different height.
- ✦ 4. Measure
Check nearby framing using the confirmed stud as your reference.
- ✦ 5. Inspect
Consider wires, pipes, outlets, switches, and other wall clues.
- ✦ 6. Mount
Use hardware that is rated for the wall construction and the load.