How to Reset a Zircon Stud Finder: Easy Calibration and Troubleshooting Guide
If your Zircon stud finder seems stuck, beeps at the wrong time, or finds studs where there are none, a reset may not be what you need. Most Zircon StudSensor tools use automatic calibration rather than a separate reset button. In practice, the best way to reset a Zircon stud finder is to start a new calibration on a clear part of the wall.
The key is where you start. Zircon tools first learn the wall surface, then look for changes in density. If you start over a stud, pipe, or another dense area, the tool may give an error or a false reading. This guide explains how to reset Zircon stud finder models, how to recalibrate them, when to replace the battery, and what to do if the problem remains.

What Does Resetting a Zircon Stud Finder Mean?
For many Zircon StudSensor models, there is no special reset switch. Instead, resetting means starting the calibration process again. The tool needs to learn the wall surface before it can detect a change in density.
This makes calibration the first step when learning how to reset Zircon stud finder models. A good reset does not erase settings like a computer reset. It simply gives the sensor a fresh starting point on the wall.
- ✦ Automatic calibration
The tool calibrates when you place it flat on the wall and hold the power button.
- ✦ Fresh starting point
Starting in a clear area helps the sensor learn the normal wall density.
- ✦ No separate reset button
Many Zircon StudSensor models rely on recalibration instead of a dedicated reset control.
Why Calibration Matters
A stud finder cannot simply look through drywall like an X-ray. It senses changes in the wall. Zircon explains that the tool first learns the wall surface, then detects denser objects such as studs.
That is why the first few seconds matter. If the tool starts over a stud or another dense object, it may think that object is part of the normal wall surface. Moving the tool and starting calibration again gives it a better reference.
- ✦ Wall material changes readings
Drywall, paint, wallpaper, plaster, and other layers can affect how the sensor reads the surface.
- ✦ Starting position matters
The starting area should be free of a stud or other dense object when the model requires a clear calibration area.
How to Reset Zircon Stud Finder Step by Step
If you want a simple answer to how to reset Zircon stud finder, start with a fresh calibration. The process is quick and works for many StudSensor models.
Keep the tool flat against the wall during calibration. Do not rock it, lift it, or slide it until the calibration step is complete.
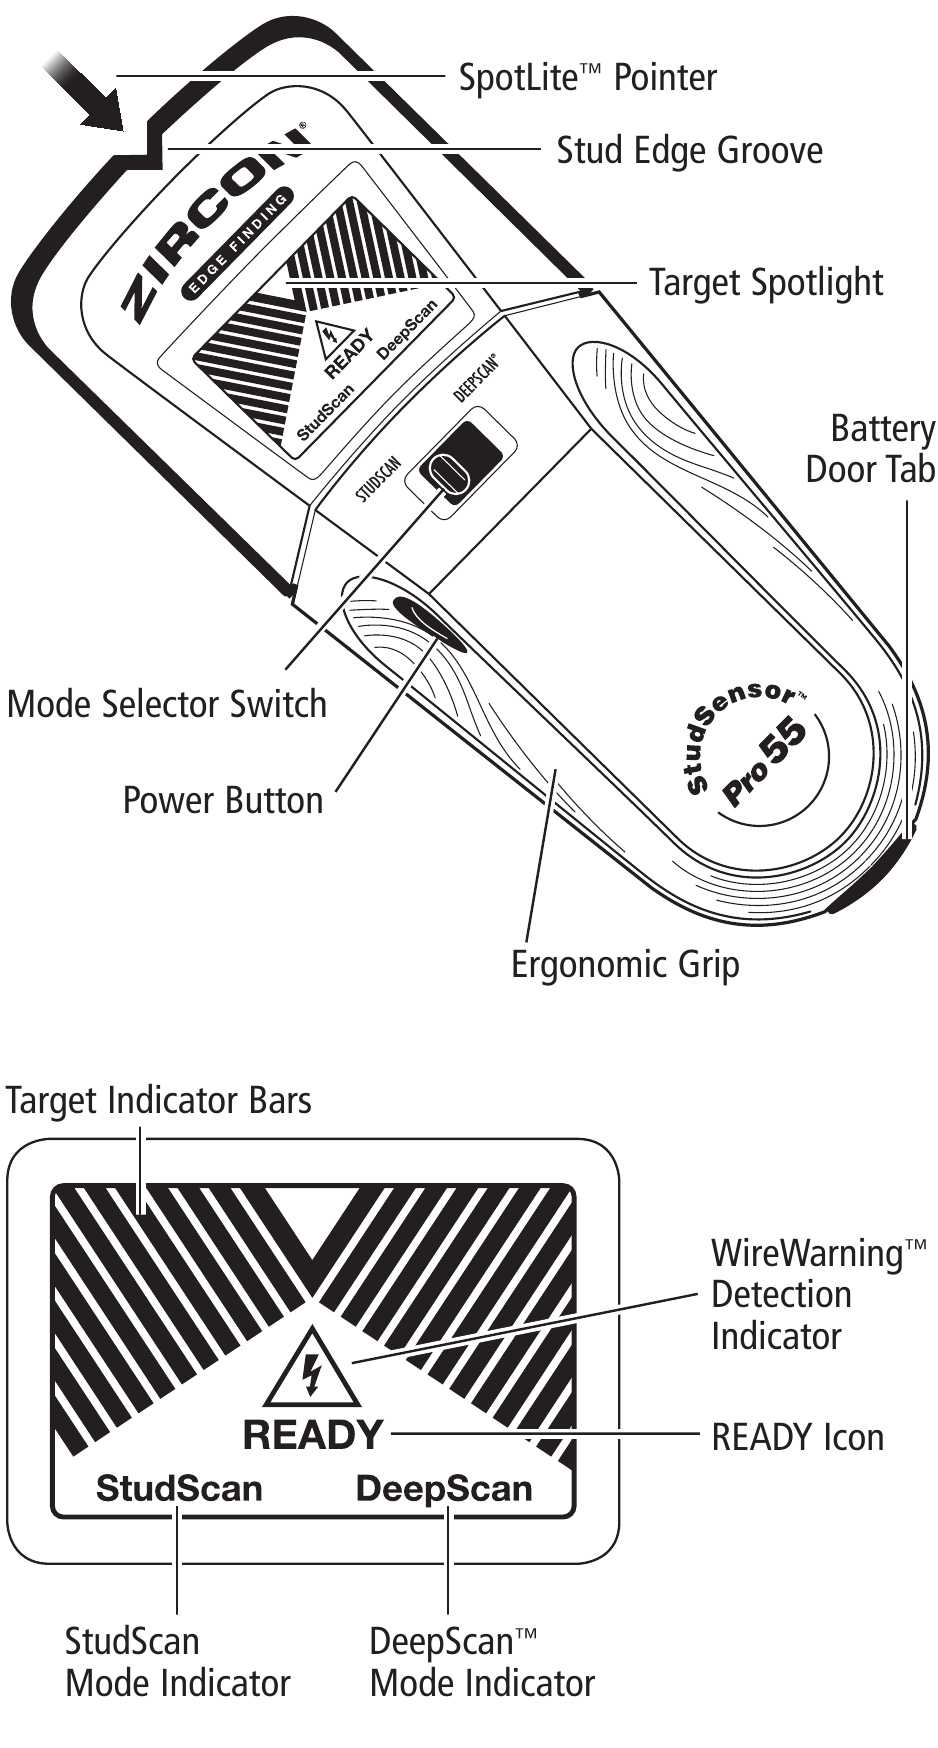
- ✦ 1. Release the power button
If the tool is currently beeping or showing an error, release the power button first.
- ✦ 2. Move to a new spot
Move the scanner a few inches to the left or right. Choose an area that is less likely to be over a stud.
- ✦ 3. Place it flat
Set the sensor flat against the wall. Keep it steady and do not press hard.
- ✦ 4. Hold the power button
Press and hold the power button. Allow about 1 to 2 seconds for the tool to calibrate.
- ✦ 5. Wait for the ready signal
Depending on the model, a Ready or TruCal indicator may show that calibration is complete.
- ✦ 6. Scan slowly
Keep holding the power button and slide the tool slowly across the wall.
What If the Zircon Stud Finder Keeps Beeping?
Continuous beeping or flashing lights during calibration often mean the tool did not get a good reference point. A common cause is starting directly over a stud or another dense object.
Release the power button, move the tool a few inches, and repeat the calibration. If it still behaves oddly, check the battery and make sure the sensor sits flat on the wall.
- ✦ Move a few inches
Try a new starting point rather than repeatedly calibrating in the same place.
- ✦ Keep the tool still
Do not move the scanner during the initial calibration period.
- ✦ Check the battery
A weak battery can cause erratic operation, so use a fresh compatible battery when needed.
How to Recalibrate a Zircon Stud Finder Correctly
Recalibration is the main answer to how to reset Zircon stud finder tools when the readings seem wrong. The tool must first understand the normal density of the wall. It can then detect a change as you move across the surface.
For a clean calibration, start away from a known stud. If you know where one stud is, begin several inches to the side. This gives the sensor a better chance to learn an ordinary section of the wall.
- ✦ Keep it flat
The tool should stay flat against the wall while it calibrates and scans.
- ✦ Do not rock the tool
Tilting or rocking can change the sensor’s relationship with the wall.
- ✦ Move slowly
Slow scanning gives the tool time to respond as wall density changes.
- ✦ Use the correct mode
Do not use DeepScan or another deeper mode unless the wall and the task call for it.
How to Tell When Calibration Worked
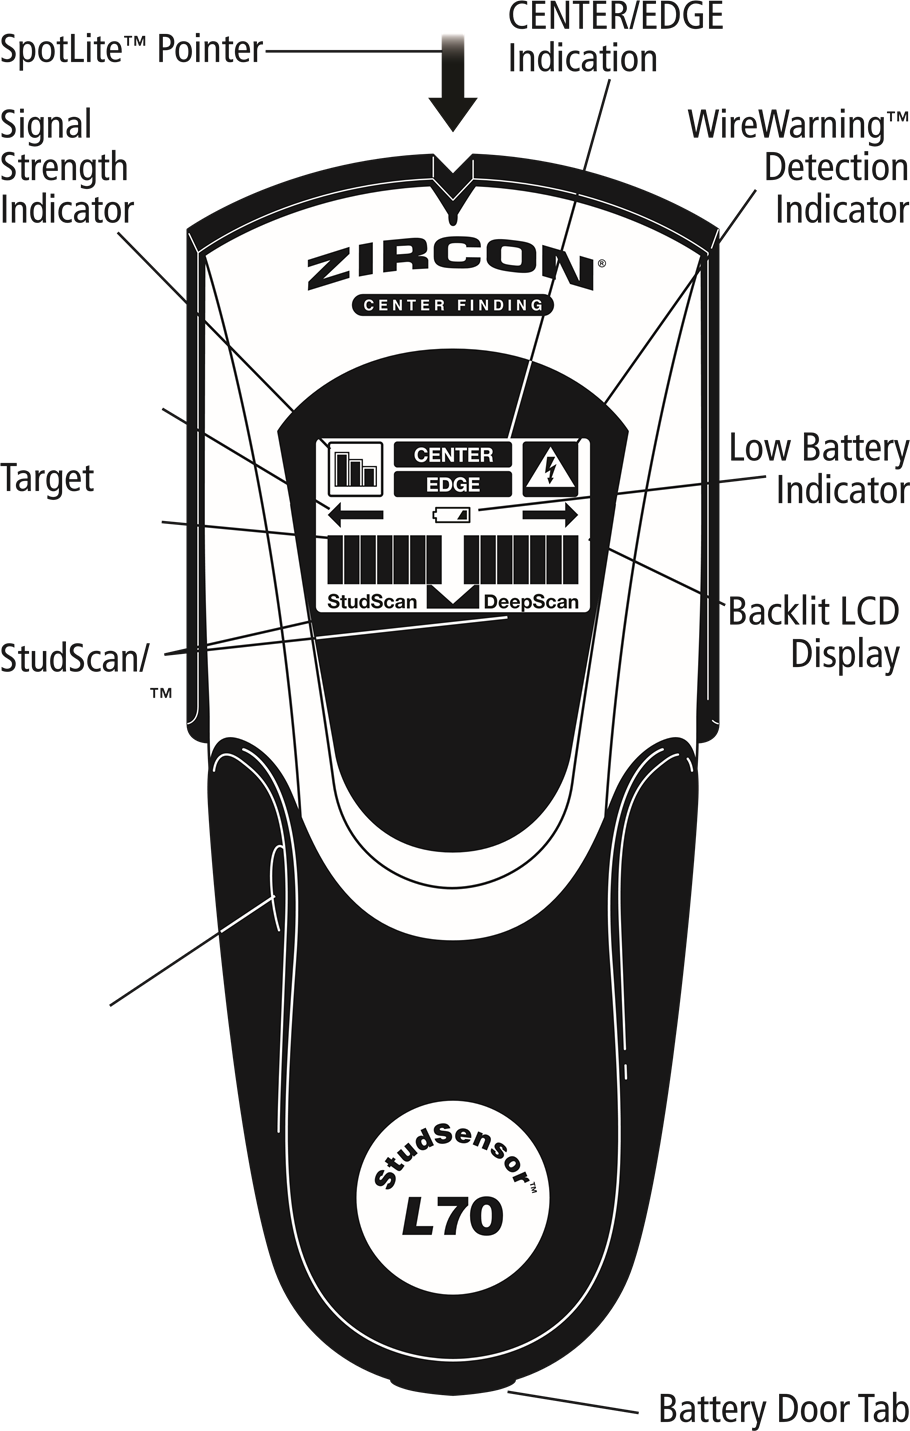
The exact indicator depends on the Zircon model. Many tools show a green Ready or TruCal light after calibration. Other models use a display, arrow, tone, or a mix of lights.
The important point is that the tool should stop showing a calibration error. Once ready, keep the power button pressed and scan slowly instead of releasing it and starting over.
- ✦ Ready light
Some models use a green Ready indicator after successful calibration.
- ✦ Stable operation
A successful calibration should allow normal scanning without repeated error beeps or flashing.
Reset a Zircon Stud Finder by Checking the Battery
If recalibration does not fix the problem, check the battery. Many Zircon StudSensor models use a fresh 9V alkaline battery, and Zircon recommends a new battery with an extended expiration date for compatible models.
A weak battery can cause strange behavior. The scanner may fail to turn on, give error signals, or work in an uneven way. Replacing the battery is often a useful troubleshooting step before assuming the sensor has failed.

- ✦ Use a fresh battery
For compatible models, install a brand-new 9V alkaline battery rather than relying on an old battery.
- ✦ Match the terminals
Connect the positive and negative terminals to the matching marks in the battery compartment.
- ✦ Close the battery door
Make sure the battery door is secure before testing the scanner.
- ✦ Do not remove the back screws
Zircon warns that removing the screws can release internal parts and cause the tool to work improperly.
What Battery Does a Zircon Stud Finder Use?
Most Zircon StudSensor and MultiScanner models use one new alkaline 9V battery, but the exact requirement depends on the model. Always check the manual or the battery markings for your specific tool.
Some newer or different Zircon products use other battery types. Do not assume every Zircon scanner uses the same battery simply because it has a similar case.
- ✦ Check your model
Look for the model name on the tool and use its specific instructions.
- ✦ Avoid guesswork
Using the correct battery type helps prevent power and performance problems.
Why Your Zircon Stud Finder Gives False Readings
Knowing how to reset Zircon stud finder tools is only part of the fix. A stud finder can also give confusing readings because of the wall itself. Thick surfaces, unusual materials, moisture, nearby objects, and wiring can affect what the sensor detects.
A stud finder detects changes in density and, on some models, other materials or electrical signals. It does not prove that a particular object is a wood stud. Treat the tool as one part of your wall-checking process.
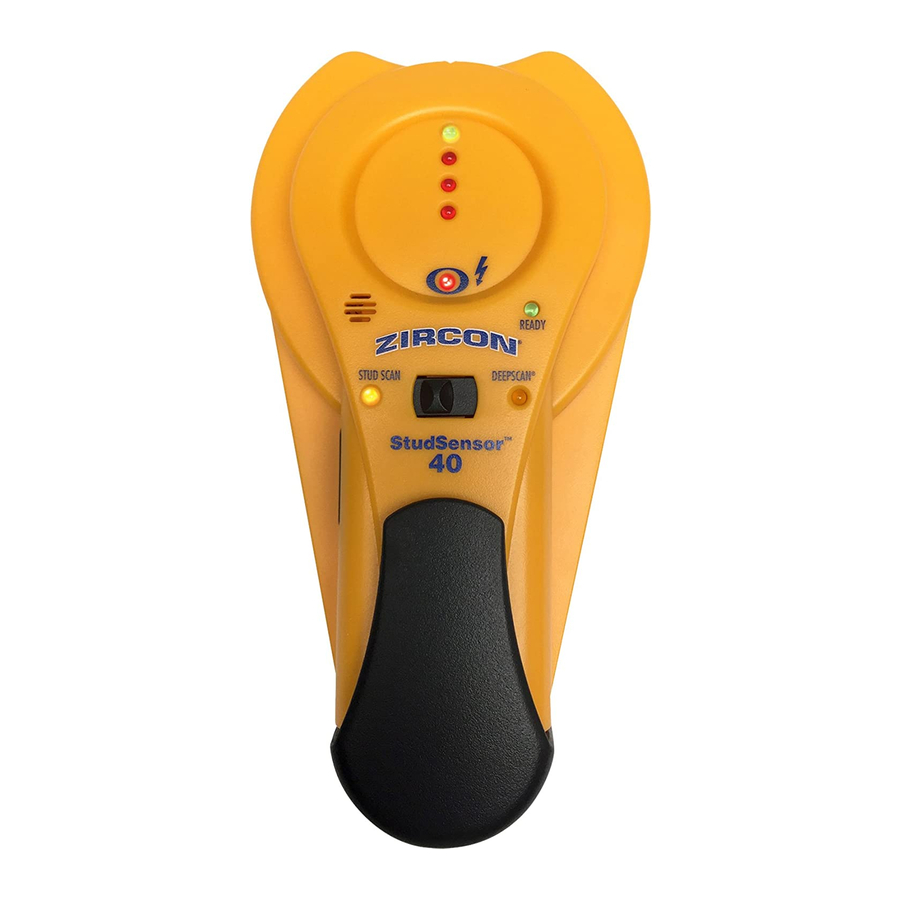
- ✦ Starting over a stud
This can create a calibration error because the tool may treat the dense object as part of the wall surface.
- ✦ Thick or unusual walls
Plaster, layered materials, tile, or other dense surfaces can make scanning harder.
- ✦ Electrical wires or pipes
Some objects behind the wall can be detected in ways that resemble a stud.
- ✦ Incorrect scanning technique
Tilting, rocking, pressing hard, or moving too fast can reduce the quality of the reading.
Why DeepScan Can Cause Confusing Results
DeepScan mode is designed for greater depth on models that offer it. It is not always the best choice for a normal drywall wall.
Using a deeper mode when you do not need it can make a stud appear wider than it really is. Start with the standard mode and switch to a deeper setting only when the wall requires it.
- ✦ Start with standard scanning
Use the normal scan mode for ordinary wall thickness unless your model instructions say otherwise.
- ✦ Use deeper modes with care
DeepScan can change how the tool responds, so use it only when greater depth is needed.
How to Test a Zircon Stud Finder After Resetting It
After you reset or recalibrate the tool, do a simple test before drilling or driving a screw. This helps you confirm that the scanner responds in a repeatable way.
Find a location where you can reasonably expect a stud. Scan across it in one direction, mark the detected edge, then scan back from the other side. On edge-finding models, the midpoint between the two edges is the approximate stud center.
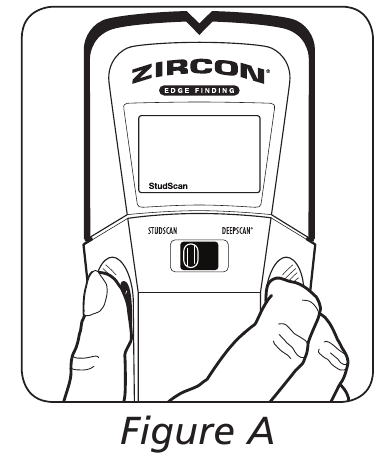
- ✦ Scan from both directions
A repeatable reading from opposite directions gives you more confidence than one pass.
- ✦ Mark both edges
For edge-finding models, mark each detected edge and use the midpoint to estimate the center.
- ✦ Check nearby studs
Standard building practices can help confirm whether the detected location makes sense.
- ✦ Look for other clues
Use visible construction clues and known entry points for pipes or wiring before drilling.
Do Not Rely on One Reading Before Drilling
A stud finder is a useful guide, but it should not be your only check before making a hole. Zircon manuals warn users to consider other information, including construction plans, visible pipe and wire entry points, and common stud spacing.
This matters because a scanner may detect objects other than the target stud. Take extra care near electrical wiring and plumbing.
- ✦ Check the area first
Look for signs of pipes, cables, outlets, switches, and other features that may indicate hidden objects.
- ✦ Confirm before drilling
Use more than one clue when deciding where to make a hole in a wall.
What to Do If Resetting Does Not Fix the Problem
If you have followed the reset process and the tool still acts strangely, work through the simple checks before opening the case. Start with a fresh battery, confirm that the battery door is closed, and repeat the calibration on a clear wall area.
If the scanner was dropped, exposed to water, or opened by removing the back screw, the issue may be mechanical rather than a calibration problem. In that case, the safest choice is to follow the model’s instructions or contact Zircon support instead of trying to repair the electronics yourself.
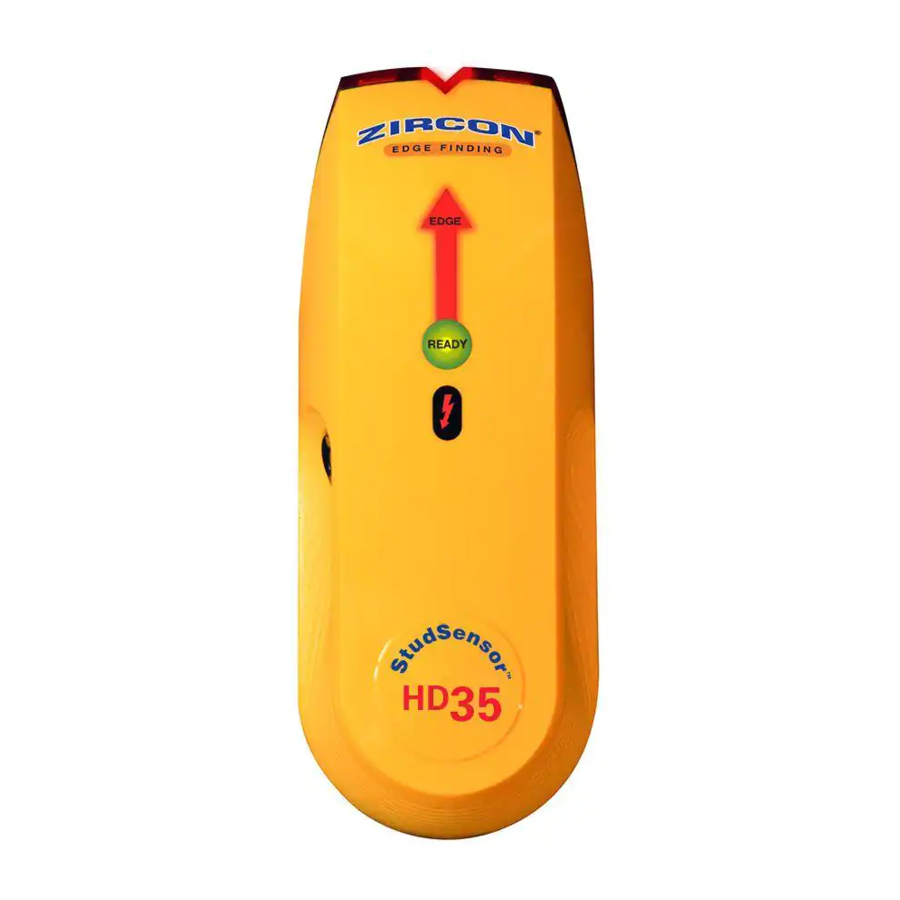
- ✦ Try a fresh battery
Replace an old or questionable battery with the correct fresh battery for your model.
- ✦ Repeat calibration
Choose another wall area and start the calibration process again.
- ✦ Inspect the case
Look for obvious damage without opening the electronic housing.
- ✦ Check the model manual
Different Zircon models have different controls, indicators, and scanning modes.
- ✦ Contact support when needed
If the tool still fails after basic checks, use the support information for your exact model.
What If You Removed the Back Screw?
Do not remove the back screw as a normal way to reset the tool. Zircon says the screw holds internal parts in place, and removing it can make the scanner work improperly.
If the screw has already been removed, the internal case and battery spacer may need to be aligned correctly. Because the exact assembly varies by model, use the manufacturer’s reassembly guidance or contact support if you are unsure.
- ✦ Do not force the case
Avoid bending or forcing internal parts back into place.
- ✦ Use model-specific instructions
Reassembly steps can vary, so check the instructions for the exact scanner.
Tips for Getting Better Zircon Stud Finder Results
Once you know how to reset Zircon stud finder models, good scanning technique makes the next step much easier. The tool works best when you give it a clean starting point and move it slowly.
Small habits can make a big difference. Keep the scanner flat, avoid unnecessary pressure, and use the correct mode for the wall.

- ✦ Start on the wall
Place the tool on the wall before pressing the power button so it can calibrate to that surface.
- ✦ Scan slowly
Move at a steady pace so the tool can detect changes in wall density.
- ✦ Keep the tool straight
Hold the scanner in the intended orientation and avoid rotating it while scanning.
- ✦ Do not press too hard
Use light, steady contact rather than pushing the sensor firmly into the wall.
- ✦ Scan more than once
Repeat the scan from another direction when a location is important.
When to Use the Model Manual
Zircon has made many StudSensor models over the years, including edge-finding and center-finding tools. The buttons, displays, modes, and battery details can differ from one model to another.
If the steps above do not match your scanner, find the exact model name on the tool and use its product instructions. This is especially important when your unit has DeepScan, Auto Correcting Technology, WireWarning, or a digital display.
- ✦ Identify the model
Look for the model name printed on the front or body of the scanner.
- ✦ Follow model-specific controls
Use the exact button sequence and indicator meanings given for your tool.