How to Calibrate a Stud Finder: A Simple Step-by-Step Guide
Knowing how to calibrate a stud finder can save time and prevent misplaced holes. An electronic stud finder does not simply sense a wood stud through the wall. It senses changes in the wall material, such as changes in density or moisture. calibration gives the tool a starting point for that reading.
The key is to follow the instructions for your exact model. Some tools calibrate when you press and hold a button. Others calibrate when you place the tool on the wall and turn it on. In either case, the basic goal is the same: give the sensor a stable starting point before you scan.

What Does Stud Finder Calibration Mean?
Calibration is the process of setting a reference point for the stud finder’s sensor. The tool uses that reference to notice a change as you move over the wall. When the reading changes enough, the tool may signal that it has found a stud or another object.
This is why the first position matters. If you start over a stud, metal object, dense patch, or another material that affects the sensor, the tool may set a poor baseline. A poor baseline can lead to missed studs, false alerts, or readings that seem to move around.
When learning how to calibrate a stud finder, think of calibration as telling the tool what normal wall material looks like before you ask it to find a change.
- ✦ Calibration
Sets the sensor’s starting reference before you scan.
- ✦ Scanning
Moves the calibrated tool across the wall to detect changes.
- ✦ Verification
Checks the result from another direction or with another method.
Why Calibration Matters
A wall can contain more than drywall and wood. Paint, wallpaper, moisture, plaster, pipes, wires, metal fasteners, and thick wall coverings can change what the sensor sees. Correct calibration helps the tool work from a known starting point.
It does not make a stud finder perfect. Calibration cannot identify every hidden object, and it cannot replace safe work practices.
- ✦ Better readings
A good starting point can reduce false signals caused by an incorrect baseline.
- ✦ More confidence
A second scan after proper calibration can make the stud location easier to confirm.
How to Calibrate a Stud Finder Step by Step
The exact controls vary by brand and model, so read the manual first. The steps below describe the common process used by many electronic stud finders. If your manual gives different directions, follow the manual.
Before you begin, remove nearby objects that may interfere with the scan. Hold the tool away from the wall while you turn it on if the manual tells you to do so. Then place it on a part of the wall that is likely to be clear.
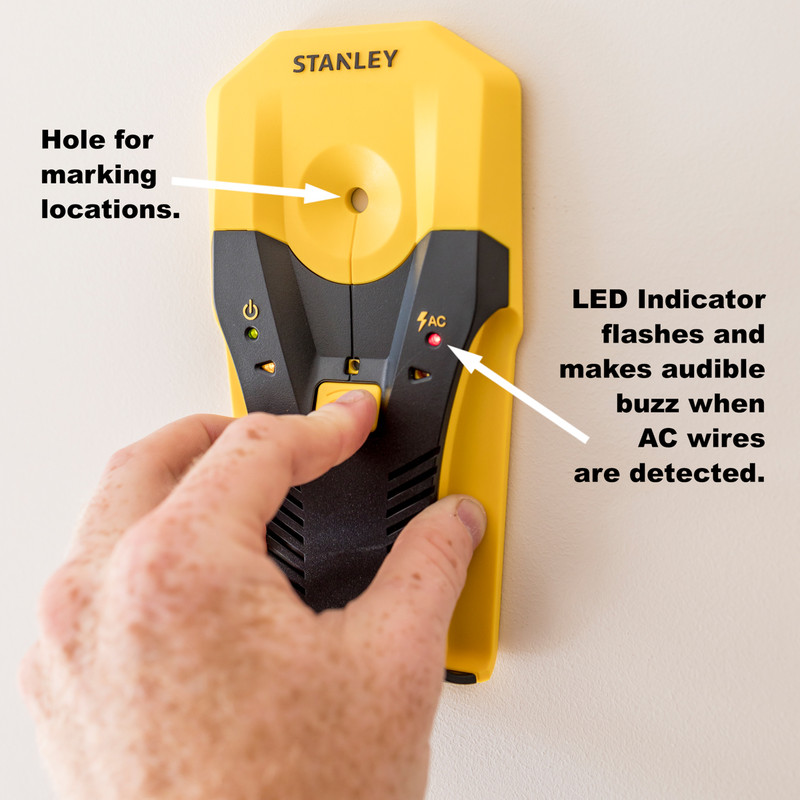
- ✦ 1. Check the battery
Install a fresh battery or make sure the rechargeable tool has enough power. A weak power source can cause poor or unstable operation.
- ✦ 2. Choose a clear starting spot
Place the finder on a section of wall where you do not expect a stud, pipe, wire, or metal object.
- ✦ 3. Keep the tool flat
Press the sensing surface evenly against the wall. Avoid holding one edge away from the surface.
- ✦ 4. Start calibration
Press the calibration or power button as directed by the manufacturer. Some models calibrate automatically.
- ✦ 5. Wait for the ready signal
Keep the tool still until the display, light, or sound shows that calibration is complete.
- ✦ 6. Scan slowly
Move the tool in a straight line at a slow, steady speed. Avoid sudden stops or fast passes.
- ✦ 7. Mark the reading
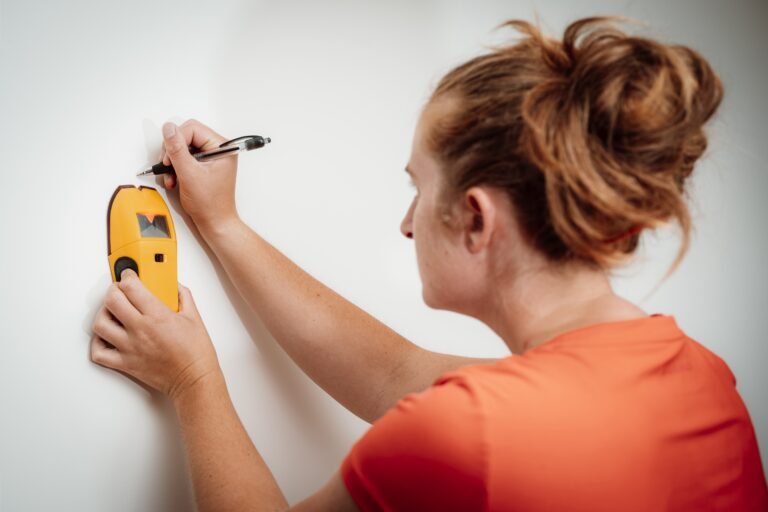
Mark the point where the tool indicates the strongest or most useful stud signal.
- ✦ 8. Confirm the stud
Scan back across the area and approach the signal from the other side. A centered reading is more useful than one single beep.
Step 1: Prepare the Wall and Tool
Take the phone, keys, tools, and other metal items away from the area if your device manual warns that they can affect readings. Also check the wall for obvious signs of moisture or damage.
For a normal drywall wall, start several inches away from the area where you expect the stud. This gives the tool room to establish a baseline before it reaches the denser material.
- ✦ Use a clean surface
Heavy wall coverings or uneven surfaces can make it harder for some tools to scan evenly.
- ✦ Hold it correctly
Use the grip shown in the manual and keep your fingers away from the sensing area.
Step 2: Calibrate on the Wall
Place the finder flat against the wall in the clear starting area. Follow the model’s instructions to begin calibration. Some devices need a button held down while the tool sits still. Others calibrate as soon as they touch the wall.
Do not slide the tool during this step unless the manufacturer says to move it. Wait for the ready signal. This short pause helps the sensor establish its reference.
- ✦ Stay still
Movement during calibration can cause an unstable starting reading on some models.
- ✦ Watch the display
Use the tool’s ready, calibration, or signal indicator rather than guessing when calibration is done.
Step 3: Scan Across the Wall
Once calibrated, move the finder slowly across the wall. Keep the same pressure and keep the tool flat. A slow and smooth pass gives the sensor a better chance to detect a gradual change.
When the signal grows stronger, keep moving rather than stopping at once. Continue across the area until the signal falls. The middle of the signal can help you locate the center of a stud, depending on the tool and scan mode.
- ✦ Move in one direction
A straight, steady path makes the change in the sensor reading easier to understand.
- ✦ Mark both edges
If the tool provides an edge mode, mark the detected edges and use them to estimate the center.
How to Calibrate a Stud Finder When It Gives False Readings
A stud finder may beep when there is no stud, fail to find a known stud, or give a signal that changes from one scan to the next. Do not assume the tool is broken right away. Wall conditions and scanning technique often cause these problems.
If the result looks wrong, move to a different clear area and repeat the calibration. Then scan the same section again. This simple reset often helps when the first calibration point was too close to a dense object.

- ✦ Recalibrate
Return to a clear part of the wall and repeat the calibration process.
- ✦ Slow down
Move the finder more slowly and keep the pressure steady.
- ✦ Check the battery
Replace a weak battery or recharge the device before testing again.
- ✦ Try another scan direction
Scan back across the suspected stud to see whether the signal repeats in a similar place.
- ✦ Check the mode
Make sure the tool is set for the wall type or scan mode you need.
Why a Stud Finder May Say There Is a Stud Everywhere
A common cause is calibration over a dense part of the wall. If the tool uses that area as its baseline, later changes can confuse the sensor. Thick plaster, tile, moisture, and some wall coverings can also affect readings.
Another cause is poor technique. Tilting the finder, changing pressure, or moving too fast can make the signal less stable. Recalibrate on a clear area and repeat the scan with a smooth motion.
- ✦ Poor starting point
The tool may have calibrated over a stud or another object.
- ✦ Uneven surface
A rough or thick surface can keep the sensor from sitting evenly on the wall.
- ✦ Changing pressure
Inconsistent contact can change the sensor reading as you move.
Why It May Not Find a Known Stud
First, recalibrate away from the known stud. Then scan toward it slowly. If the finder still does not react, check whether the wall is thicker or made from a material that the tool does not handle well.
A stud finder also may not detect a wood stud in the way you expect if the device uses a different sensing method. Check the manual for the correct scan mode and wall type.
- ✦ Use the correct mode
Select the mode intended for the wall and material you are scanning.
- ✦ Test on a known area
A known stud gives you a useful way to check whether the tool and technique are working.
How Different Types of Stud Finders Calibrate
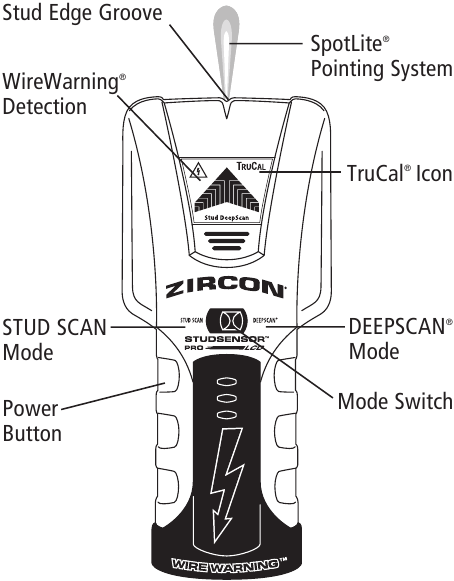
Not every stud finder calibrates in the same way. Basic electronic models often use changes in wall density. More advanced wall scanners may detect several types of material and offer separate modes.
The right answer to how to calibrate a stud finder depends on the sensor and the model. Always treat the manufacturer’s instructions as the final guide for button use, starting position, and scan mode.
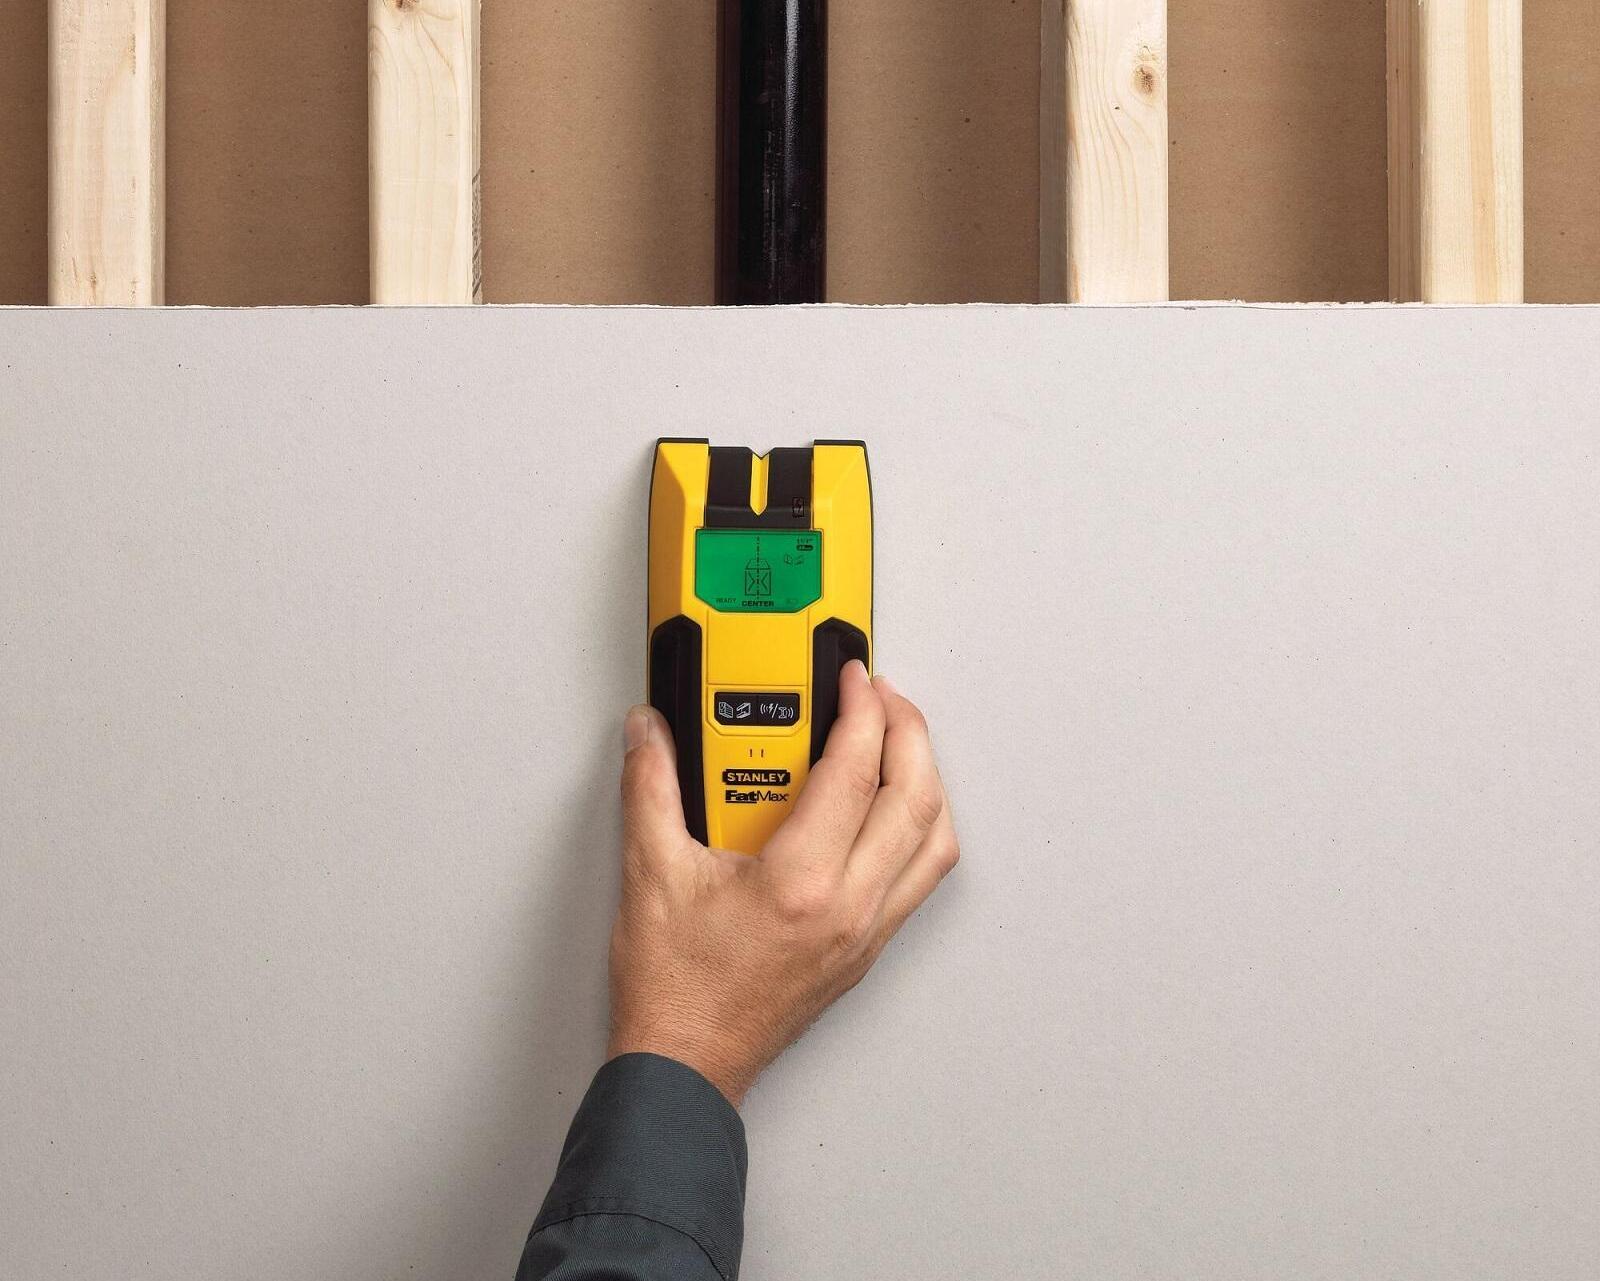
- ✦ Electronic density finder
Usually looks for changes in the material behind the wall and may need a clear starting point.
- ✦ Multi-mode wall scanner
May have settings for wood, metal, deep scanning, or other materials.
- ✦ Magnetic stud finder
Uses a magnet to locate metal fasteners rather than electronically measuring wall density, so its setup and use differ from electronic models.
Electronic Stud Finders
Electronic models are common for home DIY work. They often use sensors to detect a change behind drywall. Proper calibration and steady movement are important because the tool is comparing what it sees as you move.
- ✦ Best practice
Start on a clear wall area and follow the device’s calibration prompt.
Multi-Mode Wall Scanners
A wall scanner may have several modes and displays. One mode may be intended for wood, while another may search for metal or provide a deeper scan. Pick the correct mode before calibration.
If the device allows automatic calibration, give it a stable starting position. Do not assume that one mode’s calibration works the same way in every other mode.
- ✦ Read the mode label
Confirm the selected mode before starting the scan.
- ✦ Calibrate again after changing modes
If the manual calls for it, repeat calibration after selecting a different sensing mode.
How to Find the Center of a Stud After Calibration
Calibration is only the first part of the job. You also need to locate the stud with care. A signal that starts at one point and ends at another gives you more information than a single beep.
Scan across the suspected stud in one direction. Mark where the signal begins, then keep moving until it ends. Reverse direction and repeat the scan. If the marked area is consistent, the center is usually near the middle of the detected range, depending on the tool’s design.
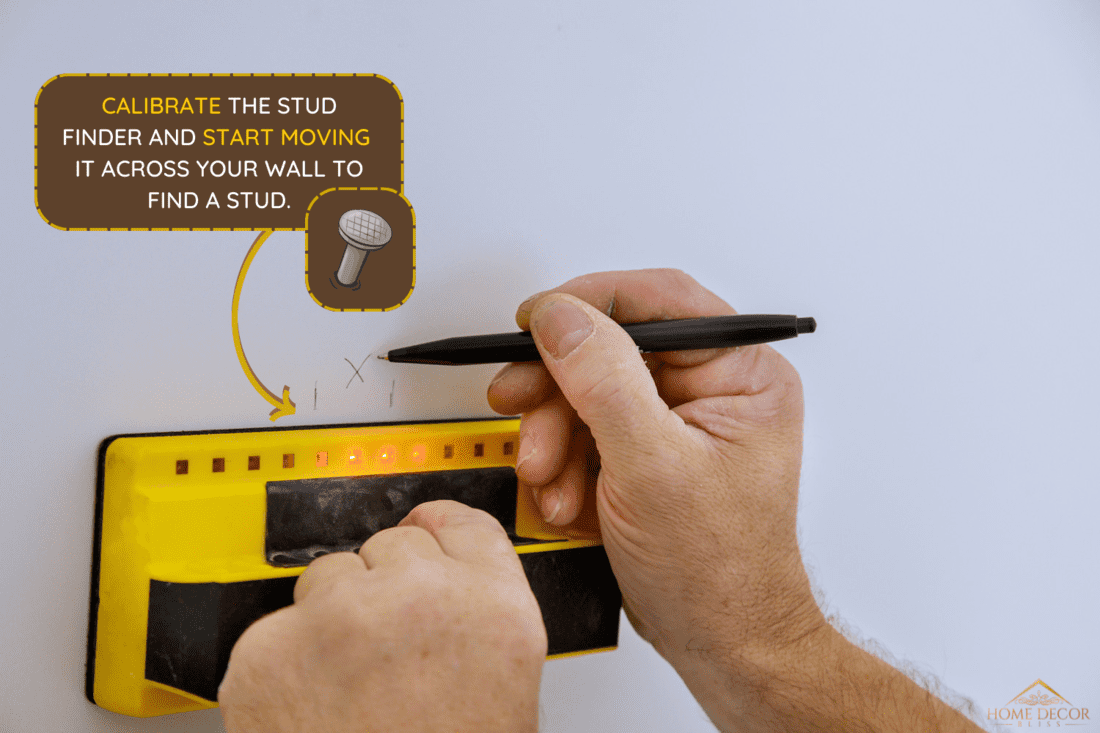
- ✦ Scan left to right
Move slowly and mark the point where the stud signal starts and ends.
- ✦ Scan right to left
Repeat the process from the other direction to check the result.
- ✦ Use a small mark
Keep wall marks small until you confirm the location.
- ✦ Check the stud layout
In many U.S. homes, wall framing often follows common spacing patterns, but do not rely on spacing alone.
Why One Beep Is Not Enough
A single signal can come from many things. A stud, nail, pipe, wire, moisture, or another dense area may change the reading. A second scan helps you see whether the signal repeats in a predictable location.
For important work, confirm the location with another method when practical. Never treat a stud finder as proof that an area is safe to drill.
- ✦ Repeat the scan
A repeatable signal is more useful than an isolated alert.
- ✦ Use more than one clue
Consider framing patterns, visible construction clues, and other safe verification methods.
How Wall Conditions Affect Stud Finder Calibration
Walls are not always simple drywall. An older U.S. home may have plaster, lath, several layers of paint, paneling, or other materials. These conditions can make electronic stud finding less predictable.
Moisture can also affect some electronic sensors. If part of the wall has water damage or high moisture, the tool may respond differently in that area. When readings seem strange, look at the wall itself as part of the problem.

- ✦ Drywall
Often works well with standard electronic stud finders when the surface is even.
- ✦ Plaster
Can be thicker or more variable than drywall and may require a compatible scan mode.
- ✦ Tile
Hard, dense surfaces can limit the usefulness of some stud finders.
- ✦ Wallpaper
A thin layer may be fine for some tools, but thick coverings can affect how the sensor contacts the wall.
- ✦ Moisture
Wet or damp areas can change sensor readings and may create confusing signals.
When to Recalibrate
Recalibrate whenever you move to a new wall area if the readings become unstable or the manual recommends it. A different wall section can have different density, moisture, or construction.
If you pass over a known stud and the tool behaves oddly afterward, move back to a clear area and restart the calibration process.
- ✦ New wall section
A different area may provide a different baseline.
- ✦ Unstable readings
Repeated false alerts are a good reason to stop and recalibrate.
Safety Tips Before Drilling Into a Wall
A stud finder can help you locate framing, but it cannot guarantee that a drilling spot is free of hidden hazards. Pipes and electrical cables can run through or near wall cavities. A stud finder may have a wire or metal detection feature, but you should understand its limits.
Before drilling, think about what may be behind the wall. Be especially careful near outlets, switches, plumbing fixtures, sinks, bathrooms, and other areas where utilities are likely to run.
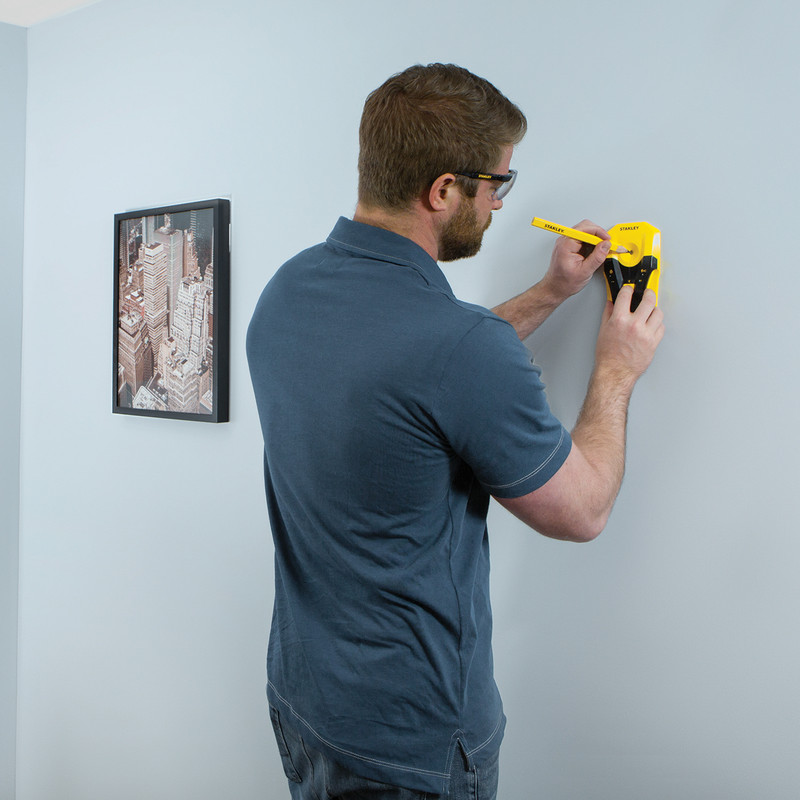
- ✦ Do not rely on one reading
Confirm important locations with more than one safe clue or method.
- ✦ Check for utilities
Use an appropriate detection mode if your tool has one, and follow its instructions.
- ✦ Avoid risky locations
Take extra care near electrical devices, plumbing fixtures, and areas with known utilities.
- ✦ Stop if unsure
If the wall layout or hidden contents are uncertain, get professional help before drilling.
- ✦ Protect yourself
Use suitable eye protection and follow safe practices for the drilling or mounting job.
Stud Finder Limits
No stud finder can see through every wall with perfect accuracy. The tool may detect a change without telling you exactly what caused it. That is why a stud signal should not be treated as a guarantee about what lies behind the wall.
For a simple picture or shelf, careful stud location may be enough for the task. For work that could affect wiring, plumbing, structural components, or other critical systems, use a more thorough verification method.
- ✦ A stud is not the only hidden object
Pipes, wires, fasteners, and other materials may also affect a sensor.
- ✦ Use caution with deep holes
The deeper the hole, the more important it is to understand what may be inside the wall.
Common Mistakes When Calibrating a Stud Finder
Most calibration problems come from a few simple mistakes. Users may start over a stud, move the tool during calibration, scan too fast, or press unevenly against the wall. Fixing the technique can make a large difference.
The best approach is simple: start clear, calibrate carefully, scan slowly, and confirm the result. If the reading still makes no sense, stop and check the manual instead of drilling based on a guess.
- ✦ Starting over a stud
This can give the sensor a poor baseline and lead to confusing readings.
- ✦ Moving during calibration
Movement can interfere with the initial reference on models that require a still starting point.
- ✦ Scanning too fast
A fast pass can make it harder to notice where a signal begins and ends.
- ✦ Tilting the tool
Keep the sensing surface flat and use even contact.
- ✦ Ignoring the manual
Different models use different sensors, modes, and calibration methods.
- ✦ Trusting one signal
Repeat the scan and verify the location before making a hole.