How to Put a Zircon Stud Finder Back Together: A Simple Step-by-Step Guide
If you searched for **how to put zircon stud finder back together**, you likely removed the screw on the back and the case came apart. This is a common mistake because the screw can look like part of the normal battery-access system. Zircon says its StudSensor tools do not need that screw removed for battery changes.
The good news is that a StudSensor can often be put back together if the parts are still intact. The key is to work on a flat table, keep the small internal parts in place, and make sure the top case sits squarely before you reinstall the screw. This guide follows Zircon’s published reassembly instructions and adds practical checks to help prevent another problem.

Why a Zircon Stud Finder Comes Apart
Zircon designs its electronic stud finders so the battery can be changed without removing the rear screw. Depending on the model, the battery door may open from the back or the cover may also serve as a belt clip. Removing a case screw can loosen parts inside the tool and may make it stop working correctly.
If you are learning how to put zircon stud finder back together, do not assume that the screw simply holds the outer shell together. Internal parts may need to stay in a specific position. A loose battery spacer or misaligned case can affect the tool’s operation.
- ✦ The screw was removed by mistake
This is the most common reason someone needs to learn how to put zircon stud finder back together. Zircon specifically warns users not to remove the rear screw during normal battery changes.
- ✦ The top case lifted away
Once the screw is removed, the top case may come loose. Keep the tool flat and avoid shaking or turning it over.
- ✦ Small parts moved
The battery spacer and other internal parts can shift when the case opens. Check their position before closing the tool.
Do not remove the screw for a normal battery change
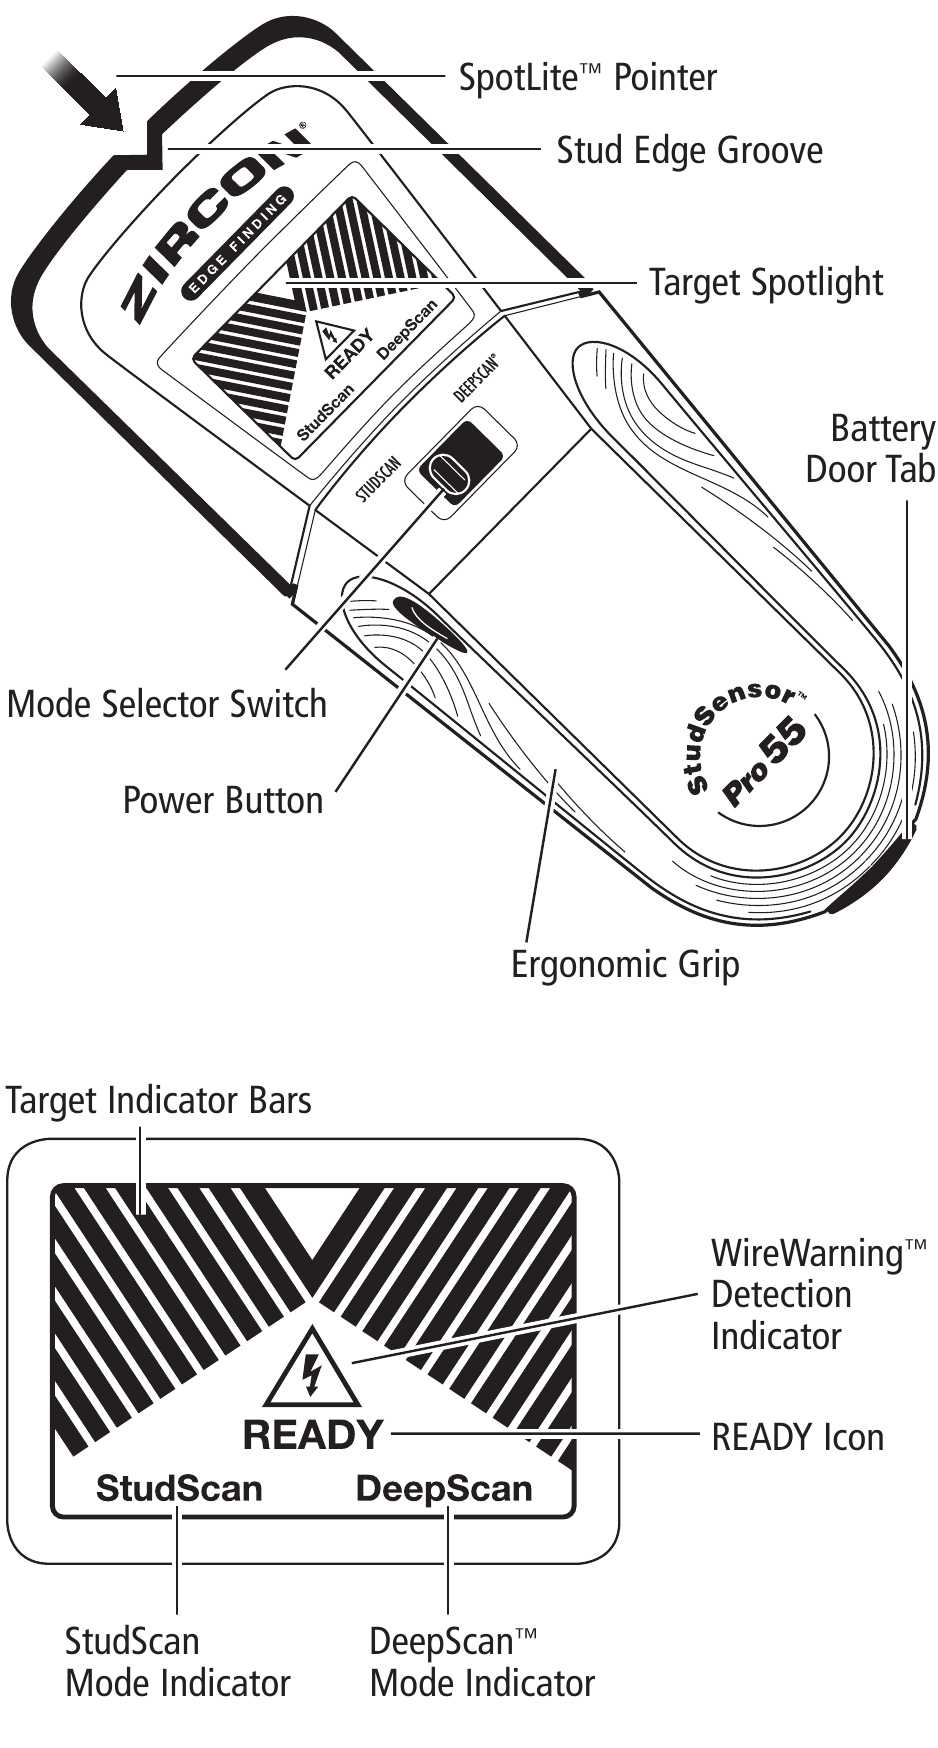
For many Zircon models, battery access is built into the battery door. Newer models may use a tab on the bottom, while older models may use a tight sliding cover or belt clip. The correct method depends on the model, but removing the case screw is not part of normal battery replacement.
- ✦ Use the battery door
Open the battery compartment using the tab, cover, or belt-clip release designed for your model.
- ✦ Check the model instructions
Different StudSensor models use different battery-door designs, so do not force a cover that does not match your tool.
What You Need Before You Reassemble It
You usually do not need a special repair kit to learn how to put zircon stud finder back together. The most important thing is a clean, flat work surface where small parts cannot roll away. Good light also helps you see the battery contacts and case tabs.
If the old battery is weak, use a new 9V alkaline battery for the final test. Zircon recommends a fresh battery with an extended expiration date when checking a reassembled tool.
- ✦ A clean table
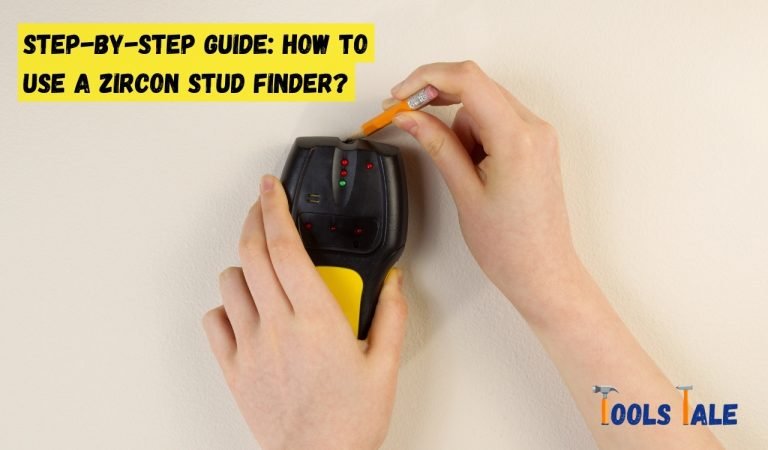
Place the stud finder flat on a stable surface so the internal parts stay aligned.
- ✦ The original screw
Keep the correct screw nearby. Do not replace it with a screw that is longer, wider, or shaped differently.
- ✦ A fresh 9V alkaline battery
Use a new battery for the final function test. A weak battery can make a correctly assembled tool appear faulty.
- ✦ Good lighting
Bright light makes it easier to check the battery spacer, contacts, tabs, and case seams.
Should you use a screwdriver?
Only use a screwdriver that fits the original screw correctly. The goal is to secure the case, not to tighten the screw as hard as possible. Stop if the screw will not start easily because a misaligned case can be the real problem.
- ✦ Do not overtighten
A snug screw is enough. Excess force can damage a plastic case or strip the screw area.
How to Put Zircon Stud Finder Back Together Step by Step
The safest way to learn how to put zircon stud finder back together is to follow the order used by Zircon. Leave the rear screw out while you position the internal parts and top case. Do not try to hold the tool upright while doing this work.
These steps apply to the StudSensor reassembly situation covered by Zircon’s support instructions. Exact case shapes can vary by model, so stop if your tool has a different design or a damaged part.
- ✦ 1. Leave the screw out
Keep the rear screw removed while you inspect and align the inside of the tool.
- ✦ 2. Remove the battery cover
Take off the battery cover so you can access the case and check the internal parts.
- ✦ 3. Place the tool flat
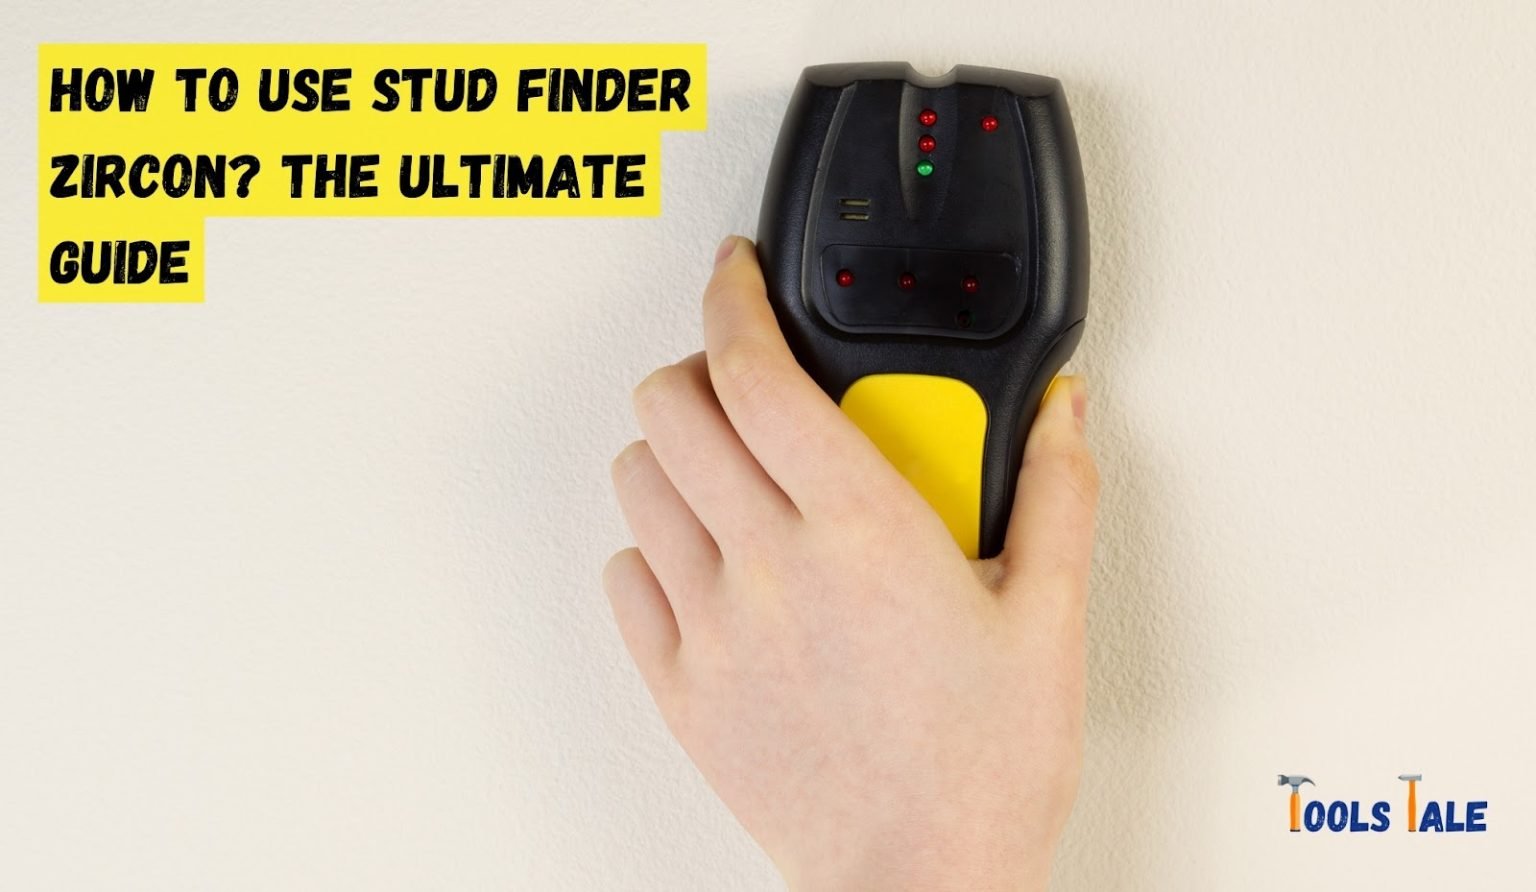
Set the stud finder flat on a table. This helps keep the circuit board and small plastic parts in position.
- ✦ 4. Check the inside
Carefully inspect the circuit board and surrounding parts. Everything should look square and properly seated.
- ✦ 5. Position the battery spacer
Make sure the plastic battery spacer with two holes sits in front of the battery contacts. The smaller hole belongs at the positive terminal and the larger hole belongs at the negative terminal.
- ✦ 6. Fit the top case
Place the top case back on the lower case. Insert the two tabs at the top first so the upper shell can sit flush.
- ✦ 7. Check the seams
Look around the entire case. The seams should meet evenly, with no visible gap caused by a trapped part.
- ✦ 8. Replace the screw
Once the case is correctly aligned, reinstall the original screw. Tighten it only enough to hold the case securely.
Step 1: Keep the screw removed
Do not put the screw back immediately. With the screw still out, you can position the case and internal parts without fighting the screw. This also makes it easier to see whether the top and bottom shells meet correctly.
- ✦ Important check
If the case will not sit flat before the screw is installed, do not use the screw to pull it together.
Step 2: Remove the battery cover and lay the tool flat
Take off the battery cover and place the tool flat on a table. Keep the open side facing up. Work slowly because small plastic parts can move if the tool is handled roughly.
- ✦ Keep the workspace clear
Move away loose screws, scraps, and other small objects that could be confused with the stud finder’s parts.
Step 3: Check the circuit board and internal alignment
Look at the circuit board and the surrounding plastic. Zircon’s reassembly guidance says the parts should be aligned correctly and look square. If a component appears cracked, bent, or detached, do not force the case closed.
- ✦ Look for damage
Check for broken tabs, damaged plastic, loose parts, or a circuit board that is not seated correctly.
Step 4: Position the battery spacer correctly
The battery spacer is one of the most important pieces to check. It is a plastic part with two holes that sits in front of the battery contacts. The smaller hole is for the positive terminal, while the larger hole is for the negative terminal.
If this piece is upside down, shifted, or missing, the tool may not behave as expected. Take a moment to compare its position with the battery contacts before closing the case.
- ✦ Small hole
The smaller hole corresponds to the positive terminal.
- ✦ Large hole
The larger hole corresponds to the negative terminal.
Step 5: Put the top case back on
Once the inside looks correct, place the top case back over the lower case. Zircon says the two tabs at the very top of the case must be inserted first. This lets the upper case settle into the lower case instead of sitting at an angle.
Press only as much as needed for the case to seat. If one side stays raised, remove the top again and look for a shifted internal part.
- ✦ Insert the top tabs first
The two upper case tabs should engage before you try to make the rest of the shell flush.
- ✦ Do not force it
A case that needs strong pressure usually means something inside is not aligned.
Step 6: Check every seam before replacing the screw
Run your eyes around the case and check that the seams are flush. The top and bottom pieces should meet without a large gap or uneven edge. This is the best time to correct a problem because the screw is still out.
- ✦ Flush case
The upper and lower shells should meet evenly around the tool.
- ✦ No trapped parts
Make sure no wire, plastic piece, or battery spacer is caught between the case halves.
Step 7: Replace the screw
After the case is aligned, reinstall the original screw. Start it gently so the threads line up. Tighten it until the case is secure, but avoid using excessive force.
- ✦ Stop if it binds
If the screw will not turn easily at first, remove it and check the case alignment rather than forcing it.
How to Test the Zircon Stud Finder After Reassembly
Knowing how to put zircon stud finder back together is only half the job. You should test the tool before trusting it for a drilling or mounting project. A quick test can show whether the case, battery contacts, and internal parts are working as expected.
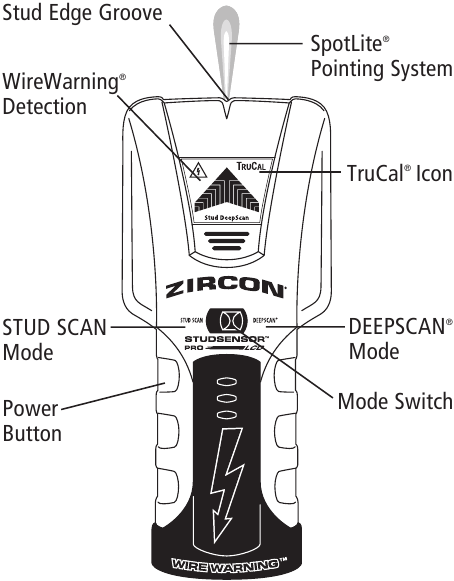
Zircon recommends using a brand-new 9V alkaline battery with an extended expiration date for this check. Hold the reassembled tool in the air and press and hold the Power button. The green TruCal or Ready light should come on with no other indication.

- ✦ Use a fresh battery
Install a new 9V alkaline battery before judging whether the reassembled tool works.
- ✦ Test in the air first
Press and hold the Power button while the tool is away from the wall. The normal ready indication should appear.
- ✦ Then test on a wall
Place the tool flat against an interior wall and follow the normal calibration and scanning process for your model.
What the green light means
On supported StudSensor models, the green TruCal or Ready indication shows that the tool has entered its ready state during the basic test. If you get unexpected lights, repeated beeps, or no response, check the battery and case alignment before assuming the electronics are damaged.
- ✦ Green ready indication
This is the expected basic response during the air test described by Zircon.
- ✦ Unexpected signals
Recheck the battery, battery contacts, case fit, and internal spacer position.
Test it on the wall
For a normal scan, place the tool flat against the wall before pressing the Power button. Keep it flat as you move it slowly across the surface. Calibration and scanning steps vary by model, so use the instructions for your exact StudSensor.
- ✦ Start on a clear area
Starting over a dense object can cause a calibration problem on electronic stud finders.
- ✦ Move slowly
A slow, steady pass gives the scanner time to detect changes in wall density.
What to Do If the Stud Finder Still Does Not Work
If the tool does not work after you learn how to put zircon stud finder back together, do not immediately assume the circuit board is ruined. Start with the simple checks. A weak battery, poor battery contact, shifted spacer, or case that is not fully seated can cause trouble.
Also remember that different Zircon models use different designs. A StudSensor EDGE, older StudSensor, and other models may have different battery doors and internal layouts. Do not force a procedure meant for another model.

- ✦ Install a new battery
A fresh 9V alkaline battery is the first simple check.
- ✦ Check the battery contacts
Make sure the battery is connected correctly and the contacts are not blocked by a misplaced plastic spacer.
- ✦ Inspect the case
Look for a raised seam or gap that could show the case is not seated correctly.
- ✦ Check the screw
Make sure the original screw is seated normally and is not forcing the case out of alignment.
- ✦ Check for broken parts
If a tab, case section, or internal component broke, stop using the tool until it can be properly repaired or replaced.
If the lights flash and the tool beeps
Flashing lights and repeated beeps can indicate a calibration problem on some Zircon models. Place the scanner in a different clear area of the wall, release the Power button, and start calibration again. The exact indicators vary by model.
- ✦ Move a few inches
If the tool started over a dense area, move it to another part of the wall and begin calibration again.
If the tool stays completely dead
Start with the battery and its connection. Then inspect the case alignment and battery spacer. If the tool still shows no response after those checks, internal damage may require professional help.
- ✦ Do not keep opening the case
Repeated disassembly can create more problems, especially if the model is not designed for user repair.
Common Mistakes to Avoid When Reassembling a Zircon Stud Finder
Most problems happen when someone tries to make the case fit by force. The plastic shell should sit correctly before the screw is tightened. If it does not, stop and inspect the inside.
Another common mistake is using the wrong battery or testing a reassembled tool with an old battery. A fresh 9V alkaline battery gives you a much cleaner test.

- ✦ Forcing the top case closed
Do not use pressure to hide a misaligned internal part. Open the case and check the spacer and other components.
- ✦ Tightening the screw too much
The screw only needs to hold the case together. Excess force can damage plastic threads.
- ✦ Putting the battery spacer in the wrong position
The two holes have different sizes and correspond to different battery terminals.
- ✦ Testing with an old battery
A weak battery can make a good repair look like a failed repair.
- ✦ Using the wrong model instructions
Zircon has several StudSensor designs. Always compare the case and battery compartment with your exact model.
- ✦ Opening the tool again and again
If the tool has damaged parts, repeated disassembly may make the problem worse.
Why forcing the case is a bad idea
The top case has tabs that must engage in the right order. If a tab misses its slot, the shell may look close to correct but still sit unevenly. Tightening the screw in that state can put stress on the plastic.
- ✦ Correct fit first
The case should fit naturally before you reinstall the screw.
How to Avoid Taking the Zircon Stud Finder Apart Again
Once you know how to put zircon stud finder back together, the easiest way to avoid repeating the repair is to use the battery door for future battery changes. Zircon states that its stud finders do not require removal of the rear screw for battery installation.
Before starting a home project, check the model name and read the battery instructions for that specific tool. This takes less time than repairing a loose case later.

- ✦ Use the designed battery access
Open the battery door or cover instead of removing the case screw.
- ✦ Keep the manual nearby
The model number helps you find the correct battery and scanning instructions.
- ✦ Replace batteries before major projects
A fresh battery can help reduce confusing behavior during a wall scan.
- ✦ Store the tool carefully
Keep the stud finder dry and protected from drops that could damage the case.
Battery access differs by model
Older Zircon models may use a battery cover that also acts as a belt clip. Newer models can use a battery door with a tab. The correct opening method depends on the exact model, so avoid assuming every Zircon scanner opens the same way.
- ✦ Older belt-clip models
The battery cover can be tight and may require releasing the cover or clip in the intended way.
- ✦ Newer models
Some newer StudSensor tools use a battery door that opens from the bottom of the tool.
When You Should Stop and Get Help
If the case closes cleanly, the battery is fresh, and the tool still fails its basic test, it may have suffered internal damage. The same is true if a circuit board, battery contact, case tab, or other part is visibly broken. At that point, further home repair may create more damage.
Zircon provides product support for users who are unsure whether their StudSensor was reassembled correctly. For a valuable tool or a damaged unit, professional support can be safer than repeated trial and error.
- ✦ Stop if the circuit board is damaged
Do not bend or repair electronic components unless you have the right technical skills and model-specific information.
- ✦ Stop if a case tab is broken
A broken tab may prevent the case from sitting securely.
- ✦ Stop if the screw will not align
A screw that does not start normally can signal that the case is not seated correctly.
- ✦ Seek model-specific support
If you are unsure about the correct internal layout, use Zircon’s support resources or contact the company.
Why model-specific instructions matter
A repair method for one StudSensor should not automatically be applied to another. Case designs, battery doors, displays, and scanning features differ across Zircon products. If your tool looks different from the model described here, use the instructions for your exact model.
- ✦ Identify the model
Look for the model name or number printed on the tool or its documentation before attempting further work.