How to Find Studs in RV Wall: 8 Easy and Safe Methods
Learning how to find studs in an RV wall is useful when you want to hang a TV, shelf, cabinet, grab bar, or other item. RV walls are not built quite like the walls in a typical house. They can be thin, light, and made with wood, aluminum, or a mix of materials.
The key is to confirm the framing before you drill. A stud can give a screw much more support, but not every RV has studs in the same places. A careful check can help you avoid a weak mount, damaged wall panel, wire, pipe, or other hidden part.

Why Finding RV Wall Studs Is Different
In a house, wall studs often follow a regular layout. Many homes use wood studs spaced at a common interval. An RV can be less predictable. The wall may have aluminum framing, wood framing, foam insulation, thin paneling, or several layers joined together.
This is why learning how to find studs in RV wall areas should start with the wall itself. Check the RV manual or construction information when available. If you know the wall uses aluminum framing, a normal magnetic stud finder may not work as expected.
Also, do not assume that every vertical line is a stud. RV manufacturers may add framing around windows, doors, cabinets, slide-outs, and other openings. Those areas can provide useful clues, but they do not prove the exact location of a stud.
- ✦ Wood framing
A strong magnet can help find screws or other metal fasteners that connect the wall panel to wood framing.
- ✦ Aluminum framing
A standard magnetic method may not detect aluminum itself. A suitable electronic stud finder, careful measurements, or construction clues may work better.
- ✦ Thin wall panels
Thin RV panels can flex or sound hollow. Use light pressure and avoid pushing hard against the wall while testing.
How RV Walls Are Commonly Framed
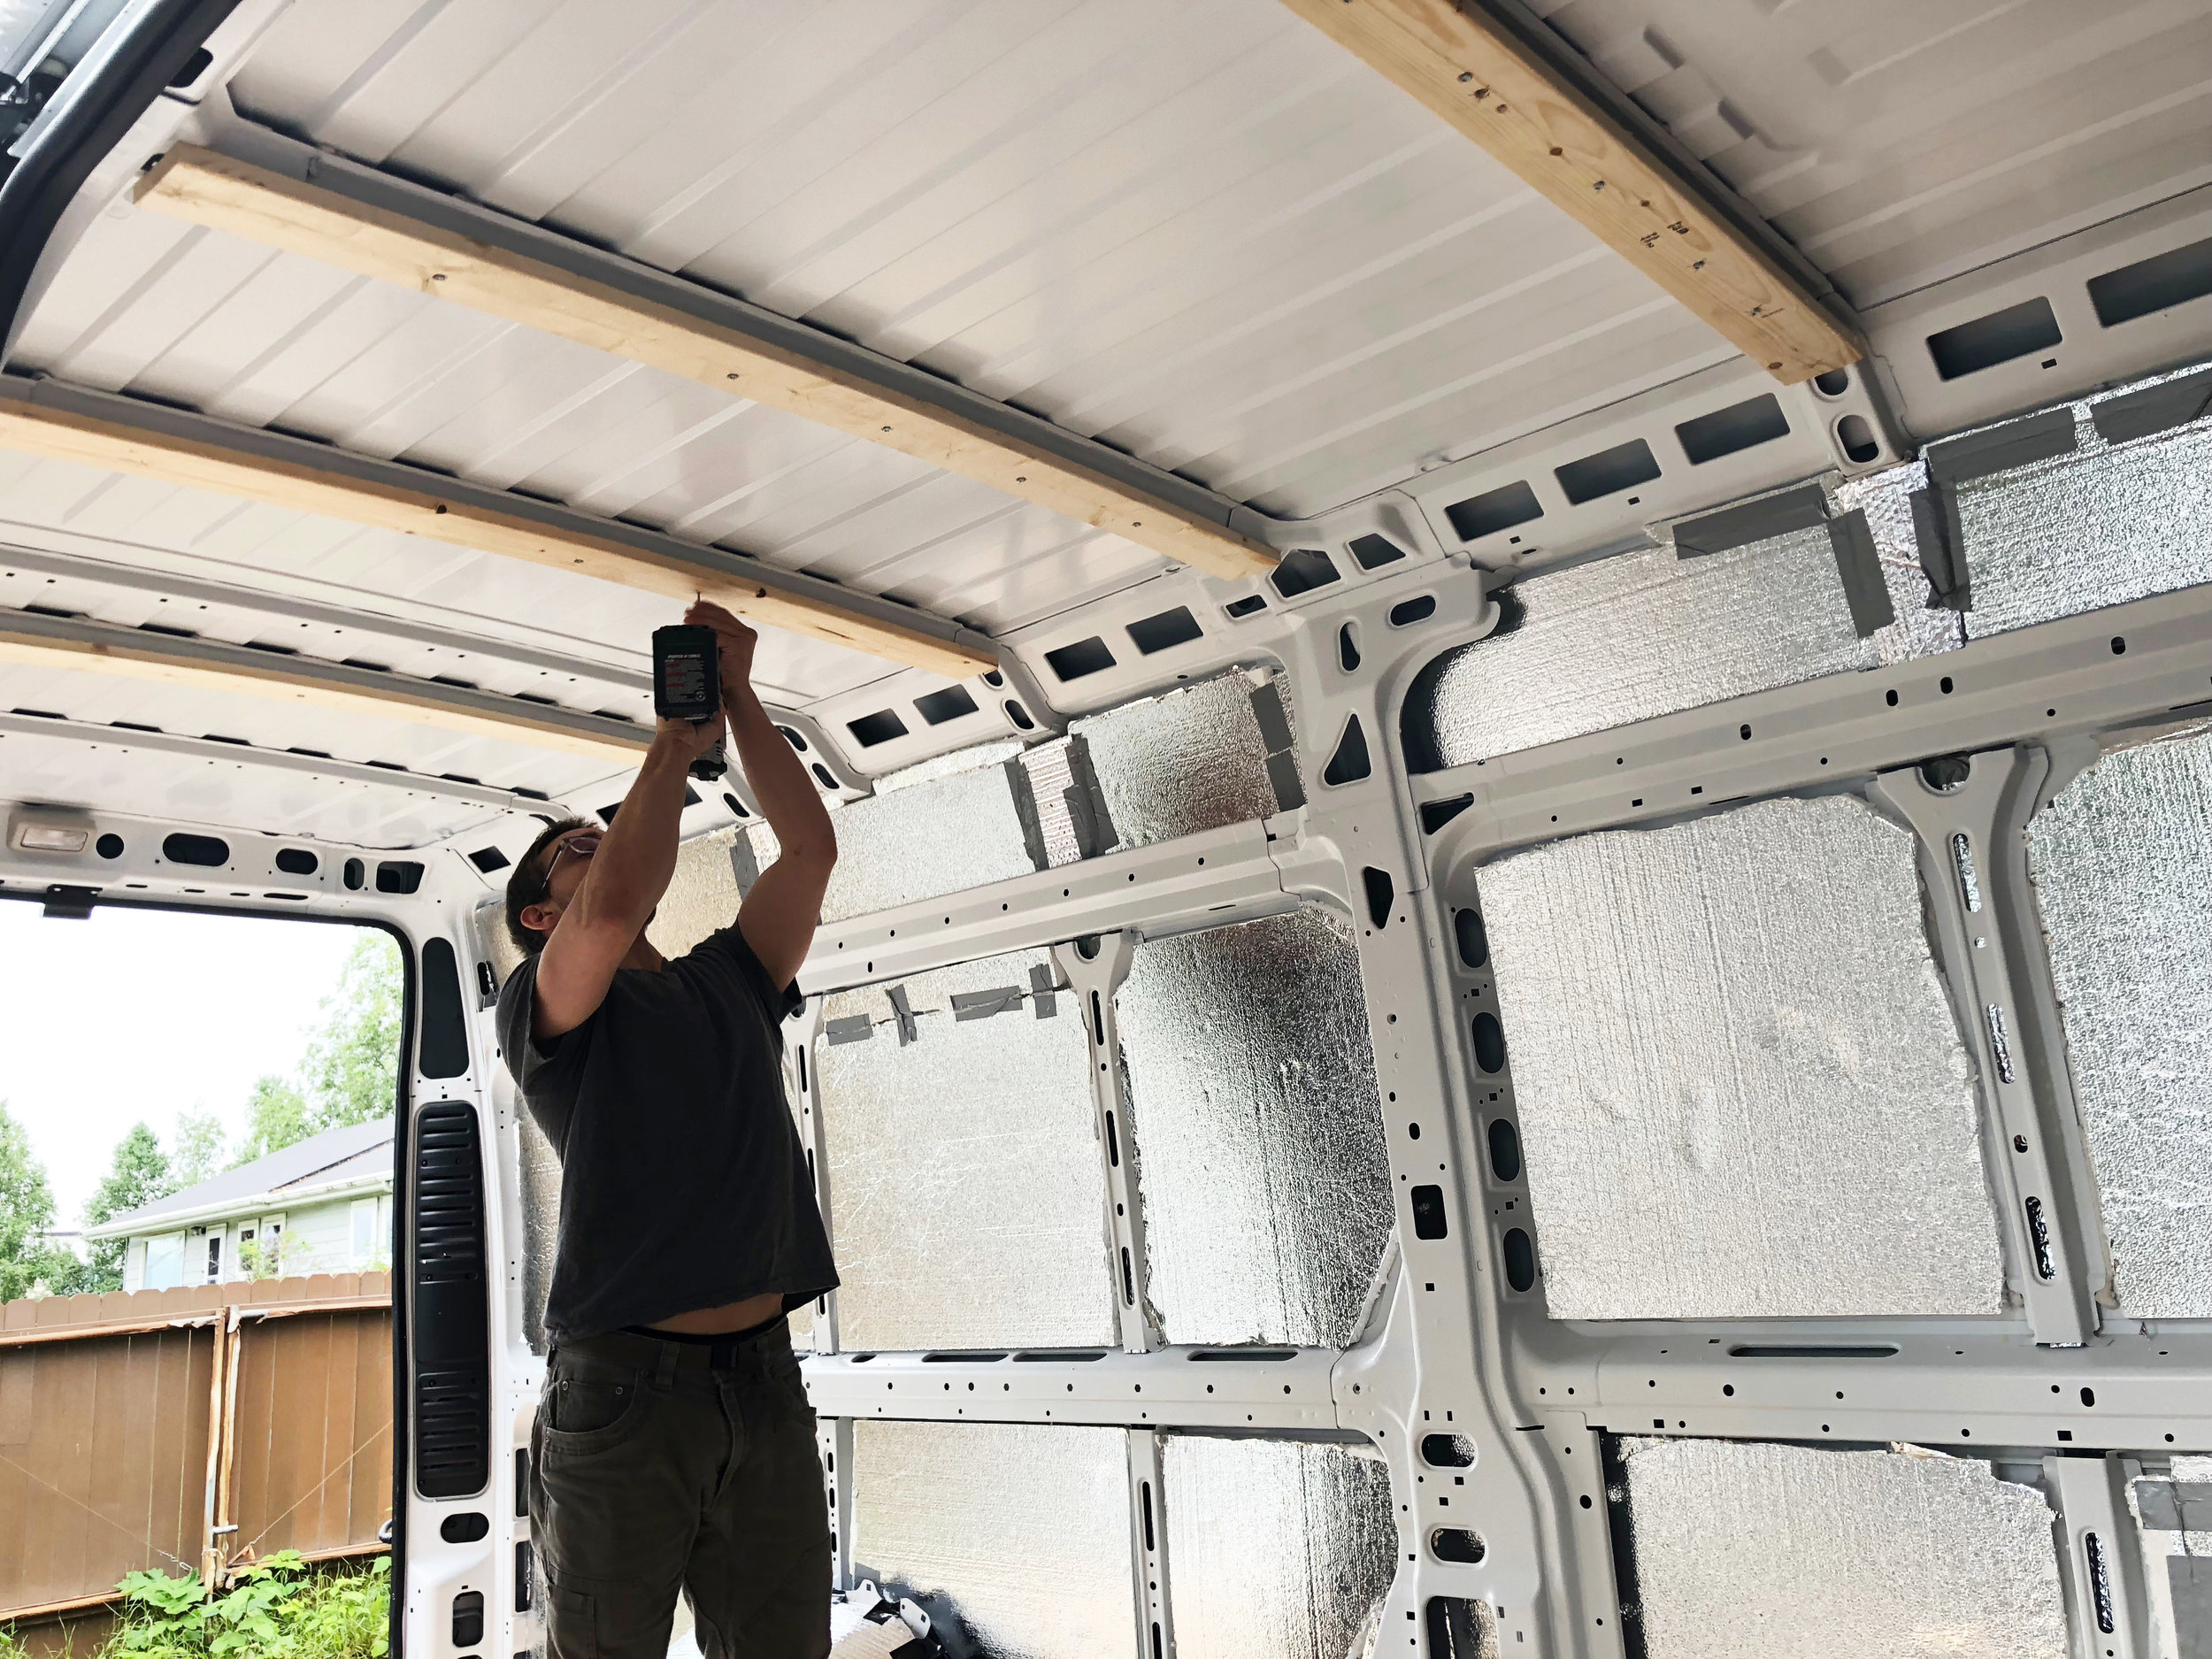
RV wall construction varies by brand, model, year, and wall section. Some walls use wood strips, while many modern RVs use aluminum framing. Some designs also use laminated panels with a frame bonded inside the wall.
That construction affects how you find the frame. Before using any method, think about what the wall is made of and what type of fastener you need for your project.
- ✦ Check your RV documents
Look for construction details, wall diagrams, or mounting notes in the owner’s manual and manufacturer information.
- ✦ Inspect nearby fixtures
Cabinets, trim, switches, windows, and other installed parts can reveal where extra framing may be present.
How to Find Studs in RV Wall With a Magnet
A magnet is one of the simplest tools for finding RV wall framing. It does not detect the stud itself when the stud is aluminum or wood. Instead, it finds metal screws, nails, or other fasteners that may attach the wall panel to the frame.
For how to find studs in RV wall construction with a magnet, move a small strong magnet slowly across the surface. Mark each spot where the magnet pulls toward the wall. Several fasteners that form a straight vertical line can point to a stud behind the panel.
Use more than one point to confirm the pattern. One magnetic spot alone may be a random screw or metal part. A series of aligned points gives you much stronger evidence.

- ✦ Start with a small magnet
A compact, strong magnet is easy to control and can help you find hidden fasteners without making holes.
- ✦ Move slowly
Sweep the magnet in small passes so you do not miss a weak pull from a fastener.
- ✦ Mark each hit
Use removable painter’s tape or a light pencil mark to record the points and look for a pattern.
- ✦ Confirm the line
Several fasteners in a straight line are more useful than one isolated magnetic response.
Can a Magnet Find Aluminum RV Studs?
No. A normal magnet does not stick to aluminum because aluminum is not strongly magnetic. It may still find steel screws or other metal hardware used near an aluminum frame.
If your RV uses aluminum studs, do not treat a lack of magnetic response as proof that no stud exists. Use another method to confirm the framing.
- ✦ No magnetic pull
An aluminum stud can sit behind the wall without attracting a normal magnet.
- ✦ Look for fasteners
Steel screws or other magnetic hardware can still provide clues about the frame.
How to Find RV Studs With an Electronic Stud Finder
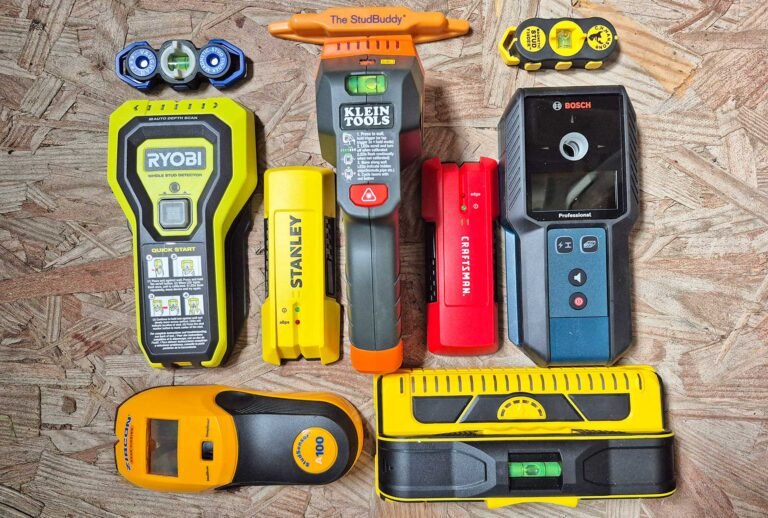
An electronic stud finder can help, but RV walls can make these tools less reliable than they are on standard drywall. Thin panels, insulation, laminate, metal framing, and uneven surfaces can affect the reading.
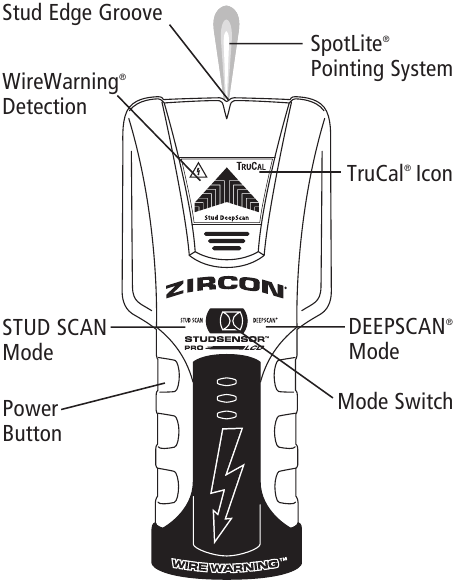
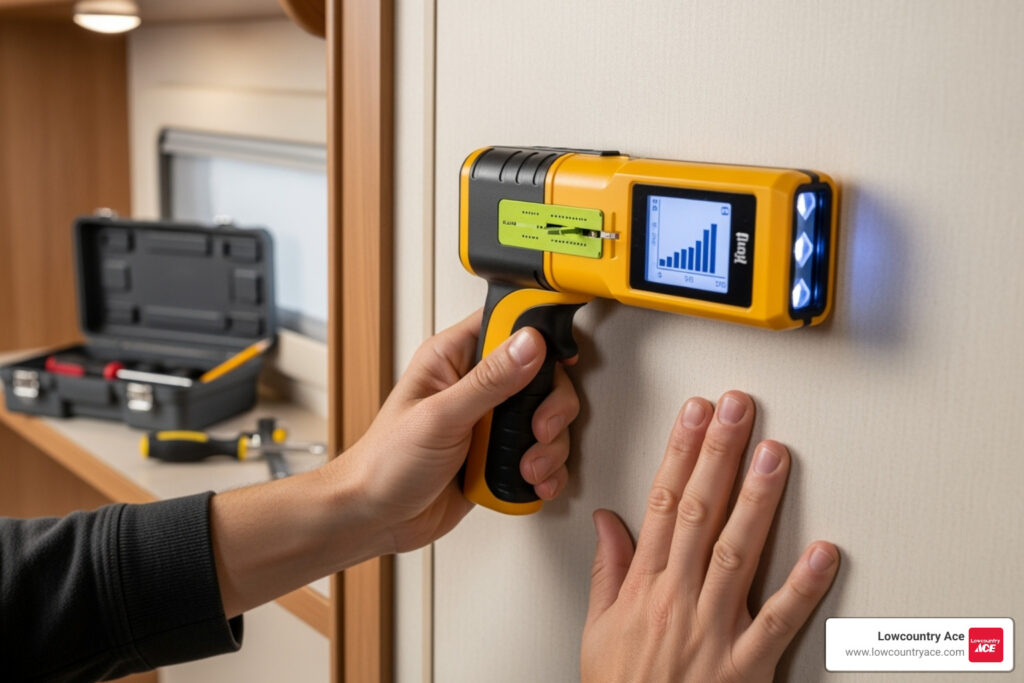
When learning how to find studs in RV wall panels with a stud finder, first test the tool in an area where you have a good idea of what is behind the wall. Read the tool’s instructions and use the correct mode if it has settings for different materials.
Move the tool slowly. Mark both edges of a strong reading instead of assuming the center of the first signal is the stud. Then check the result with another method before drilling.

- ✦ Calibrate first
Follow the tool’s instructions and calibrate it on the type of surface you are scanning.
- ✦ Scan in both directions
Check the same area with slow horizontal and vertical passes to see whether the signal forms a useful pattern.
- ✦ Confirm the result
Use a second clue, such as a magnet, measurement, trim line, or known fastener location, before making a hole.
Why Stud Finders Can Give False Readings in an RV
An RV wall can contain several materials close together. A detector may react to metal, dense material, seams, wiring, or other objects instead of the frame you want.
For that reason, a stud finder should be treated as a locating aid rather than absolute proof. The more important the mounting job, the more useful it is to verify the result with another method.
- ✦ Metal nearby
Metal framing and hardware can affect electronic readings.
- ✦ Thin panels
A thin wall can give a different reading than the thicker drywall used in many homes.
- ✦ Multiple layers
Laminated RV walls can make it harder for a detector to identify the exact depth and location of framing.
How to Find Studs in RV Wall Without a Stud Finder
You do not always need a special tool. Several simple clues can help you work out where framing may be located. This approach is useful when you are traveling and only have basic tools with you.
One useful method is to look at the wall’s trim, cabinets, and existing fasteners. Manufacturers often need extra support around openings and where furniture attaches to the structure. These clues can help you build a map of the wall before you drill.
Another option is the tap test. Lightly tap across the wall and listen for changes in sound. A duller sound can suggest a framed area, while a more hollow sound may indicate a space between framing members. This method is not exact, so use it with other clues.
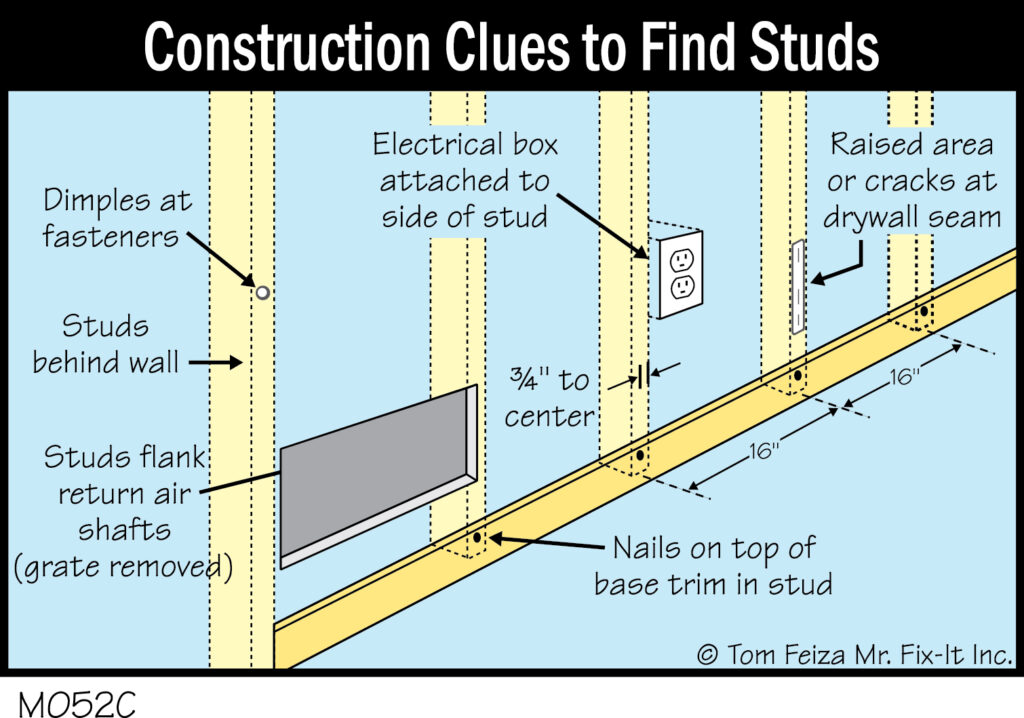
- ✦ Follow visible fasteners
Look for screw heads, trim fasteners, or other points that appear to form a line.
- ✦ Check trim
Trim around windows, doors, and cabinets can point toward areas with additional framing.
- ✦ Tap lightly
Compare the sound at several nearby points rather than relying on one tap.
- ✦ Measure from known points
Use confirmed framing points as references and check whether other possible studs follow a regular pattern.
Using Screws and Trim as Clues
Existing screws can be especially helpful because they may show where a panel meets the frame. If several screws line up vertically, that line may indicate framing behind the wall.
Still, do not assume every screw marks a structural stud. Some screws hold trim, furniture, or small components in place. Confirm the pattern before using it for a heavy mount.
- ✦ Look for repeated spacing
Several fasteners with a clear pattern can provide a stronger clue than one fastener.
- ✦ Trace the wall carefully
Use removable tape to mark possible lines without putting holes in the panel.
How to Find Studs Around RV Windows, Doors, and Cabinets
Openings and built-in fixtures can provide some of the best clues when you need to find RV wall studs. A window or door usually needs a framed opening, and cabinets often connect to structural parts of the RV.
When deciding how to find studs in RV wall sections near an opening, inspect the trim first. Look for fasteners, seams, or other signs that show where the opening frame starts and ends. This can help you understand the structure without removing the wall.
Be careful near windows and doors. These areas can contain wires, latches, plumbing, or other hardware. A framing clue tells you where support may exist, but it does not tell you that the space is safe to drill.
- ✦ Windows
The edge of a window often has framing around the opening, but the exact layout varies by RV.
- ✦ Doors
Door openings require structural support, which can provide useful reference points.
- ✦ Cabinets
Cabinet mounting points can reveal areas where the RV builder added support.
- ✦ Wall seams
Panel seams and trim lines may help reveal the wall’s construction and framing layout.
Use Known Points as Reference Marks
If you find one confirmed framing point, use it as a reference. Measure from it and check for other likely framing locations. Do not assume a house-style spacing pattern unless your RV documentation or repeated measurements support it.
RV builders may change the frame layout around windows, appliances, slide-outs, and other features. A regular pattern in one section may not continue across the whole wall.
- ✦ Measure twice
Take more than one measurement from a known point before marking a drilling location.
- ✦ Watch for changes
Treat openings and large fixtures as places where the normal framing pattern may change.
How to Confirm an RV Stud Before Drilling
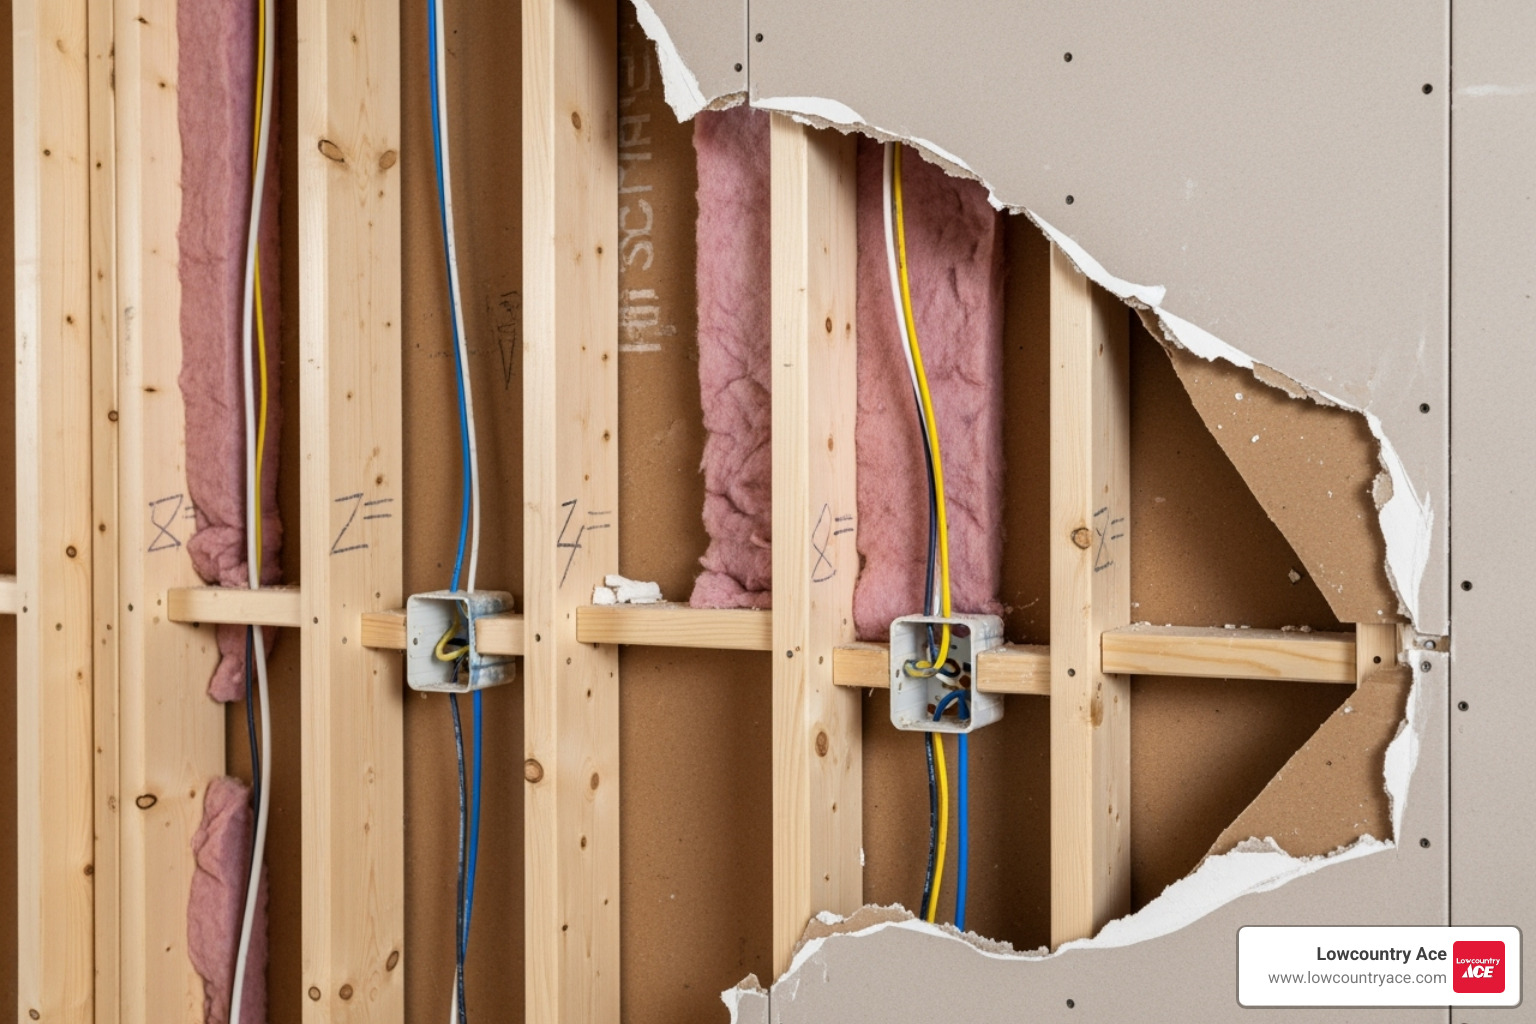
Finding a likely stud is only the first step. Before you drill, confirm the location and decide whether the wall can safely support the item you plan to mount. A thin RV wall may not support the same load as a typical home wall.
For how to find studs in RV wall projects that involve a TV, shelf, grab bar, or heavy storage item, use at least two locating methods. For example, combine a magnet with measurements, or a stud finder with visible fastener clues.
Then check the mounting instructions for your item. The fastener type, screw length, wall thickness, and weight of the item all matter. A stud can provide support, but it does not automatically make every mounting method safe.
- ✦ Confirm the frame
Use two or more clues before you commit to a drilling point.
- ✦ Check screw depth
Choose a fastener that fits the wall and frame without extending farther than intended.
- ✦ Check the load
Make sure the wall structure and mounting hardware can handle the item’s weight.
- ✦ Inspect the other side
When possible, check the opposite side of the wall or an accessible cabinet area for clues about wires, pipes, and framing.
Never Assume a Stud Means It Is Safe to Drill
A stud location and a safe drilling location are not the same thing. RV walls can contain electrical wires, plumbing, ducts, and other components. Some may run close to the frame.
Before drilling, disconnect power when appropriate and check the area from every accessible angle. If the location is unclear or the project could affect a major system, stop and get help from an RV technician.
- ✦ Avoid unknown areas
Do not drill simply because a detector shows a strong reading.
- ✦ Protect hidden systems
Consider electrical wiring, water lines, propane-related components, and other hidden parts before making a hole.
- ✦ Use shallow drilling when suitable
For some projects, a carefully selected shallow fastener may reduce the risk of reaching hidden components, but it still must suit the mounting job.
Common Mistakes When Finding RV Wall Studs
Many mounting problems start with one simple mistake: treating an RV wall like a house wall. RV construction is lighter and more varied, so a method that works well in drywall may give poor results in a camper.
Another common mistake is trusting one signal. A magnetic hit, electronic reading, or change in sound can be useful, but each method has limits. Confirmation matters most when the item is heavy or expensive.
Take your time before making the first hole. A few extra minutes of checking can save you from a loose mount, damaged panel, or repair job.
- ✦ Assuming standard stud spacing
Do not assume the framing follows a standard house pattern. RV layouts can change around openings and built-in parts.
- ✦ Trusting one tool
Use more than one clue when the mounting job matters.
- ✦ Drilling too deep
A long screw can reach areas behind the frame or panel that you cannot see.
- ✦ Ignoring wall material
Aluminum, wood, laminate, foam, and thin paneling can all change how a locating method works.
- ✦ Mounting more weight than the wall can handle
Finding a frame member does not by itself prove that the complete mounting system can carry a heavy load during RV travel.
Why RV Travel Changes the Mounting Problem
An RV moves, vibrates, and takes bumps while it travels. A wall mount must handle more than the item’s still weight. Repeated movement can loosen a weak fastener over time.
For that reason, choose hardware and mounting methods made for the wall construction and the item. Follow the item’s mounting instructions and any RV manufacturer’s guidance you can find.
- ✦ Vibration matters
A mount that feels firm while parked may loosen after repeated travel if the hardware is not suitable.
- ✦ Check after travel
Inspect mounted items from time to time, especially after long trips or rough roads.
A Simple Step-by-Step Method for Finding RV Studs
If you want a simple process, start with the least invasive methods. This gives you useful information without putting holes in the wall. The goal is to build confidence in the location before you drill.
Here is a practical way to approach how to find studs in RV wall construction. It works best when you combine several clues rather than depending on one test.
- ✦ 1. Identify the wall type
Find out whether the wall uses wood, aluminum, or another framing system if possible.
- ✦ 2. Check the owner’s information
Look for construction details, mounting notes, or diagrams for your RV model.
- ✦ 3. Inspect visible clues
Look at trim, screws, cabinets, windows, doors, and seams for signs of framing.
- ✦ 4. Scan with a magnet
Find magnetic fasteners and mark repeated points that may line up with a frame member.
- ✦ 5. Use a stud finder if suitable
Scan slowly and follow the tool’s instructions, while remembering that RV walls can cause unusual readings.
- ✦ 6. Tap and compare
Lightly tap nearby areas and compare the sound to identify changes that may support your other findings.
- ✦ 7. Confirm the location
Use at least one more method before drilling, especially for a heavy item.
- ✦ 8. Check for hidden components
Make sure the proposed drilling area does not put wires, plumbing, or other components at risk.
- ✦ 9. Select suitable hardware
Match the screw, fastener, anchor, and mounting method to the wall construction and load.
- ✦ 10. Drill carefully
Use controlled pressure and only the depth needed for the mounting system.
Best Method to Start With
For most RV owners, the best starting point is a visual inspection followed by a magnet test when the wall has magnetic fasteners. Then use measurements or an electronic tool to check the pattern.
If the wall uses aluminum framing, focus less on magnetic attraction to the stud itself. Instead, combine known framing points, measurements, fastener clues, and a suitable detection tool.
- ✦ Light project
For a small, light item, several non-invasive clues may be enough to locate a suitable mounting point.
- ✦ Heavy project
For a TV, large shelf, grab bar, or other heavy item, confirm the framing and mounting capacity with extra care.