How to Set Up an Air Impact Wrench: A Simple Step-by-Step Guide
Learning how to set up an air impact wrench is easier than it first looks. The basic setup uses an air compressor, hose, fittings, the wrench, and an impact-rated socket. The key is to match each part to the tool. A weak air supply can make a good wrench feel slow and weak.
Before you start, read the manual for your exact wrench. Air inlet size, hose size, working pressure, air flow, and lubrication needs can vary by model. For example, many shop-grade pneumatic impact wrenches use about 90 PSI, but you should not assume that value applies to every tool.
A good setup also protects the tool. Clean, dry air helps reduce wear. The right hose helps the tool get enough air. A secure fitting helps prevent sudden disconnection. With those points covered, you can learn how to set up an air impact wrench in a few clear steps.
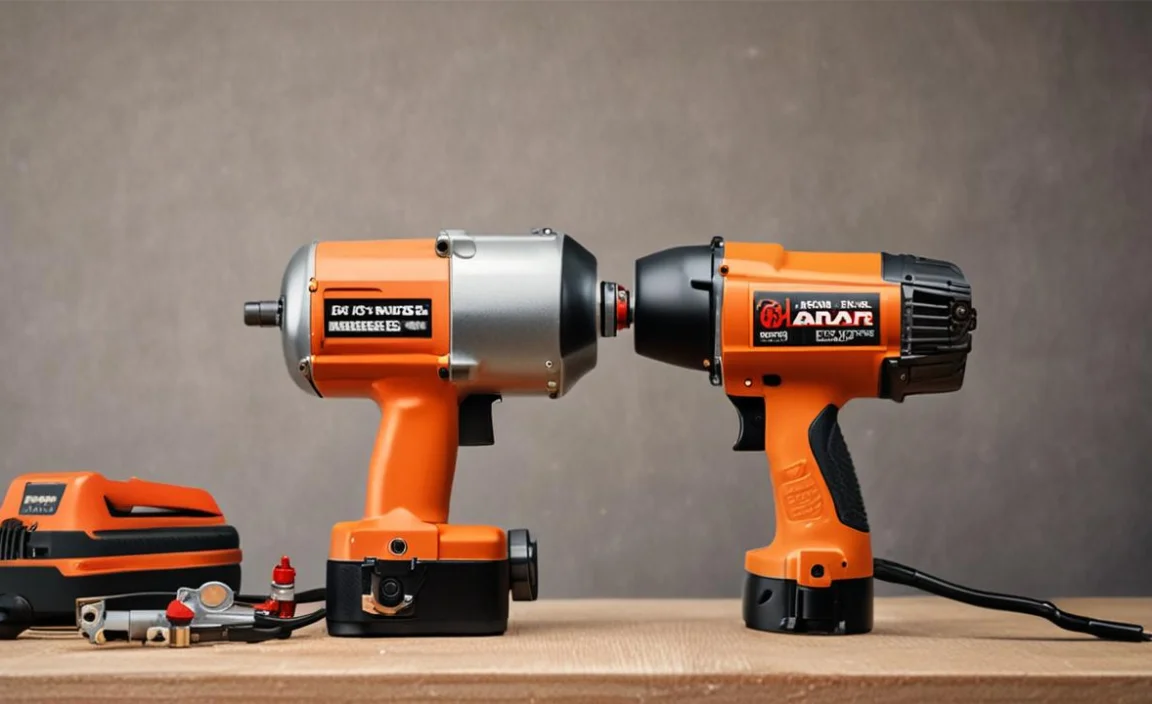
What You Need Before You Set Up an Air Impact Wrench
The first step in learning how to set up an air impact wrench is to gather the right parts. Most home garages and professional shops use a compressor, air hose, quick-connect fittings, an air regulator, and the impact wrench. You also need a socket that is made for impact tools.
Do not choose parts only by appearance. Check the wrench manual for its air inlet, minimum hose size, operating pressure, and air consumption. The compressor must be able to supply enough air while the wrench is running, not just show a high pressure number when the tank is full.
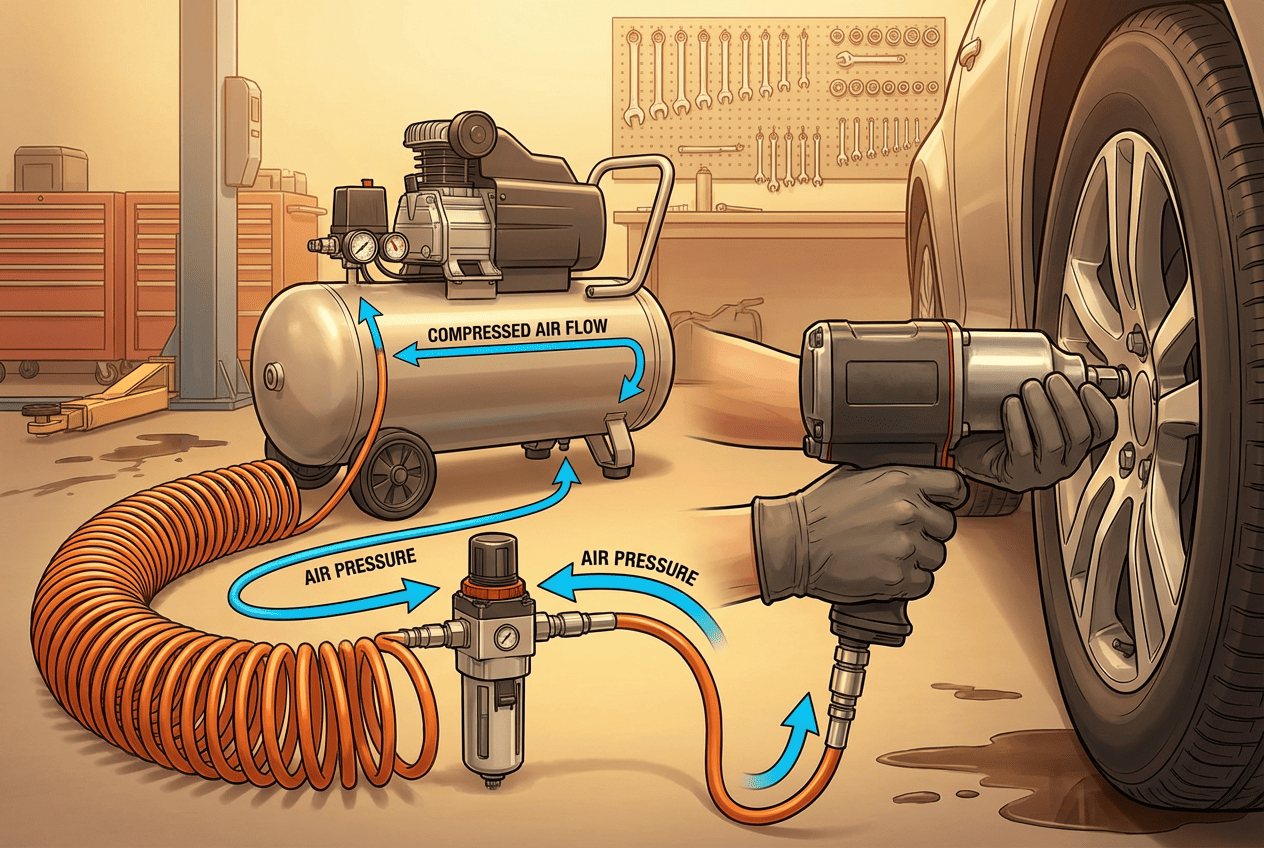
- ✦ Air compressor
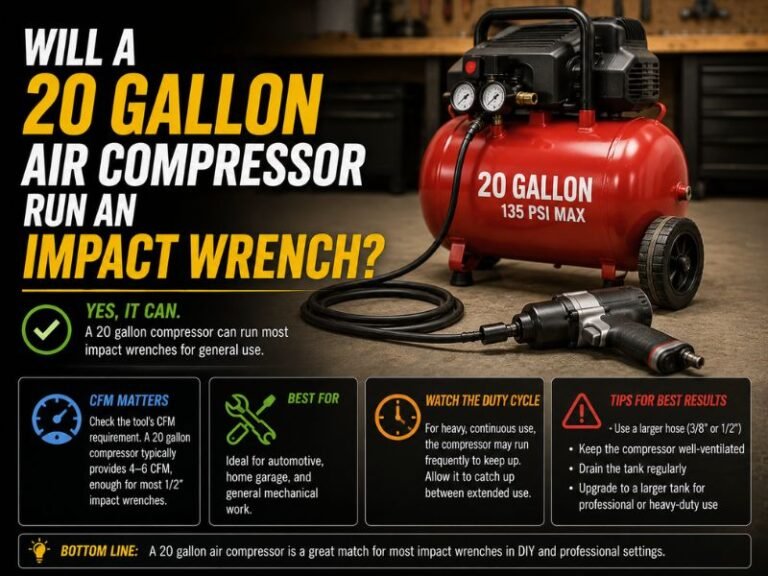
Choose a compressor that can meet the wrench’s required pressure and airflow. A compressor with a small tank or low air output may cause the wrench to slow down during heavy work.
- ✦ Air hose
Use a hose with an inside diameter that meets the tool maker’s requirement. A hose that is too small can restrict airflow and reduce tool performance.
- ✦ Regulator
Use a regulator to control the pressure supplied to the tool. Set it according to the wrench manual rather than simply turning it to the highest setting.
- ✦ Fittings
Use compatible quick-connect fittings and thread sizes. Make sure every connection locks firmly and does not leak.
- ✦ Impact socket
Use sockets rated for impact tools. Standard chrome hand-tool sockets can crack or break under repeated impact loads.
- ✦ Safety gear
Wear eye protection and hearing protection. Keep loose clothing, cords, and other objects away from the moving tool.
Check the Wrench Specifications First
Look for the air inlet size, recommended pressure, minimum hose size, and air consumption in the manual. These details matter more than the wrench’s advertised maximum torque. The goal is to give the tool the air volume it needs at the correct pressure.
For example, one common 1/2-inch pneumatic impact wrench is rated for 90 PSI and lists a 3/8-inch minimum hose size. Other models can require a larger hose and much more airflow. Treat these numbers as model-specific, not universal.
- ✦ Pressure
Use the pressure range stated by the manufacturer. More pressure is not automatically better.
- ✦ Airflow
Check the required CFM or L/min. The compressor must deliver enough airflow during actual use.
- ✦ Inlet and hose size
Match the fittings and hose to the wrench specifications. Do not judge hose size by the outside diameter alone.
How to Set Up an Air Compressor for an Impact Wrench
The compressor is the heart of a pneumatic impact wrench setup. Place it on a stable surface with enough space around it for ventilation. Drain moisture from the tank as recommended by the compressor maker, especially if the compressor has collected water from humid air.
Set the regulator to the wrench manufacturer’s recommended pressure. If the tool is designed for 90 PSI, that does not mean you should simply set the compressor tank to 90 PSI and assume the tool will always see 90 PSI. Air pressure can drop through a restrictive hose, fitting, filter, or coupler when the wrench is running.
A simple test can reveal an air supply problem. Connect the wrench, run it briefly, and watch the pressure while air is flowing. If pressure falls sharply or the tool sounds weak, check the hose, fittings, regulator, compressor capacity, and air leaks.
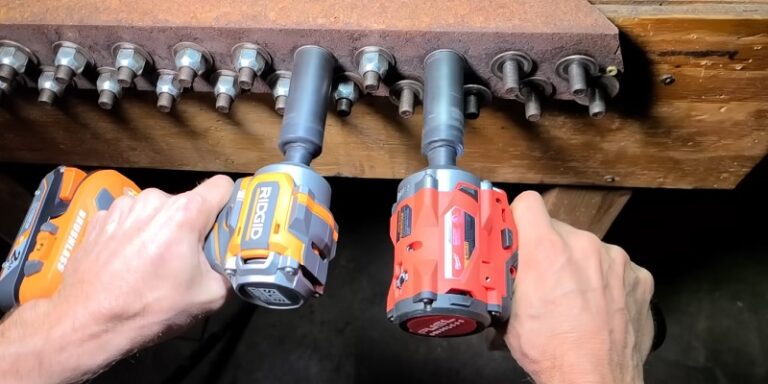
- ✦ Drain the compressor
Remove accumulated moisture according to the compressor manufacturer’s instructions. Water in an air system can contribute to tool problems and corrosion.
- ✦ Set the regulator
Adjust the regulator to the pressure specified for your impact wrench.
- ✦ Check the air line
Make sure the hose and fittings can provide the required airflow without excessive restriction.
- ✦ Test under flow
Check how the system behaves while the wrench is running. Static pressure alone does not prove that the system has enough airflow.
Why Compressor Size Matters
An impact wrench uses short bursts of high airflow. A compressor can have a large tank and still struggle if its pump cannot replace air fast enough. This becomes more noticeable during repeated lug removal, suspension work, or other long jobs.
Check the wrench’s stated air consumption and compare it with the compressor’s actual output. When the numbers are close, the compressor may run often and the tool may lose speed during repeated use.
- ✦ Tank size
A larger tank gives you a reserve of compressed air, but it does not replace adequate compressor output.
- ✦ CFM output
Compressor airflow is a key factor when an impact wrench runs for more than a short burst.
Connect the Air Hose and Fittings Correctly
Once the compressor is ready, connect the air hose to the regulated air outlet. Use fittings that match the thread and coupler system on your equipment. Apply thread sealant only where the fitting design calls for it, and keep sealant away from the inside of the air passage.
Attach the hose to the wrench with the air supply shut off or pressure released. Push the quick-connect fitting fully into place until it locks. Give the connection a gentle pull to confirm that it is secure before opening the air supply.
A pneumatic tool should not be allowed to disconnect from its hose by accident. In workplace settings, applicable safety rules may also require a positive connection method or additional safety devices. Never exceed the rated pressure of the hose, fittings, regulator, or tool.
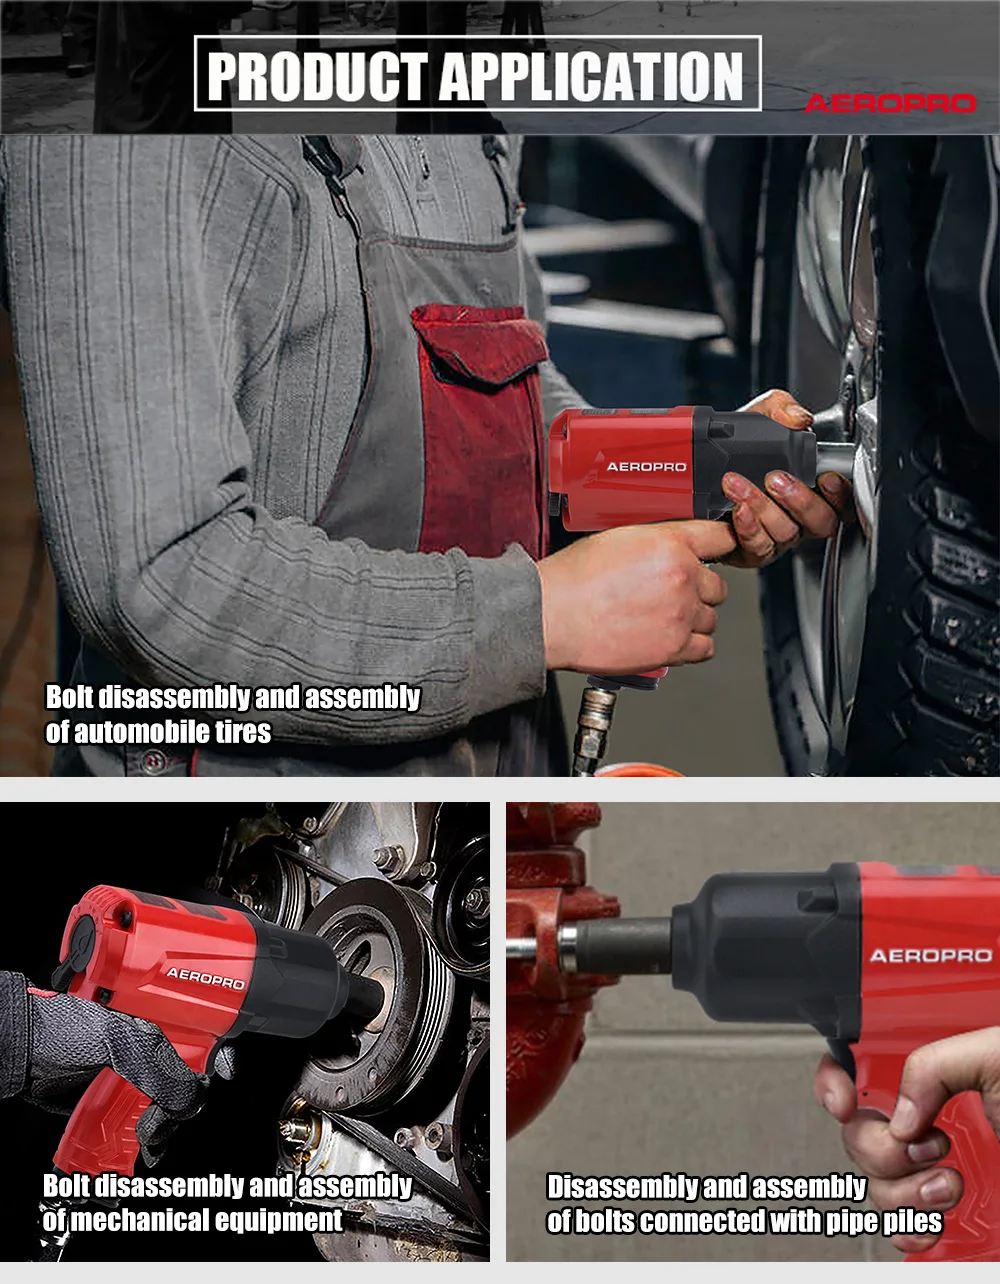
- ✦ Use the right thread
Confirm whether your wrench and fitting use the required NPT or other specified thread type and size.
- ✦ Lock the coupler
Make sure the quick-connect coupling is fully seated before supplying air.
- ✦ Inspect the hose
Do not use a hose with cuts, severe abrasion, damaged ends, bulges, or other signs of failure.
- ✦ Check for leaks
Listen for escaping air and inspect the connections. A leak wastes compressor capacity and can reduce tool performance.
Choose the Right Hose Size
Hose size can have a large effect on a pneumatic tool. A small hose may pass enough air for light work but restrict the tool during high demand. Follow the minimum inside diameter listed by the wrench maker.
Keep the hose as practical for the job. An extremely long line can add pressure loss, especially when the hose or fittings are too small. If you need a long run, pay close attention to the manufacturer’s hose and fitting recommendations.
- ✦ Follow the manual
Use at least the minimum inside diameter specified by the wrench manufacturer.
- ✦ Avoid unnecessary restriction
Small couplers, filters, valves, and long narrow hoses can limit airflow.
Lubricate the Air Impact Wrench if the Manual Requires It
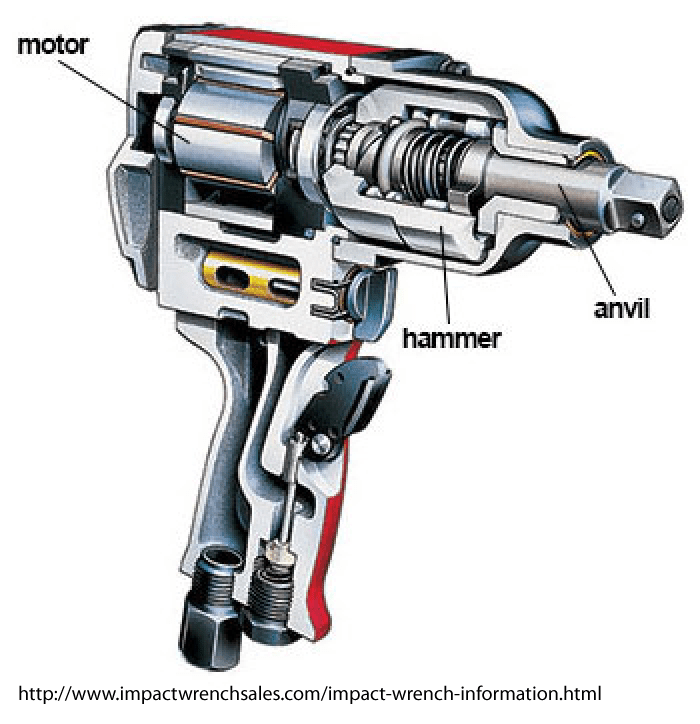
Many pneumatic impact wrenches need air-tool oil. The correct amount and method depend on the model. Some tools use oil through the air inlet, while others have different lubrication points or systems.
Disconnect the air supply before adding oil. Add only the amount specified by the manufacturer. Too little oil can increase wear, while excess oil can create mess and may not improve performance.
If your setup includes an inline lubricator, install and adjust it according to the tool maker’s instructions. Do not assume every impact wrench needs the same lubrication method. A maintenance schedule in the manual is the safest guide.

- ✦ Use air-tool oil
Use the lubricant specified for pneumatic tools and your particular wrench.
- ✦ Disconnect first
Release or disconnect the air supply before lubricating or servicing the wrench.
- ✦ Do not over-oil
Follow the manufacturer’s stated amount instead of adding oil until the tool looks wet.
- ✦ Keep oil out of the wrong places
Lubricate only the points described by the manufacturer.
Install the Correct Impact Socket
Choosing the right socket is an important part of how to set up an air impact wrench. Match the socket drive size to the wrench. Then choose a socket that fits the fastener correctly.
Use impact-rated sockets made for pneumatic or electric impact tools. These sockets use materials and designs intended to handle repeated shock loads. Avoid using thin-wall chrome sockets that are meant for hand tools unless the manufacturer specifically says they are suitable.
Push the socket fully onto the square drive. If your wrench uses a retaining ring, pin, or other retention system, make sure the socket is properly secured. Stop and disconnect the air supply before changing sockets.
- ✦ Match drive size
A 1/2-inch wrench needs a compatible 1/2-inch drive socket unless a properly rated adapter is used.
- ✦ Use impact-rated sockets
Choose sockets designed for impact use and inspect them for cracks or damage.
- ✦ Seat the socket fully
Make sure the socket sits completely on the square drive and is retained correctly.
Choose the Right Drive Size
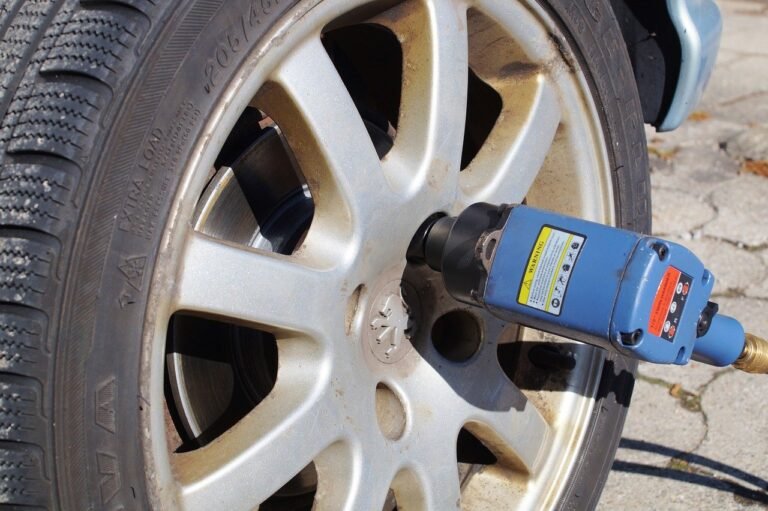
A 3/8-inch impact wrench is often used for smaller fasteners and lighter work. A 1/2-inch model is common for automotive work such as wheel service and larger fasteners. Larger drive sizes are used when the job calls for more capacity.
Drive size alone does not tell you how much torque a wrench can produce. Compare the wrench’s rated performance with the fastener size and the requirements of the job.
- ✦ 3/8-inch drive
Often useful for smaller automotive and mechanical fasteners.
- ✦ 1/2-inch drive
A common choice for general automotive work and larger fasteners.
- ✦ Larger drives
Useful for heavy-duty applications when the tool, socket, and fastener all support the required load.
Set the Direction and Power Control
Most air impact wrenches have a forward and reverse control. Check the markings on the tool before you start. Use reverse for removal and forward for tightening unless your particular tool uses a different control arrangement.
Many impact wrenches also have a power regulator. This control can change how much impact the tool delivers, but its settings are not the same as a calibrated torque setting. Air pressure, joint condition, fastener type, socket type, and how long the tool runs can all affect the final torque.
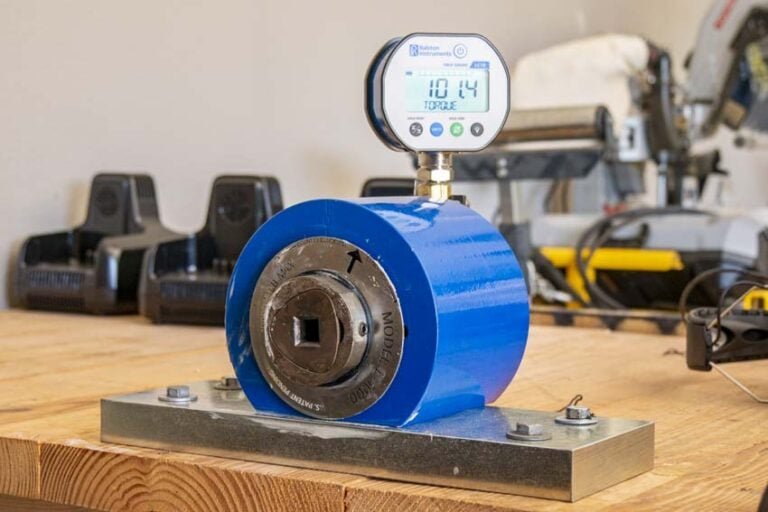
For critical fasteners, use the impact wrench to run the fastener down only when appropriate, then use a calibrated torque wrench to reach the specified final torque. This is especially important for vehicle wheel nuts and other fasteners where the maker provides a required torque value.

- ✦ Start on a low setting
When tightening, begin with a lower power setting if your tool allows it. This gives you more control while you learn how the tool behaves.
- ✦ Use the correct direction
Confirm forward and reverse before placing the socket on the fastener.
- ✦ Do not rely on impact time
Holding the trigger longer does not provide a precise torque value.
- ✦ Finish with a torque wrench
Use a calibrated torque wrench when the application calls for a specific final torque.
Why an Impact Wrench Is Not a Torque Wrench
An impact wrench is built to loosen and tighten fasteners quickly. It is not a precision torque measuring device. Even the same wrench can produce different results when air pressure, lubrication, joint condition, or fastener friction changes.
For safety-critical work, follow the vehicle or equipment maker’s torque procedure. Use the impact wrench for speed when suitable, then verify final torque with the specified calibrated tool.
- ✦ Use the impact wrench for speed
It can quickly remove fasteners and bring suitable fasteners close to their seated position.
- ✦ Verify critical torque
Use a calibrated torque wrench when the final torque must meet a specific value.
How to Test the Setup Before Real Work
After you connect everything, do a short test before using the wrench on an important fastener. Put on your safety gear and keep the socket pointed at the work area. Make sure the socket is fully seated and that the tool is held with a firm grip.
Open the air supply and run the wrench for a short burst. Listen for leaks, unusual rattles, or a weak motor. Watch the hose and fittings for movement that suggests a loose connection.
If the wrench runs slowly, do not immediately increase the pressure. First check for a restricted hose, small fitting, blocked filter, low compressor output, excessive line length, or an air leak. The correct fix is often better airflow rather than more pressure.
- ✦ Check the socket
Confirm that the socket fits the fastener and sits fully on the drive.
- ✦ Listen for leaks
A steady hiss from a connection can indicate wasted air and a possible performance problem.
- ✦ Watch the pressure
Check pressure while the tool is operating, not only when the compressor is idle.
- ✦ Stop if something feels wrong
Disconnect the air supply and inspect the tool if it vibrates abnormally, leaks heavily, or behaves unexpectedly.
Common Air Impact Wrench Setup Problems
If an impact wrench feels weak, the wrench itself may not be the problem. Air delivery is often the first thing to check. A small hose, restrictive coupler, dirty filter, long air line, or compressor with low output can limit the tool.
Another common issue is incorrect pressure. Too little pressure can reduce performance, while exceeding the tool’s rated pressure can create a safety and equipment problem. Always stay within the manufacturer’s stated limits.
Moisture and poor lubrication can also affect pneumatic tools. A clean air system and the correct maintenance routine can help keep the wrench working as designed.

- ✦ The wrench is weak
Check dynamic air pressure, airflow, hose size, fittings, compressor capacity, and leaks before replacing the wrench.
- ✦ The wrench stops often
The compressor may be unable to keep up with the tool’s air demand during repeated use.
- ✦ The wrench leaks
Inspect the coupler, hose, inlet fitting, seals, and other connection points.
- ✦ The wrench runs rough
Check lubrication and follow the manufacturer’s maintenance procedure.
- ✦ The socket does not stay on
Check the drive, retaining system, and socket for damage. Do not use a damaged socket or retaining part.
Why More PSI Does Not Always Mean More Power
It is tempting to turn up the regulator when an impact wrench feels weak. That can be the wrong approach. If the hose or fitting cannot provide enough air volume, raising the pressure at the compressor may not solve the restriction.
The better approach is to check the complete air path. Confirm the pressure at the tool while it runs, then inspect the hose, couplers, filters, regulator, and compressor output.
- ✦ Check airflow first
A tool needs enough air volume as well as the correct pressure.
- ✦ Check restrictions
Small or clogged components can limit airflow before the air reaches the wrench.
Air Impact Wrench Safety Tips
Compressed air can store a great deal of energy. Treat every hose and fitting as a pressurized component. Wear eye protection, use hearing protection, and keep other people away from the immediate work area when flying debris or high noise could be a concern.
Disconnect and release air pressure before changing sockets, servicing the wrench, or fixing a connection. Never point a pressurized pneumatic tool at a person. Keep the hose away from sharp edges, hot surfaces, vehicles, and areas where it can become a trip hazard.
Follow the tool maker’s pressure limits and the applicable safety rules for your workplace. In the United States, OSHA construction rules include requirements for securing pneumatic tools and hoses and for preventing attachments from being accidentally expelled.
- ✦ Wear eye protection
Protect your eyes from flying particles, damaged socket pieces, and other debris.
- ✦ Use hearing protection
Pneumatic impact tools can produce high noise levels, especially during repeated use.
- ✦ Disconnect before service
Release air pressure before changing sockets, lubricating, inspecting, or repairing the tool.
- ✦ Secure the air connection
Use a proper connection system that helps prevent accidental hose separation.
- ✦ Stay within pressure limits
Never exceed the rated operating pressure of the tool, hose, regulator, fittings, or other components.
- ✦ Never use damaged parts
Replace cracked sockets, damaged hoses, faulty couplers, and worn fittings before use.
What to Do Before Disconnecting the Hose
Release the trigger and let the wrench stop completely. Shut off the air supply and release pressure from the line before disconnecting the hose when the equipment setup requires it.
Do not pull apart a pressurized connection just because the coupler looks easy to remove. Stored pressure can cause the hose or fitting to move suddenly.
- ✦ Stop the tool
Release the trigger and wait for all moving parts to stop.
- ✦ Shut off air
Close the air supply and release line pressure safely.
- ✦ Then disconnect
Disconnect the hose only after the line is safe to open.
A Simple Step-by-Step Air Impact Wrench Setup
If you want a short checklist for how to set up an air impact wrench, use the sequence below. It keeps the setup simple and helps you find problems before they affect your work.
Take your time on the first setup. Once your compressor, hose, fittings, and wrench are matched correctly, later jobs become much faster.
- ✦ Step 1: Read the wrench manual
Find the required air pressure, airflow, inlet size, hose size, and lubrication method.
- ✦ Step 2: Prepare the compressor
Place the compressor safely, check its condition, and drain moisture as recommended.
- ✦ Step 3: Set the regulator
Adjust the regulated pressure to the manufacturer’s recommended value.
- ✦ Step 4: Connect the hose
Use a suitable hose and secure the fitting to the compressor outlet.
- ✦ Step 5: Lubricate if required
Add the specified air-tool oil using the method and amount listed in the manual.
- ✦ Step 6: Connect the wrench
Attach the hose with the air supply off or pressure released, then verify the coupler locks.
- ✦ Step 7: Install the socket
Use a correctly sized impact-rated socket and make sure it is fully retained.
- ✦ Step 8: Select direction and power
Choose forward or reverse as needed and use a suitable power setting.
- ✦ Step 9: Test the tool
Run a short test and check for leaks, weak airflow, unusual noise, or loose connections.
- ✦ Step 10: Work and verify final torque
Use the wrench for suitable fastening work, then verify critical final torque with a calibrated torque wrench.