How to Find Studs Behind Fiberglass Shower: A Safe Step-by-Step Guide
If you need to mount a grab bar, shelf, shower door, or other fixture, knowing how to find studs behind fiberglass shower walls is important. Fiberglass can hide the wood or metal framing behind it, so you cannot simply look for a visible seam. The good news is that you can often locate the framing without removing the shower surround.
The safest approach uses more than one clue. Start with the room behind the shower if you can access it. Then check the shower wall with a magnet or stud finder. In my experience, confirming the same location with two methods is much safer than trusting one reading.
Why Finding Studs Behind a Fiberglass Shower Can Be Tricky
A fiberglass shower surround sits over a wall system. That wall may have drywall, cement board, foam, adhesive, or other layers between the fiberglass and the framing. These layers can make electronic stud finders less reliable.
Older homes can add another challenge. Stud spacing may not match the common 16-inch pattern. Some walls also use metal studs instead of wood studs. That is why learning how to find studs behind fiberglass shower walls starts with understanding the wall, not just using a tool.
:max_bytes(150000):strip_icc()/installing-a-tub-or-shower-surround-2718986-01-b02d6683a8ee4621bf9b9ac7ab0b1dd2.jpg "Shower wall framing and surround installation")
- ✦ Fiberglass blocks your view
The surround covers the framing, so you must locate studs through the finished wall or from another accessible side.
- ✦ Stud spacing can vary
Many U.S. homes use studs at about 16 inches on center, but 24-inch spacing and custom framing also occur.
- ✦ Wall layers affect tools
Thick panels, adhesives, backer board, pipes, and wiring can cause false or unclear readings.
Wood Studs Versus Metal Studs
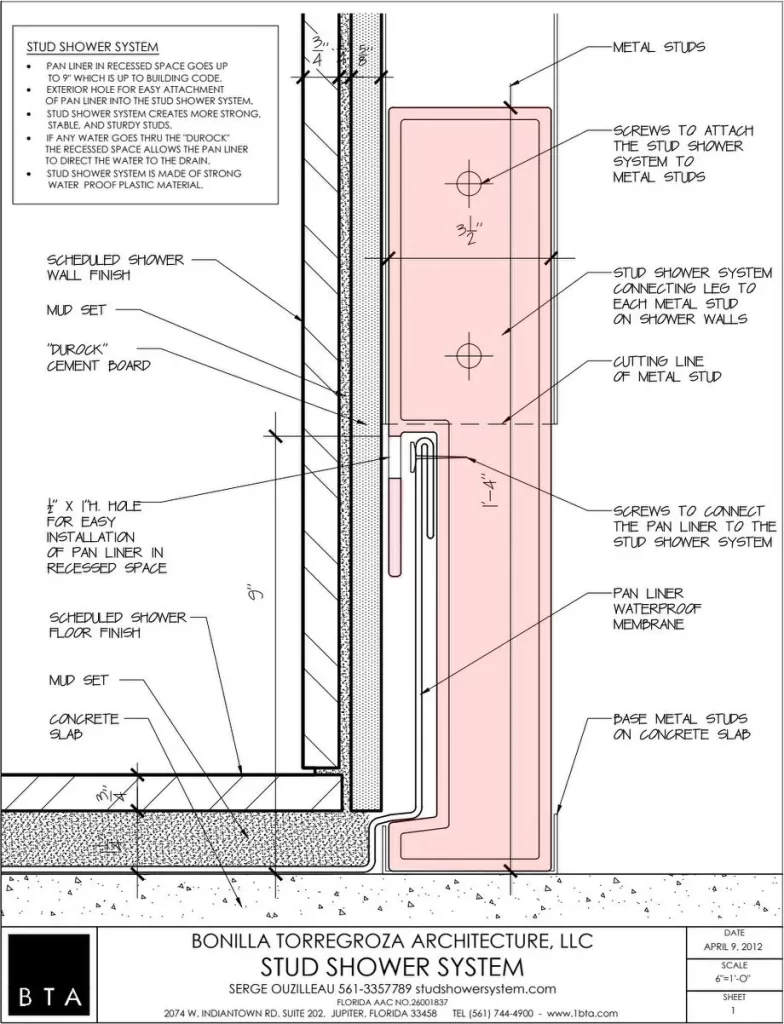
Most residential shower walls use wood framing, but metal studs are also common in some homes and buildings. A magnet can help detect metal framing, but it may also react to screws and other metal parts. A strong, continuous line of fasteners can give you a better clue than one magnetic spot.
- ✦ Wood framing
A stud finder or measurements from known framing points can help locate wood studs.
- ✦ Metal framing
A magnet may detect metal studs, but you should confirm the result before attaching a heavy load.
Start With the Best Clue: Access to the Other Side
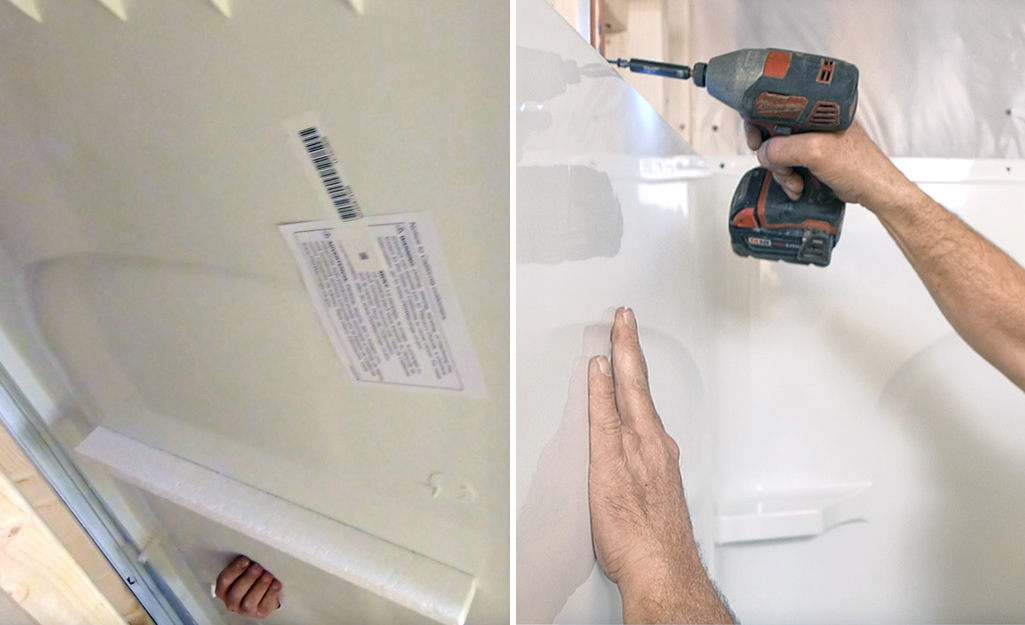
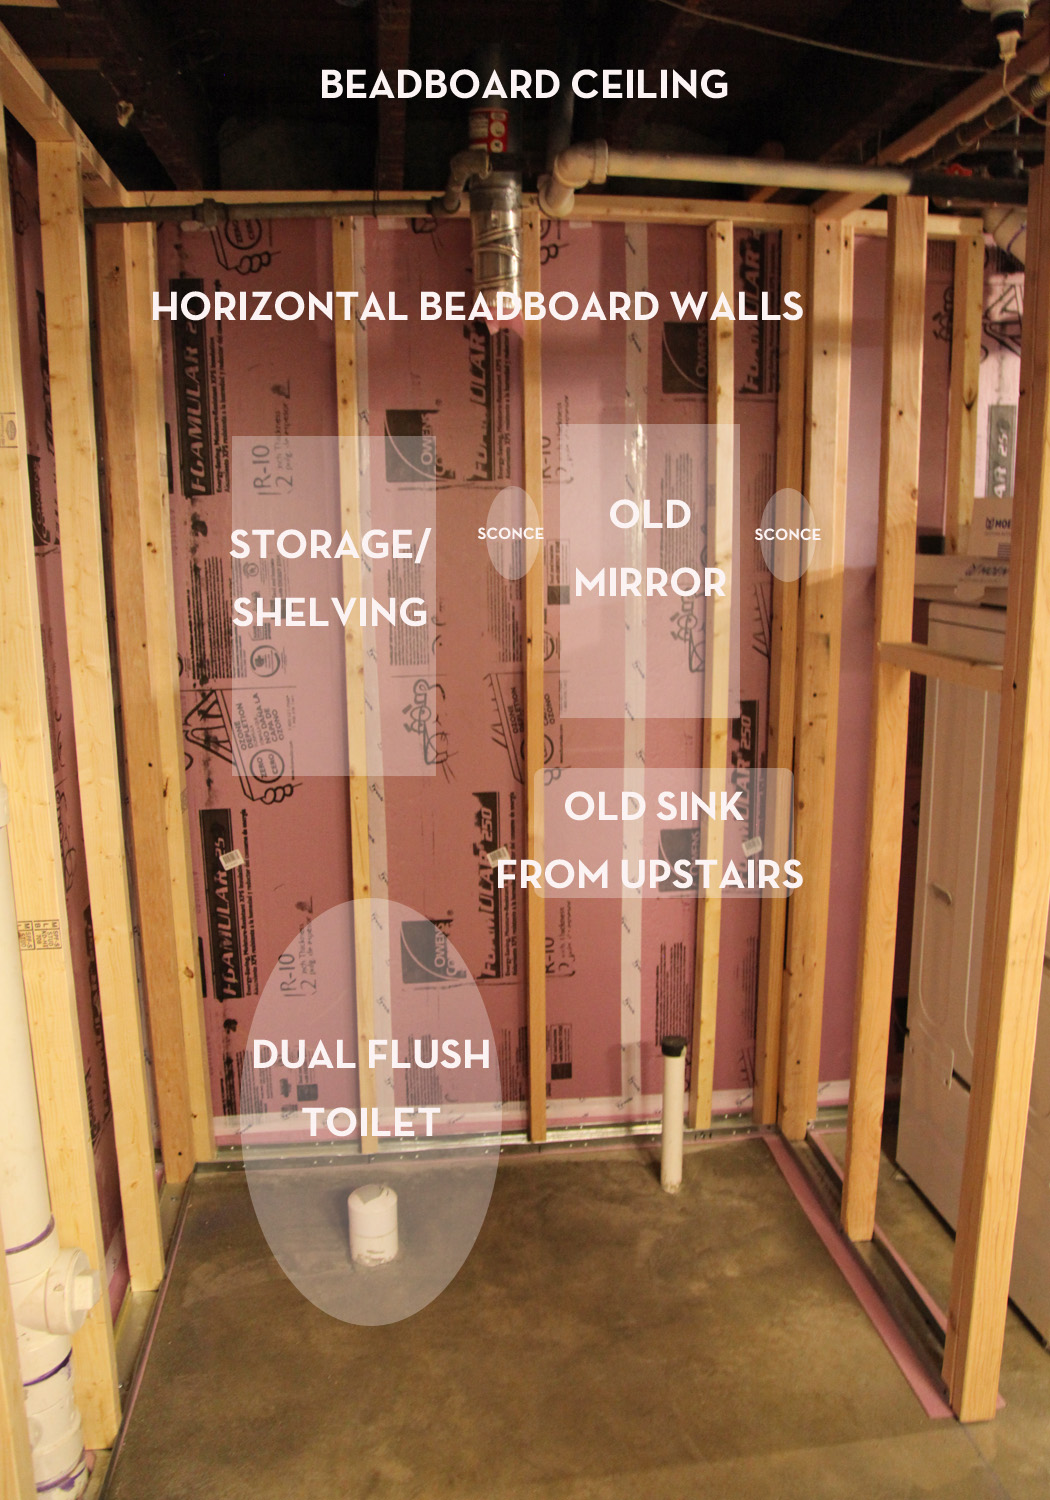
The most reliable way to learn how to find studs behind fiberglass shower walls is often to inspect the wall from the other side. Look at the room behind the shower wall, if one exists. An unfinished closet, bedroom wall, attic area, basement, or utility space may expose the framing.
If the other side has finished drywall, you may still find useful clues. Look for electrical boxes, door openings, corners, and trim. These features are usually attached to framing and can help you establish a reference point.
- ✦ Check an unfinished area
Open framing gives you a direct view of stud locations and makes confirmation much easier.
- ✦ Look at electrical boxes
Many electrical boxes attach to a stud or other framing member, giving you a useful reference point.
- ✦ Check corners
Wall corners normally contain framing, although the exact layout can vary.
- ✦ Inspect plumbing access
A plumbing access panel may reveal pipes and framing, but do not assume every pipe marks a stud.
Why the Other Side Is So Useful
Seeing the actual framing removes much of the guesswork. Once you identify a stud on the other side, measure its position from a fixed wall or corner. Transfer that measurement carefully to the shower side, while accounting for wall thickness and any offsets.
- ✦ Measure from fixed points
Use a corner or another permanent feature rather than measuring from a movable fixture.
- ✦ Account for offsets
A plumbing chase or framed bump-out can shift the stud location relative to the finished wall.
Use a Stud Finder on the Fiberglass Wall
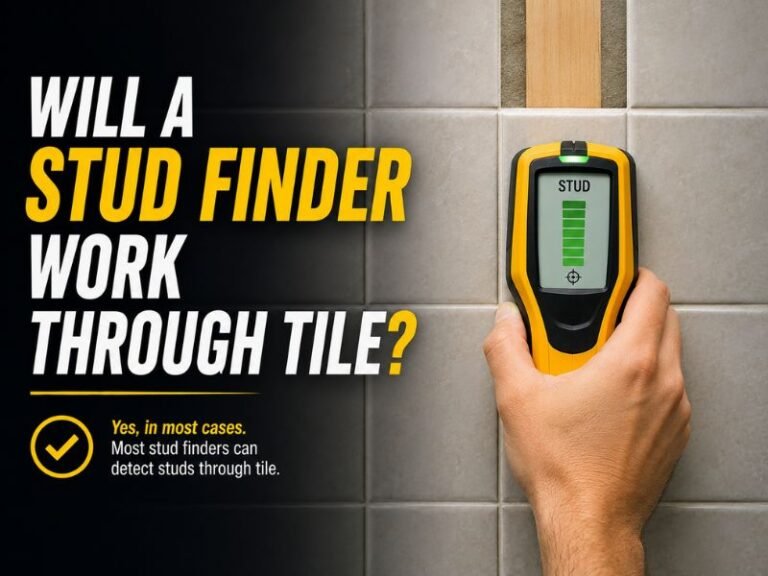
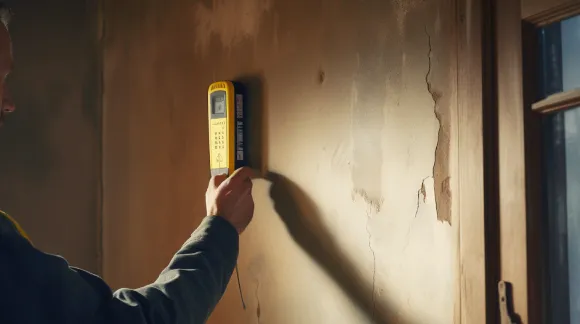
A stud finder can help when you cannot access the framing from behind. For how to find studs behind fiberglass shower walls, use the tool slowly and follow its instructions. A model that detects changes in wall density can sometimes locate framing through several wall layers.
Do not scan only once. Start well away from a suspected stud, calibrate the tool as directed, and move it slowly across the wall. Mark both sides of a suspected stud rather than marking only the center of the first reading.

- ✦ Calibrate correctly
Follow the tool instructions and calibrate on a suitable part of the wall before scanning.
- ✦ Move slowly
A slow, steady pass can make changes in the reading easier to notice.
- ✦ Scan from both directions
Check the suspected location from left to right and then from right to left.
- ✦ Mark the edges
Mark where the reading begins and ends. The center between those marks may better represent the stud location.
Why Stud Finders Can Give False Readings
A stud finder does not actually see a wood stud. It detects a change in the material behind the surface. Pipes, wires, metal fasteners, thick adhesive, and changes in wall thickness can affect the reading. This is why a stud finder should be treated as one piece of evidence, not final proof.
- ✦ False positive
A tool may react to plumbing, wiring, metal, or another dense object instead of a wood stud.
- ✦ Unclear signal
Multiple wall layers or thick fiberglass can make the signal weak or inconsistent.
Try a Magnet to Locate Fasteners and Framing Clues
A strong magnet can be a useful low-tech method. Drywall screws and other metal fasteners may sit along a stud line. When a magnet sticks at several points in a straight vertical line, it can suggest where the framing sits behind the wall.
This method has limits on a fiberglass shower. The fiberglass itself is not magnetic, but the wall behind it may contain materials that interfere with the clue. Also, a magnet may find a screw without proving that the full stud is exactly where you expect.
- ✦ Use a strong magnet
A small but strong magnet can help locate hidden metal fasteners when the wall construction allows it.
- ✦ Look for a pattern
Several fasteners in a straight line provide more useful evidence than one isolated magnetic point.
- ✦ Combine methods
Use magnetic clues with measurements and a stud finder before drilling.
A Magnet Does Not Prove the Stud Location
A magnet can tell you that metal is nearby. It cannot always tell you what that metal is. Use it to find a pattern, then confirm the framing with another method before placing a structural fastener.
- ✦ Magnetic signal
A magnetic response may come from a screw, nail, metal bracket, or metal stud.
- ✦ Confirm before drilling
Treat the magnet as a locating aid rather than a final test.
Use Shower Layout Clues to Predict Stud Locations
The shower itself can reveal useful framing clues. Corners, wall ends, plumbing fixtures, niches, and the edges of the shower opening often need framing behind them. These points can help you build a likely framing map before you drill.
For example, a shower valve often has a framed support area behind it, but the valve position does not guarantee that a stud sits directly behind the trim. Plumbing and framing layouts differ from one bathroom to another.
- ✦ Wall corners
Corners usually have framing, although the exact number and position of studs can vary.
- ✦ Shower door area
A shower door may require solid framing in specific locations, but the needed support depends on the door design.
- ✦ Niches and shelves
Built-in features often change the framing layout and can provide clues about where studs are located.
- ✦ Plumbing fixtures
Fixtures can reveal where framing or blocking may exist, but they should not be used as exact stud markers.
The 16-Inch Stud Rule Is Only a Starting Point
In many U.S. homes, wall studs are placed 16 inches on center. That means the measurement runs from the center of one stud to the center of the next. Some walls use different spacing, so do not mark a 16-inch pattern and drill without confirmation.
- ✦ 16 inches on center
This common layout can help you predict the next stud after finding one known stud.
- ✦ Other layouts exist
Studs may be spaced at 24 inches on center or placed differently around openings, corners, plumbing, and special framing.
Confirm the Stud Before You Drill
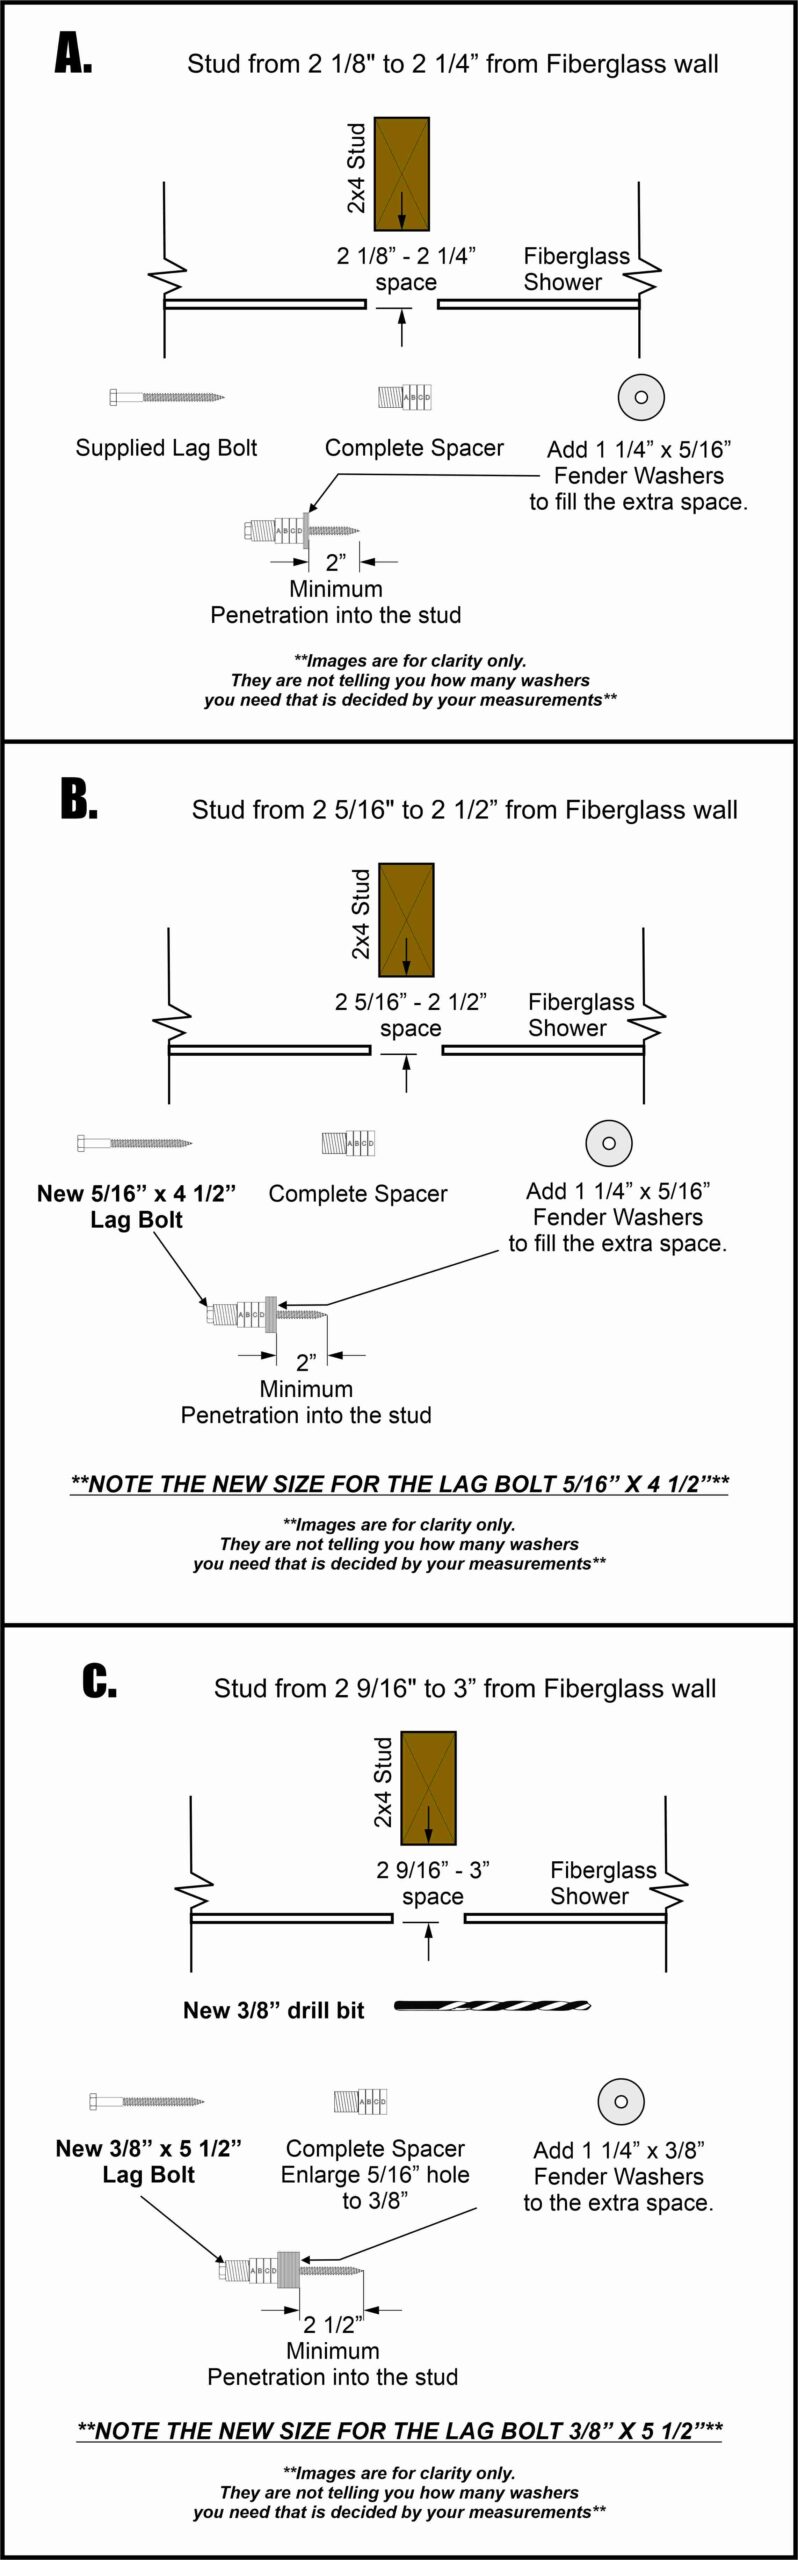
Finding a likely stud is only half the job. Before drilling through a fiberglass shower, confirm that the point is suitable for the fastener and that no pipe or electrical cable is in the way. This step matters even more when the fixture will carry weight.
A small test hole may be useful in some situations, but drilling into a shower wall can create a leak path. If you must make a hole, plan the sealing method before you drill and follow the fixture maker’s instructions. For important waterproofing or structural work, a qualified professional can inspect the wall.
- ✦ Check for plumbing
Shower walls often contain water lines and drain components. Never assume an empty-looking area is safe to drill.
- ✦ Check for wiring
Electrical cables can run through bathroom walls. Use appropriate detection methods and avoid drilling when the path is uncertain.
- ✦ Know the fixture load
A light accessory has different support needs from a grab bar or other item that must hold a person’s weight.
- ✦ Follow the fixture instructions
The manufacturer’s instructions should define the required fastener type, depth, spacing, and support.
Why Grab Bars Need Special Care
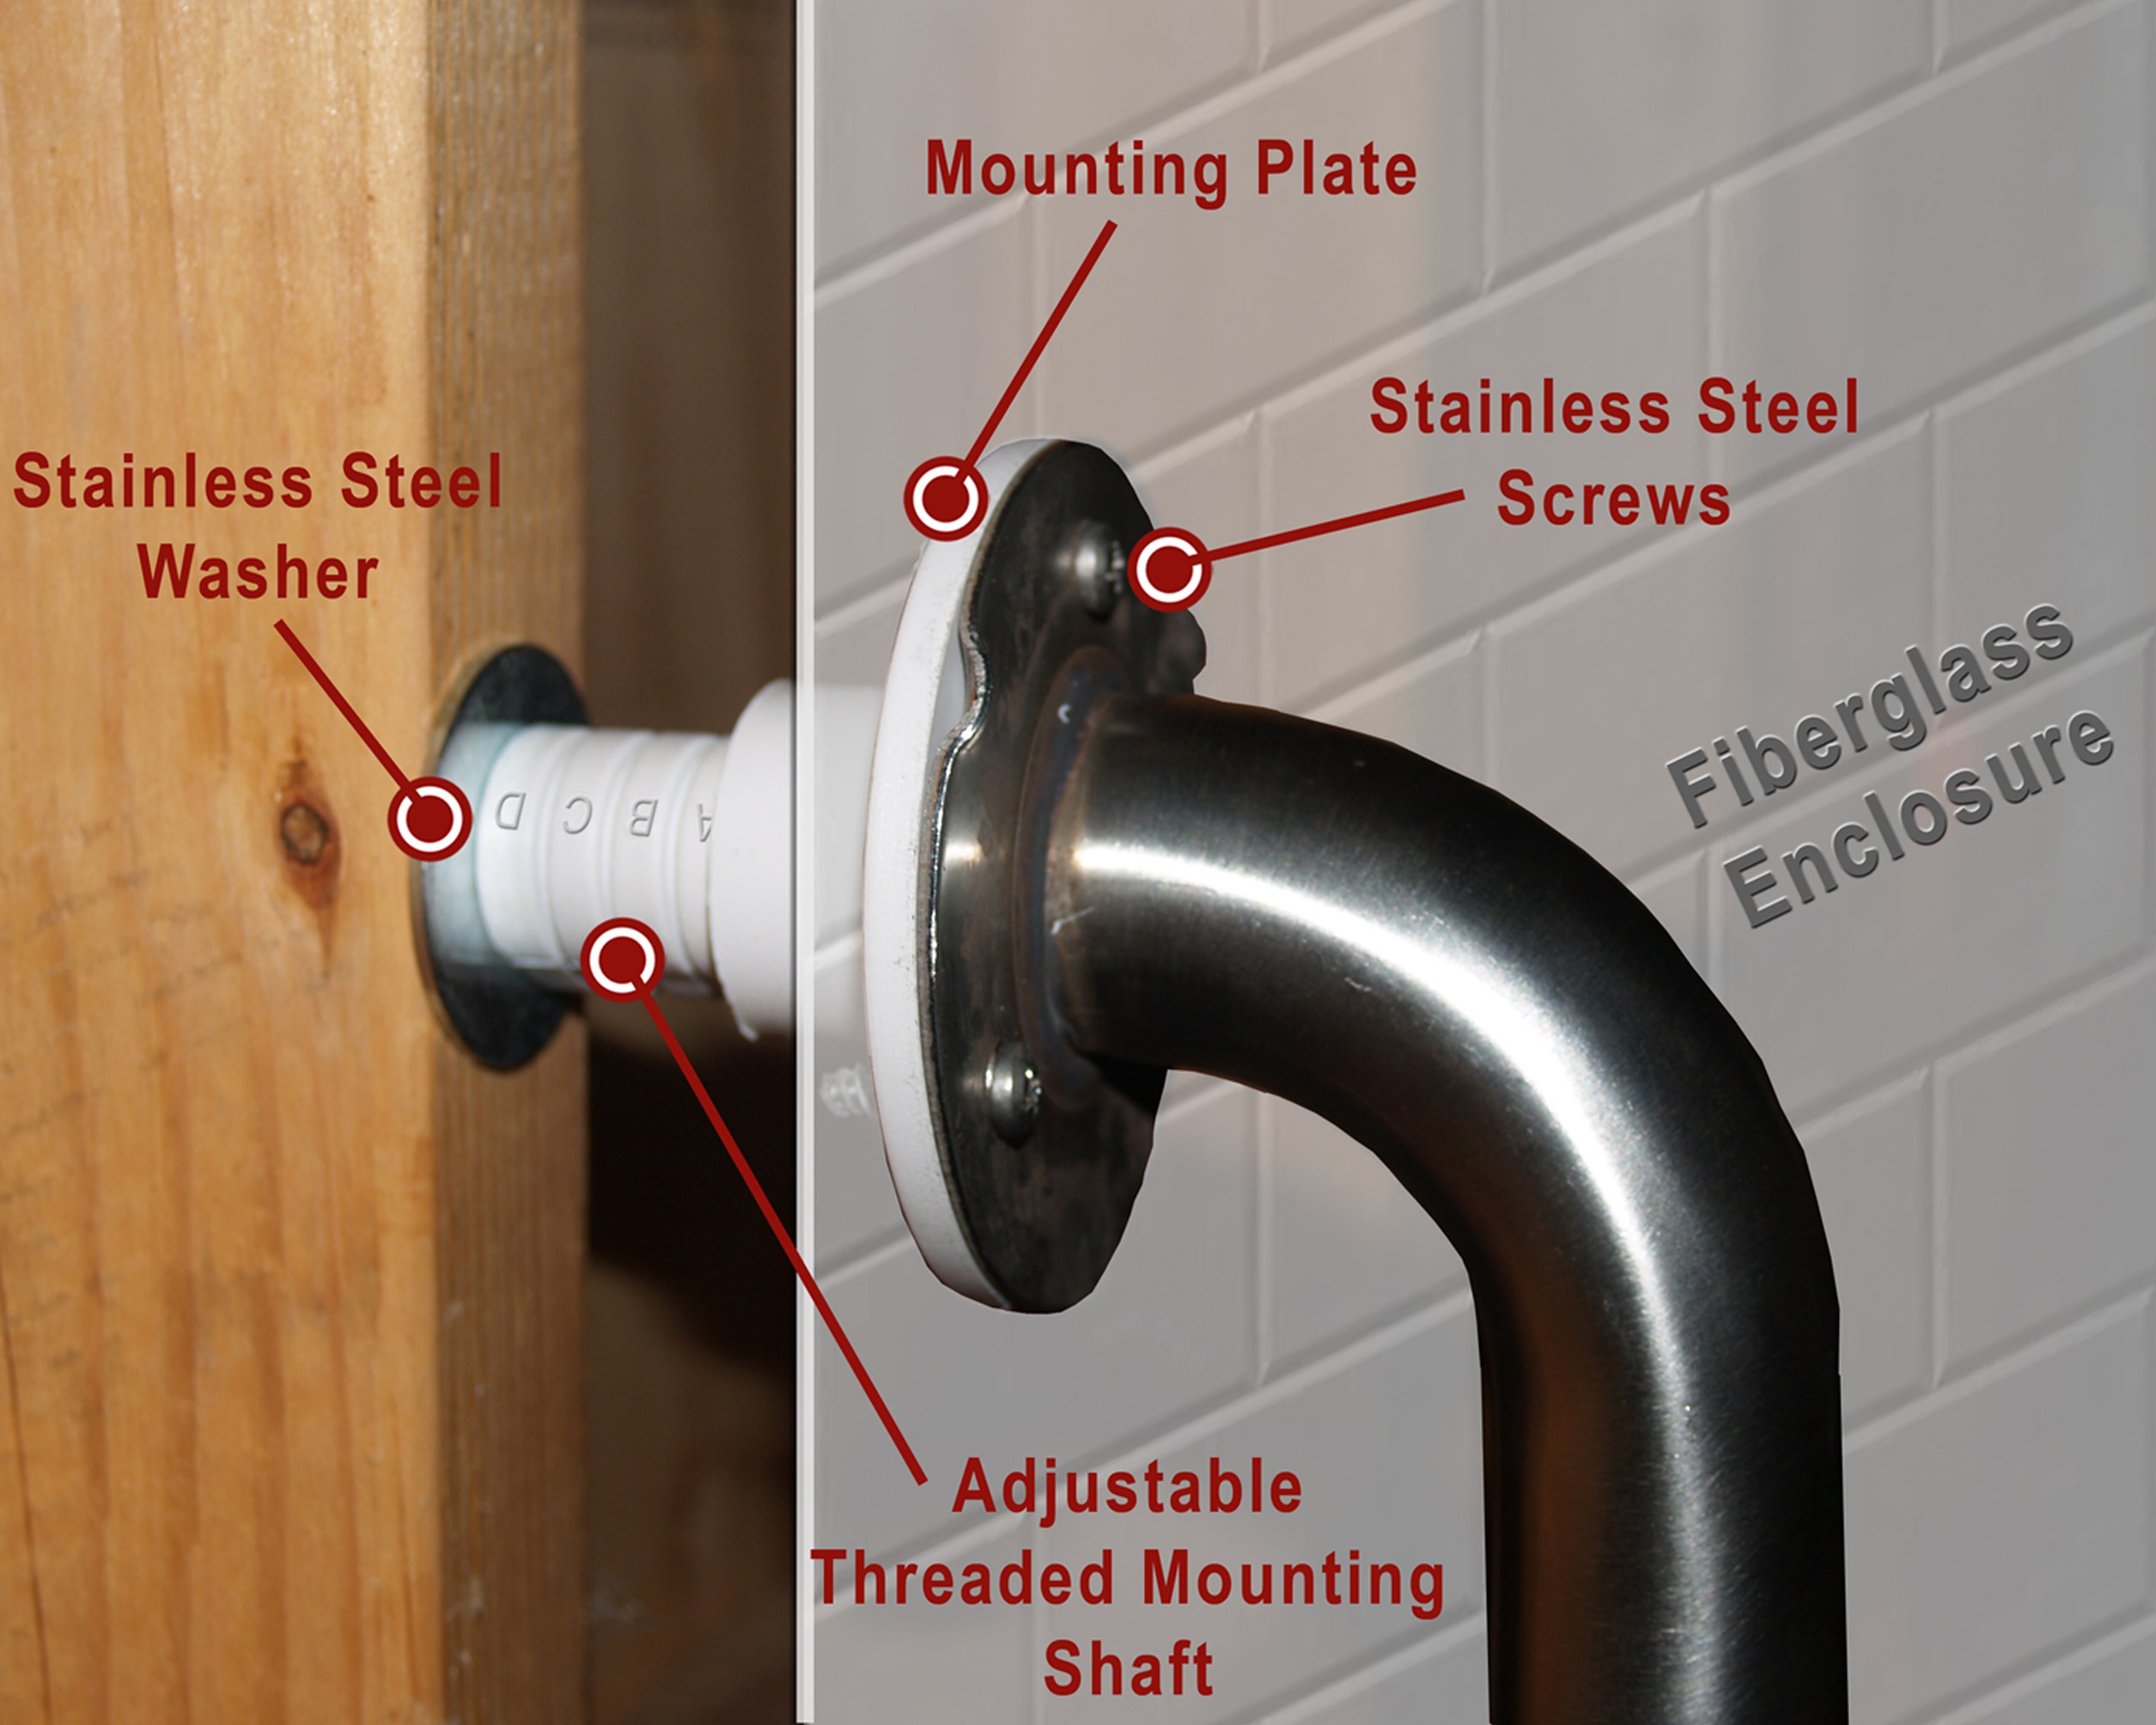
A grab bar is not like a small towel hook. It can receive a large force when someone uses it for support. The fasteners must connect to suitable framing or an approved structural mounting system designed for the shower wall.
- ✦ Do not rely on fiberglass alone
The fiberglass surround is not a substitute for structural support when the fixture must carry a person’s weight.
- ✦ Use approved support
When a stud is not in the needed location, use a mounting system or framing solution that is specifically designed for that application.
How to Find Studs Behind Fiberglass Shower Without Drilling
If your goal is to avoid holes, combine non-invasive methods. First inspect the other side of the wall. Then use a stud finder and a magnet on the shower side, and compare the results with corners, plumbing fixtures, and known framing points.
This approach is especially useful when installing a light shelf or accessory. For a safety fixture such as a grab bar, however, non-invasive locating methods should still be followed by a proper assessment of the support system.
- ✦ Step 1: Find a known framing point
Use an accessible corner, electrical box, unfinished wall, or other reliable reference.
- ✦ Step 2: Measure
Measure from the reference point and note likely stud positions.
- ✦ Step 3: Scan
Use a stud finder across the fiberglass and mark consistent readings.
- ✦ Step 4: Check with a magnet
Look for a vertical pattern of metal fasteners where the wall construction allows it.
- ✦ Step 5: Cross-check
Compare all clues before deciding where a fastener can safely go.
What to Do When the Methods Disagree
Do not choose the result that looks most convenient. If the stud finder says one spot, the magnet suggests another, and your measurements disagree, stop and investigate the wall construction. Conflicting readings can signal thick wall layers, metal framing, plumbing, wiring, or an unusual framing layout.
- ✦ Recalibrate
Repeat the stud finder scan according to the tool’s instructions.
- ✦ Change direction
Scan horizontally and vertically when possible to see whether the pattern stays consistent.
- ✦ Inspect another side
An accessible adjacent room can provide a much clearer view of the actual framing.
- ✦ Get professional help
If the wall contains uncertain plumbing or wiring, avoid drilling until the risk is resolved.
Common Mistakes to Avoid When Finding Shower Studs
Many problems happen because people make one quick measurement and drill right away. Fiberglass shower walls can hide unusual framing, so a careful process saves time and can prevent expensive repairs.
The goal is not simply to find something behind the wall. You need to identify suitable structural support and avoid hidden plumbing or electrical hazards.
- ✦ Assuming every wall uses 16-inch spacing
Use 16 inches on center as a clue, not proof.
- ✦ Trusting one stud finder pass
Repeat the scan and compare the result with other evidence.
- ✦ Confusing a pipe with a stud
Dense objects behind the wall can create misleading readings.
- ✦ Drilling without checking the other side
A quick look behind the wall may reveal framing, plumbing, wiring, or a better way to mount the fixture.
- ✦ Using drywall anchors for a heavy fixture
An anchor may not provide the structural support needed for a grab bar or other high-load item.
- ✦ Ignoring waterproofing
Any penetration through a shower surround must be planned and sealed correctly to reduce the risk of water entering the wall.
When It Is Better to Stop and Call a Professional
Consider professional help when you cannot confidently identify the framing, when plumbing or electrical lines may be in the drilling path, or when the project affects waterproofing. This is especially important for grab bars and other fixtures that people may rely on for support.
- ✦ Unknown wall construction
Older or remodeled homes may have several wall layers that make basic locating methods unreliable.
- ✦ Hidden utilities
Stop when you cannot rule out pipes or electrical wiring near the intended hole.
- ✦ Safety-critical fixtures
Use a qualified installer when a fixture must safely support a person.