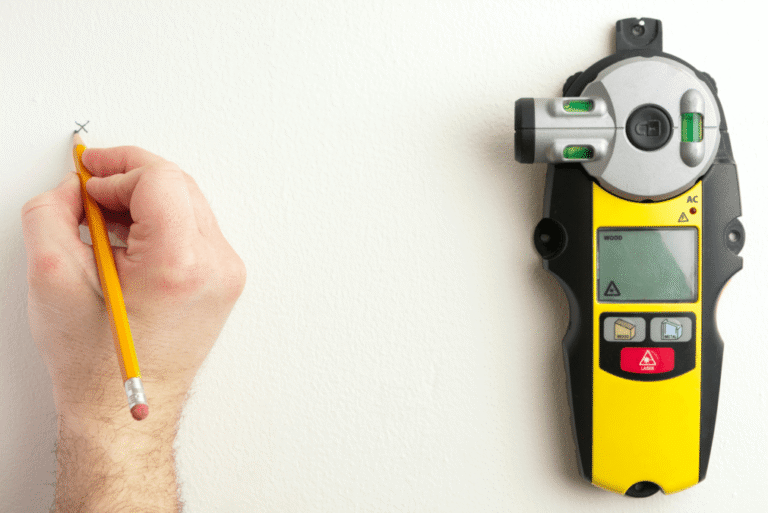
How to Find Studs Behind Cement Board: 7 Reliable Methods
Learning how to find studs behind cement board can feel harder than finding studs behind plain drywall. Cement board is dense, and it is often covered by tile, mortar, or waterproofing. That extra material can make common stud-finding methods less clear.
In a typical U.S. home, cement board is common around showers, tubs, and other wet areas. When you need to mount a grab bar, shelf, cabinet, or other load, finding the framing matters. A good method does not rely on one clue. It checks the wall in more than one way before you drill.
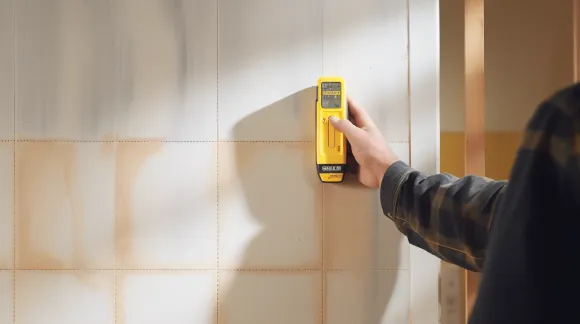
Why Finding Studs Behind Cement Board Can Be Tricky
Cement board is made to handle moisture and provide a firm base for tile. It is much denser than standard drywall. If tile sits on top of it, the wall becomes even thicker and harder to scan.
The wall may also contain metal screws, corner pieces, plumbing, electrical cables, or other materials. These can affect a stud finder’s signal or create false clues. That is why the best answer to how to find studs behind cement board is a process, not a single tool.
You also need to know what type of framing is behind the board. Many homes use wood studs, but some walls use metal studs. A magnet can help locate steel fasteners, while an electronic stud finder can help locate changes in density.
:max_bytes(150000):strip_icc()/cement-backer-board-1821658-hero-ab0fb85527134f5a9956b9a388b598cd.jpg "What Is Behind Drywall: Guide to Wall Studs and Framing")
- ✦ Cement board is dense
The board can make some basic stud finders less accurate than they are on bare drywall.
- ✦ Tile adds another layer
Tile and mortar can increase the distance between the tool and the framing.
- ✦ Fasteners can help
Screws often follow the location of studs, so a line of fasteners can reveal the framing pattern.
- ✦ Framing can vary
Wood studs and metal studs behave differently, so use more than one clue when the wall is unclear.
How to Find Studs Behind Cement Board With a Stud Finder
A good electronic stud finder is often the fastest place to start. Choose a model that can detect studs through thicker wall materials if possible. Read its instructions before scanning because different models use different calibration steps.
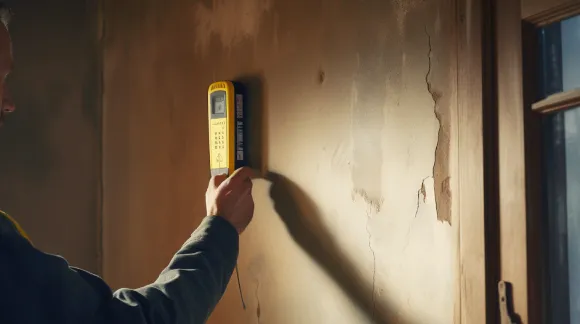
Start with a clean section of wall. Place the tool flat against the surface and calibrate it as directed. Move it slowly from side to side instead of sweeping quickly across the wall.
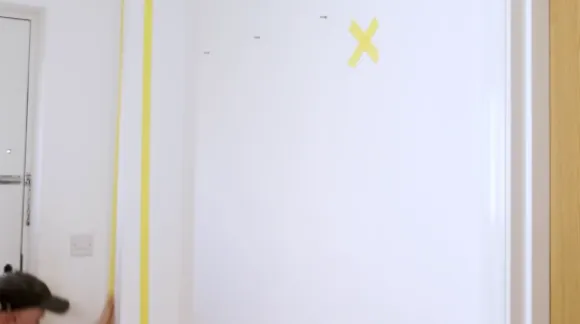
Mark both edges of the detected stud when the tool allows it. The center should fall between those marks. Repeat the scan from another nearby starting point. If both scans point to the same location, your result has more support.
Do not assume every signal means a stud. A screw, pipe, wire, metal corner bead, or other object can affect some detectors. When the reading looks unusual, confirm it with another method before drilling.
- ✦ Calibrate first
Follow the tool’s calibration instructions and keep the tool flat against the surface.
- ✦ Move slowly
A slow, steady pass gives the sensor more time to detect a change behind the wall.
- ✦ Mark the edges
Mark both sides of the detected area instead of marking only one signal point.
- ✦ Scan again
Repeat the scan from another position to reduce the chance of following a false reading.
Does a Stud Finder Work Through Cement Board?
Yes, some stud finders can detect framing through cement board, but performance depends on the tool, board thickness, surface layers, and what lies behind the wall. Tile and thick mortar can make detection harder.
If the tool gives a weak or changing signal, do not treat it as proof. Use measurements, fastener locations, or another detection method to confirm the stud.
- ✦ Check the tool rating
Look for guidance about thick walls, deep scanning, or dense wall materials.
- ✦ Expect less certainty
A reading through tile and cement board may be less clear than a reading through a single layer of drywall.
Use Screw and Fastener Patterns to Locate the Studs
One of the most useful answers to how to find studs behind cement board is to look for the screws that hold the board in place. Installers normally fasten cement board to the framing, so screw heads often form vertical lines over studs.
You may not see the screws after tile is installed. Still, an exposed edge, unfinished area, removed fixture, or nearby section can sometimes reveal their pattern. Look for repeated points that line up vertically or horizontally.
A fastener pattern is a clue, not absolute proof. Some boards can also be fastened in ways that make the pattern harder to read. Combine this clue with wall measurements and a stud finder when possible.
- ✦ Look for repeated fasteners
A series of fasteners in a straight vertical line can indicate the location of framing.
- ✦ Trace the line
Once you find one likely fastener line, check nearby areas for the same spacing and direction.
- ✦ Confirm before loading
Use another method before attaching a heavy object to the suspected stud.
Can You Find Studs by Tapping the Wall?
Tapping can provide a rough clue, especially on a wall without thick tile. A hollow sound may suggest an open cavity, while a firmer sound may occur over framing. Cement board and tile can make this difference harder to hear.
Treat tapping as a supporting method. It works best when you compare several nearby points rather than trusting one tap.
- ✦ Compare sounds
Tap several points in a horizontal line and listen for changes rather than one isolated sound.
- ✦ Use it as a check
Confirm a tapping result with measurements, fasteners, or a suitable electronic tool.
Find the Studs by Measuring From Known Framing Points
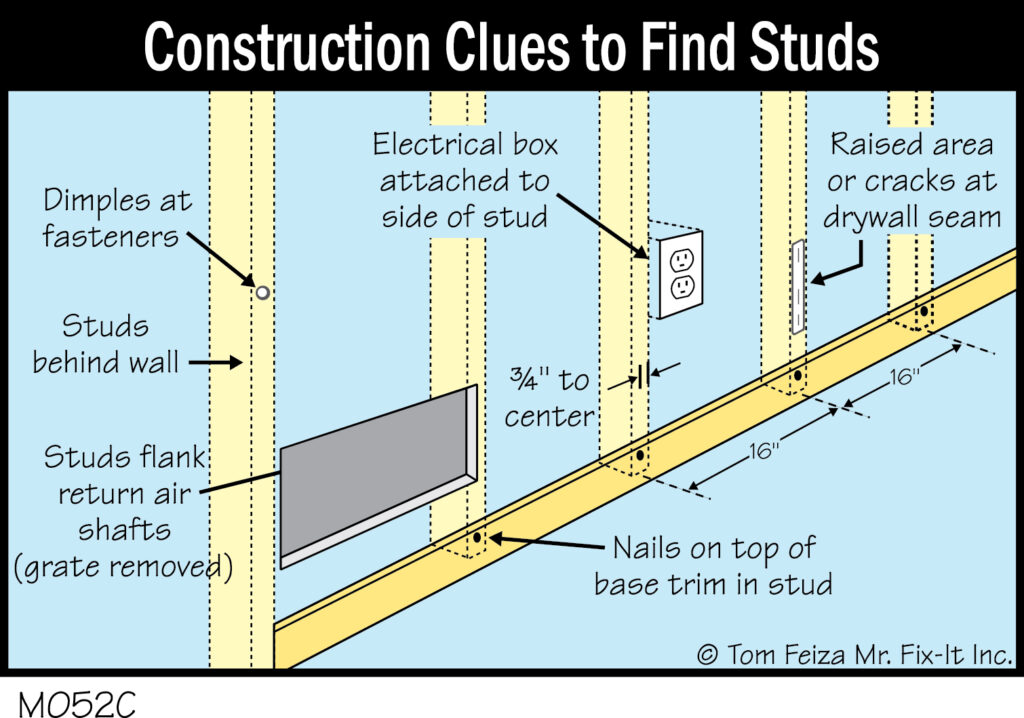
When electronic detection is uncertain, basic measurements can help. In many wood-framed U.S. walls, studs are commonly spaced 16 inches on center. Some walls use 24-inch spacing, and corners, doors, windows, and other framing can change the pattern.
The phrase 16 inches on center means the measurement runs from the center of one stud to the center of the next. Do not assume that every wall follows this spacing. Measure from a known framing point when you have one.
Corners can provide a useful reference, but corner framing is not always simple. A doorway or window can also have extra framing members. If the wall has a fixture or opening, use it as a clue rather than proof.
- ✦ Start at a known point
Use an exposed stud, corner, opening, or other confirmed framing location when one is available.
- ✦ Check 16-inch spacing
Test likely locations at 16-inch center-to-center intervals, while remembering that other spacing is possible.
- ✦ Check 24-inch spacing
If the 16-inch pattern does not fit, consider a 24-inch layout or a nonstandard framing arrangement.
- ✦ Confirm the center
A measurement predicts a likely stud location. Confirm it before making a large hole or mounting a heavy load.
Use a Magnet to Find Metal Screws Behind the Board
A strong magnet can help locate steel screws beneath some wall finishes. Move it slowly across the surface and watch for spots where it is attracted to a fastener. A line of repeated magnetic points can help map the framing.
This method works best when the fasteners are close enough to the surface for the magnet to detect them. Tile, mortar, thick cement board, or nonmagnetic fasteners can reduce the effect.
A magnet does not directly find a wood stud. It finds the metal fastener. The useful step is to follow several fasteners and see whether they form a consistent line that matches the likely stud location.

- ✦ Move slowly
A slow pass makes small magnetic pulls easier to notice.
- ✦ Mark each spot
Use removable tape or a pencil mark where the magnet finds a likely fastener.
- ✦ Look for a pattern
Several fasteners in a straight line are more useful than one magnetic spot.
How to Confirm a Stud Before Drilling
Once you have a likely stud location, confirm it before making a full-size hole. This matters even more in a bathroom or shower wall, where plumbing and electrical wiring may be nearby.
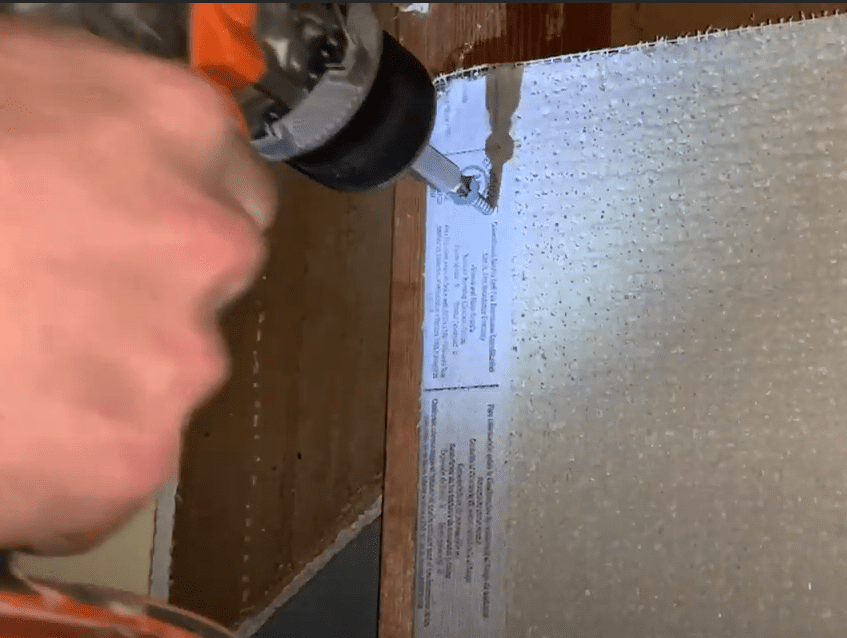
For a small mounting job, a very small pilot hole can sometimes confirm whether solid framing lies where you expect it. Use care and choose the location based on the project. Do not drill blindly into a wall simply because a stud finder gives a signal.
If the wall contains tile, waterproofing, or a wet-area system, avoid unnecessary holes. A misplaced hole can let water reach the wall assembly. For a critical installation, such as a grab bar, use the manufacturer’s mounting requirements and confirm the framing carefully.
- ✦ Stop if resistance is unusual
If drilling feels different from what you expect, stop and investigate instead of forcing the bit.
- ✦ Watch for utilities
Pipes and wires can run inside wall cavities, so do not assume an empty space is safe to drill.
- ✦ Protect waterproofing
In a wet area, avoid unnecessary penetrations and seal approved penetrations as required by the installation system.
- ✦ Use the right fastener
A screw designed for cement board is not automatically the right structural fastener for every mounting job.
How Deep Should You Drill Into a Stud?
The needed depth depends on the wall layers and the fastener. Your goal is to reach enough solid framing to support the load without drilling farther than necessary.
For a load-bearing or safety-related installation, follow the mounting hardware instructions and applicable building requirements. Do not choose depth by guesswork alone.
- ✦ Know the wall layers
Account for tile, mortar, cement board, and any other surface material before choosing fastener length.
- ✦ Match the hardware
Use hardware that is designed for the load and the actual wall construction.
What to Do When the Wall Has Metal Studs
Not every wall behind cement board has wood framing. Metal studs are used in some residential, commercial, and specialty construction. Their hollow shape and thin steel walls require a different approach to fastening.
A stud finder may detect metal framing, and a magnet may react to steel. However, detecting metal does not tell you that the member can safely carry the load you want to mount.
For heavier items, find out how the wall was built and select a fastening system made for that construction. Cement board itself should not be treated as a substitute for structural framing.

- ✦ Confirm the framing type
Use plans, exposed areas, magnets, or other evidence to determine whether the wall uses wood or metal studs.
- ✦ Check the load
Light and heavy mounting jobs can require very different fasteners and reinforcement.
- ✦ Do not rely on board strength
The cement board is mainly a substrate and is not automatically a structural anchor for heavy loads.
Wood Studs vs. Metal Studs
Wood studs give you solid material for many common structural fasteners. Metal studs may need specific screws, anchors, blocking, or reinforcement based on the load and wall design.
If you are mounting something that protects a person, such as a grab bar, use a mounting method that is designed for the actual framing. When the construction is unclear, exposing a small area or consulting a qualified professional can prevent a costly mistake.
- ✦ Wood framing
Often provides solid material for direct fastening when the correct screw and embedment are used.
- ✦ Metal framing
May require a fastening method that accounts for the shape, thickness, and strength of the steel stud.
Common Mistakes When Finding Studs Behind Cement Board
The biggest mistake is trusting one signal without checking it. A stud finder can react to something other than framing, while a magnet can find a screw without proving exactly where the stud center lies.
Another common mistake is assuming that every wall uses 16-inch stud spacing. That pattern is common, but framing around corners, doors, windows, plumbing, and other features can be different.
It is also easy to forget what sits behind the board. Before drilling, think about plumbing, electrical wiring, waterproofing, and the purpose of the wall. A few minutes of checking can save a much larger repair.
- ✦ Trusting one reading
Use at least two clues when the wall is difficult or the installation carries a significant load.
- ✦ Assuming 16-inch spacing
Treat common spacing as a clue, not a guarantee.
- ✦ Drilling without utility checks
Always consider hidden pipes and electrical wiring before drilling.
- ✦ Ignoring waterproofing
A hole in a shower wall can damage more than the visible surface.
- ✦ Using the wrong anchor
Choose hardware based on the framing, wall layers, and weight of the item.
A Simple Two-Check Method
For many DIY projects, a practical method is to scan with a suitable stud finder and then check the result against fastener patterns or measured stud spacing. If both methods point to the same place, you have stronger evidence.
For a safety-critical mount, add a careful physical confirmation and follow the hardware instructions. The more important the load, the less you should rely on a single detection method.
- ✦ First check
Scan the wall and mark the likely stud edges.
- ✦ Second check
Compare the location with fasteners, measurements, or another suitable detection method.
- ✦ Final check
Confirm the location and check for hidden utilities before drilling.