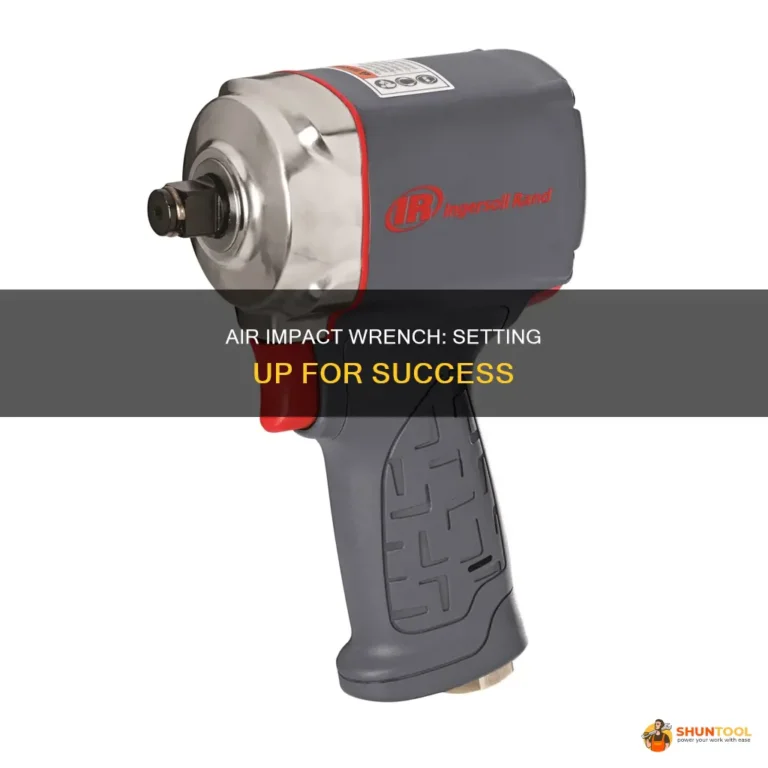
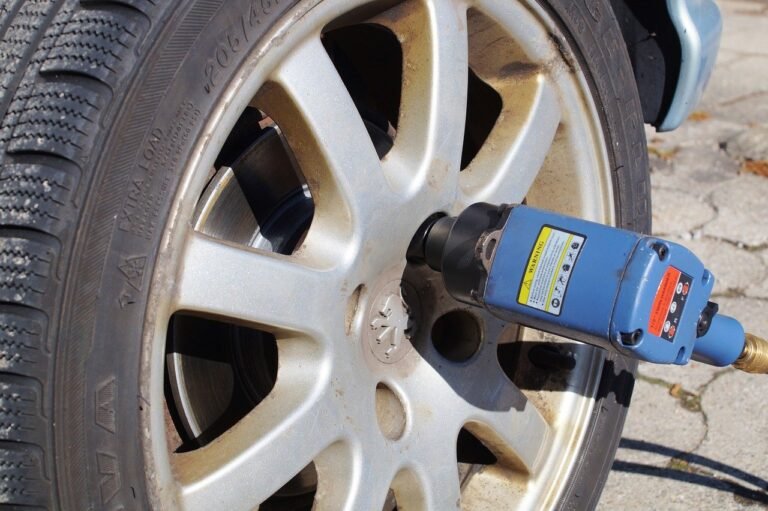
How to Remove a Stuck Socket From an Impact Wrench: Safe Step-by-Step Guide
A stuck socket can turn a simple job into a frustrating one. This often happens after hard use, rust, dirt, heat, or heavy impact work. The good news is that most stuck sockets can come off without damaging the impact wrench.
When learning how to remove stuck socket from impact wrench, the key is to work in small steps. Do not start with a hammer or a torch. First find out why the socket is stuck, then use the least force that can solve the problem.
This guide covers common impact wrenches used in U.S. home garages, auto shops, and job sites. It also explains what to do when a normal pull does not work, how to check the anvil, and how to prevent the same problem next time.

Why Does a Socket Get Stuck on an Impact Wrench?
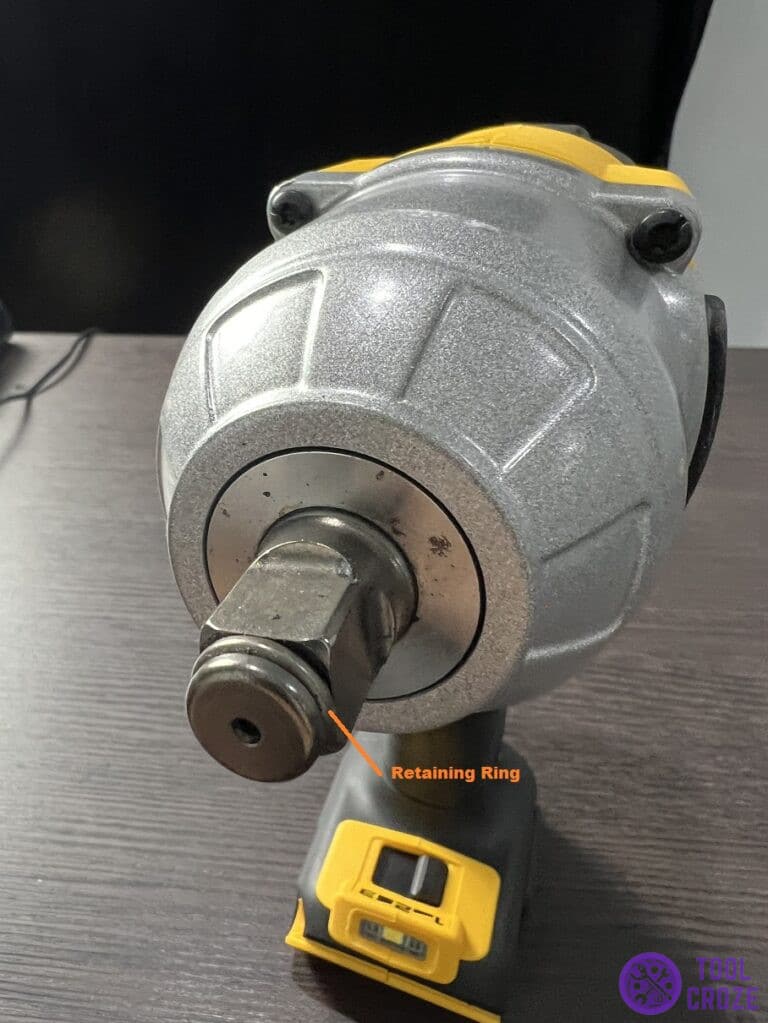
Before you learn how to remove stuck socket from impact wrench, it helps to know what holds it in place. Most impact wrenches use a square drive anvil with a retaining system. Depending on the tool, that system may use a friction ring, retaining ring, pin, or ball detent.
A socket should normally slide onto the anvil and come off with a firm pull. Dirt, rust, heat, impact force, or a damaged locking part can stop that from happening. A socket can also bind when it sits at an angle or takes a hard side load.
Do not assume a stuck socket means the wrench is broken. In many cases, the socket is simply dirty or tight around the retaining feature. A quick inspection can help you choose the right removal method.
- ✦ Rust and corrosion
Rust can build up between the socket and the anvil. Moisture and road salt can make this worse, especially when tools are used around vehicles.
- ✦ Dirt and debris
Metal dust, grit, grease, and other debris can collect around the retaining ring or detent ball. This can make the socket hard to move.
- ✦ Retaining ring or detent pressure
The locking system may press tightly into the socket groove. This is normal, but wear or damage can make release harder.
- ✦ Heat
Long impact cycles can heat the socket and anvil. Heat can increase friction and make removal harder until the parts cool.
- ✦ Side loading
Pulling the wrench sideways while the socket is attached can make the socket bind on the square drive.
Friction Ring vs. Pin or Detent System
A friction ring uses a ring around the anvil to hold the socket in place. A pin-style system uses a pin and often a small ring to lock the socket. Some tools use a ball detent. The removal method depends on which system your impact wrench has.
Look at the anvil if you can see it clearly. Your tool manual can also show the exact retaining system. Knowing this before you pull hard can prevent damage to the ring, pin, or anvil.
- ✦ Friction ring
Pull the socket straight off while gently rocking it. A small amount of lubricant can help if dirt or rust is causing the bind.
- ✦ Pin-style retention
Make sure the retaining pin can release. Do not pry hard against the anvil because this can bend or damage the locking parts.
- ✦ Ball detent
The socket may need a straight pull with slight rocking so the detent ball can move out of its groove.
How to Remove a Stuck Socket From an Impact Wrench Step by Step
The safest way to remove a stuck socket is to start with the simplest method. Give the tool time to cool, disconnect its power, and inspect the socket before using force. These steps work for many common cordless and pneumatic impact wrenches.
If you are working on a cordless model, remove the battery before you begin. For a pneumatic model, disconnect the air hose. This keeps the tool from starting while your hands are near the socket.

- ✦ 1. Disconnect the power
Remove the battery from a cordless impact wrench or disconnect the air supply from a pneumatic model. Do not work on a powered tool.
- ✦ 2. Let the tool cool
If the wrench or socket feels hot, wait until it reaches a safe temperature. Hot metal can increase the grip between the parts.
- ✦ 3. Hold the wrench firmly
Keep the impact wrench supported with one hand or on a stable work surface. Avoid putting your fingers near areas where they could be pinched.
- ✦ 4. Pull the socket straight
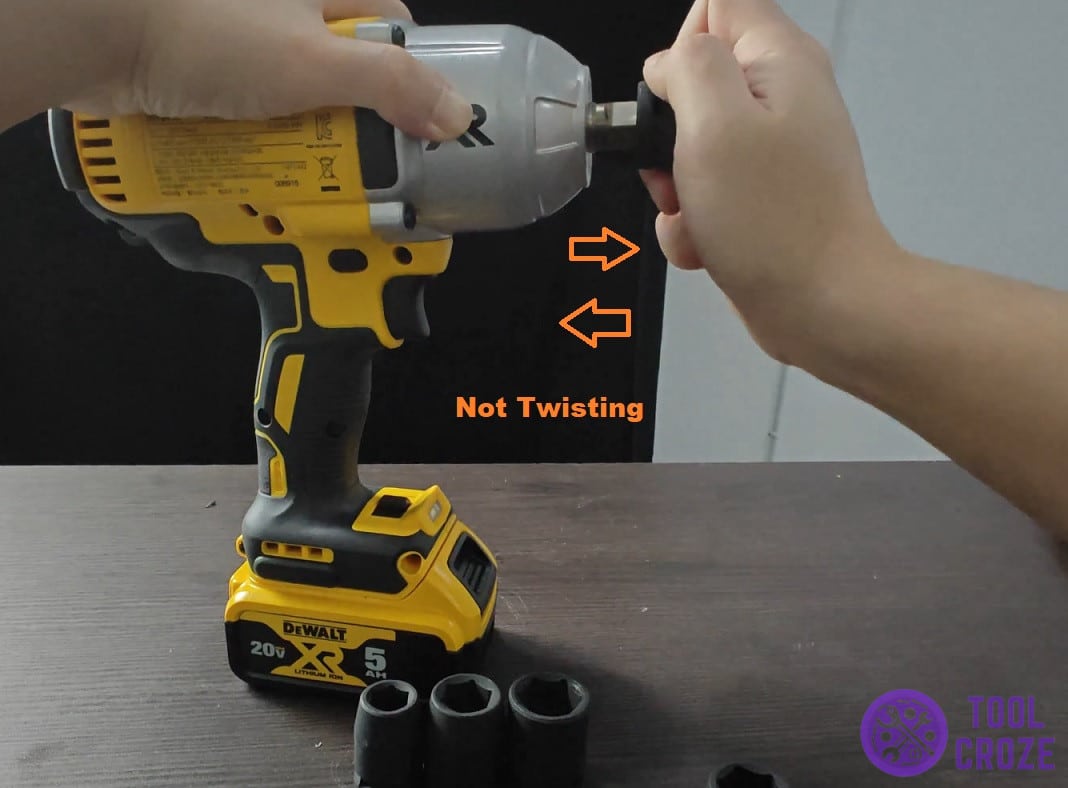
Grip the socket and pull it away from the anvil. Add a small back-and-forth rocking motion rather than twisting it hard.
- ✦ 5. Work the retaining system
If your wrench has a release feature, use it as designed. For a friction ring or detent, gentle movement can help the socket clear the retaining point.
- ✦ 6. Add penetrating oil when needed
If rust or grime is visible, apply a small amount of suitable penetrating oil around the socket-to-anvil joint. Give it time to work before trying again.
- ✦ 7. Tap the socket gently
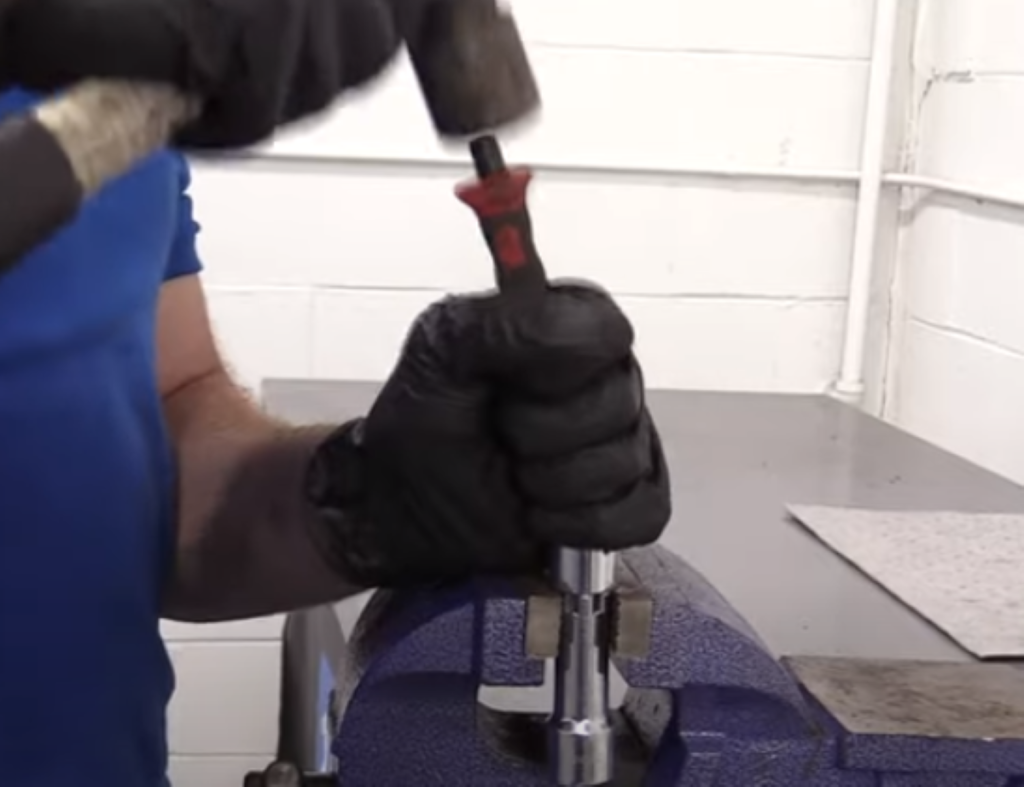
Use a suitable soft-face tool to tap around the outside of the socket. Keep the taps light and controlled. Avoid striking the impact wrench body or anvil directly.
Use a Controlled Pull, Not a Hard Twist
A common mistake is twisting the socket from side to side with high force. This can increase the bind and put stress on the anvil. A straight pull with a small rocking motion usually gives the retaining feature a better path to release.
If the socket starts to move, keep the motion steady. Do not suddenly jerk it. Once the socket comes free, inspect both parts before using the wrench again.
- ✦ Use even pressure
Pull with steady force and keep the socket aligned with the square drive.
- ✦ Rock only a little
A small movement can help release the socket, but large twisting motions can damage the drive.
- ✦ Stop when parts bend
If the retaining ring, pin, socket, or anvil begins to deform, stop and reassess the problem.
What to Do When the Socket Will Not Come Off
If the basic pull does not work, do not jump straight to extreme force. The next step in how to remove stuck socket from impact wrench is to loosen rust and debris, then use controlled mechanical help.
Penetrating oil can help when corrosion is part of the problem. Apply it around the joint between the socket and anvil, wait several minutes, and try the straight-pull method again. Heavy rust may need more than one application.
For a very tight socket, light tapping can help break the bond. Use a soft-face hammer or another tool designed for controlled impact. Keep the force on the socket, not the wrench body.

- ✦ Clean the joint
Brush away dirt, rust flakes, and metal debris around the socket opening and exposed anvil.
- ✦ Use penetrating oil
Apply a small amount to the joint and allow time for it to work. Keep oil away from areas where the tool manufacturer warns against contamination.
- ✦ Tap around the socket
Light taps can help break surface rust. Move around the socket rather than striking one spot with heavy force.
- ✦ Try a socket puller
A suitable mechanical puller can provide controlled force when hand removal fails. Use one that fits the socket and does not load the anvil sideways.
- ✦ Get professional help
If the socket is badly seized or the anvil looks bent, a tool repair shop can remove it with less risk of damaging the wrench.
Should You Use Heat on a Stuck Socket?
Heat can expand metal and sometimes help free a seized socket, but it is not the first choice for an impact wrench. Cordless tools contain batteries, seals, plastic parts, grease, and electronics that can be damaged by heat.
Never use an open flame near a battery-powered impact wrench. Even when the socket itself can safely take heat, the wrench may not. If heat seems necessary, check the manufacturer’s service guidance or have a qualified repair professional handle it.
- ✦ Avoid open flame on the wrench
A torch can damage electronics, seals, grease, plastic, and battery components.
- ✦ Use caution with heated sockets
A hot socket can cause burns and may remain hot longer than it looks.
- ✦ Choose safer methods first
Cleaning, penetrating oil, cooling, gentle tapping, and controlled pulling should come before heat in most cases.
How to Remove a Socket From a DeWalt, Milwaukee, Makita, or Other Impact Wrench
The basic process for how to remove stuck socket from impact wrench is similar across major brands. DeWalt, Milwaukee, Makita, and other manufacturers use different models and retaining systems, so the exact release method can vary.
Do not force a socket based only on the brand name. Check the model’s manual if you are unsure how its anvil and retaining ring work. The goal is always the same: release the socket without bending the anvil or damaging the locking system.
Some compact impact drivers and adapters can look similar to impact wrenches but use different connection systems. Make sure you are working with the correct type of tool before applying force.
- ✦ DeWalt impact wrench
Check whether the model uses a friction ring, pin detent, or another retention system. Follow the model-specific instructions when the socket does not release normally.
- ✦ Milwaukee impact wrench
Inspect the square drive and retaining feature. Keep the socket aligned and avoid using the wrench trigger to shake a stuck socket loose.
- ✦ Makita impact wrench
Use the same safe approach of disconnecting power, checking the retaining system, cleaning the joint, and applying controlled force.
- ✦ Pneumatic impact wrench
Disconnect the air hose before touching the socket. Air-powered tools can move suddenly if the trigger is pressed.
When the Socket Is Stuck on an Adapter or Extension
Sometimes the socket is not stuck directly on the impact wrench. It may be stuck on a socket adapter, wobble extension, or universal joint. In that case, remove the adapter from the wrench if possible, then work on the socket and adapter as a separate assembly.
A stuck extension can make the whole setup look like a wrench problem. Separating the parts can make it much easier to inspect the retaining points and apply controlled force.
- ✦ Separate the assembly
If the adapter can be removed safely, take it off the wrench before trying to free the socket.
- ✦ Inspect each connection
Check the socket, adapter, detent, and square drives for rust, burrs, dents, or wear.
- ✦ Replace damaged parts
A badly worn adapter or socket can create repeated sticking and may not be worth saving.
How to Inspect the Impact Wrench After Removing the Socket
Once you get the socket off, do not put it back into service right away. A stuck socket can leave behind a damaged retaining ring, burr, bent drive, or cracked socket. A quick inspection can prevent a second failure.
Look closely at the square drive anvil. Its corners should look even and its shape should remain square. Also inspect the socket opening for dents or metal that could interfere with the retaining feature.
If the anvil is badly worn, cracked, bent, or loose, stop using the tool until it has been repaired. A damaged drive can let a socket slip or fail during high-torque work.

- ✦ Check the anvil
Look for rounded corners, deep grooves, cracks, bends, or other signs of abnormal wear.
- ✦ Check the retaining ring
Make sure the ring sits correctly and does not look broken, stretched, or badly worn.
- ✦ Check the socket
Inspect the square opening for burrs, dents, cracks, and corrosion.
- ✦ Check for metal debris
Clean away loose metal that could stop the socket from seating or releasing correctly.
- ✦ Test by hand
After inspection, fit the socket onto the anvil without power. It should seat securely and release in the normal way for that tool.
Signs That the Impact Wrench Needs Repair
A socket that repeatedly gets stuck can point to a worn retaining system or damaged anvil. The same is true if several good sockets become hard to remove from the same wrench.
Stop and seek repair if the anvil is bent, the retaining ring will not seat correctly, or the tool has unusual movement around the drive. Continued use can make a small problem more expensive.
- ✦ Repeated socket binding
If different sockets stick on the same wrench, inspect the wrench rather than blaming every socket.
- ✦ Loose anvil
Movement that feels abnormal can indicate internal wear or damage.
- ✦ Cracks or severe wear
Do not keep using a wrench or socket with visible structural damage.
How to Prevent a Socket From Getting Stuck Again
Once you know how to remove stuck socket from impact wrench, prevention becomes the next goal. Clean tools are easier to use and easier to service. A few simple habits can reduce binding and wear.
Use sockets made for impact tools. Standard chrome hand-tool sockets are not designed for repeated impact loads and may crack or fail. Impact sockets are built for this type of work and are usually marked for impact use.
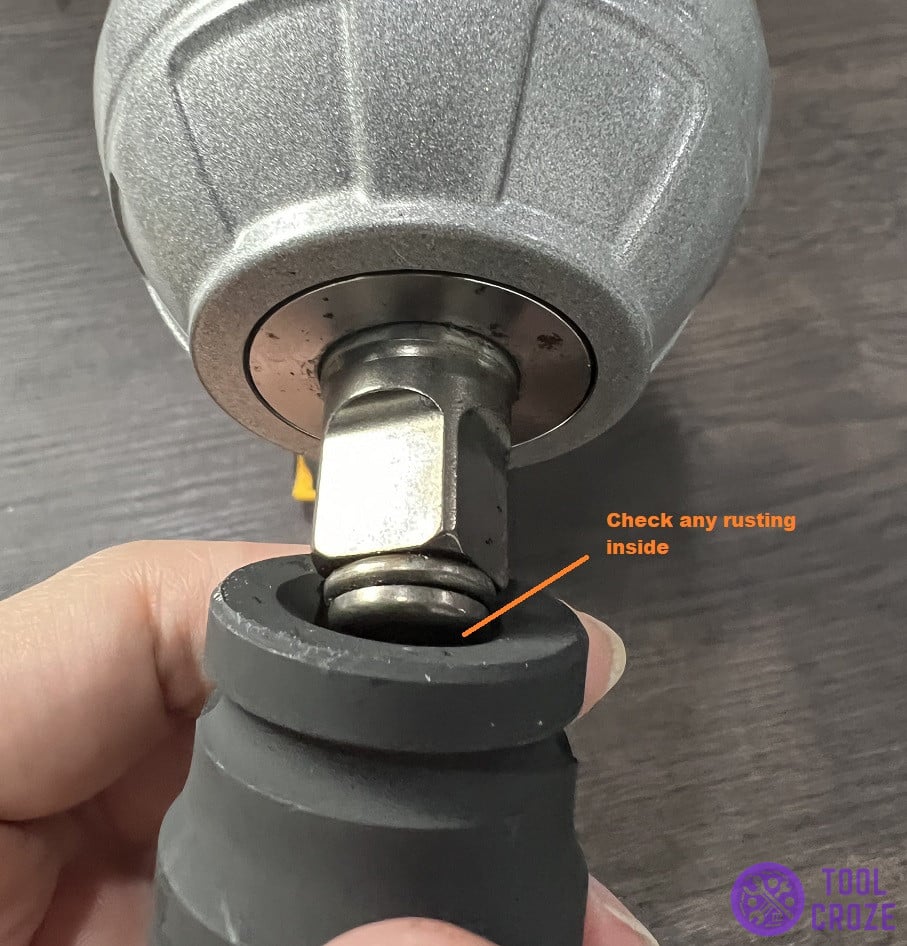
Keep the square drive and socket opening clean. Before putting a socket on the wrench, check for rust, dirt, burrs, and other debris. After the job, wipe the tool and store it in a dry place.
- ✦ Use impact-rated sockets
Choose sockets designed for impact wrench use. They are made to handle repeated shock loads better than standard hand-tool sockets.
- ✦ Keep the drive clean
Remove dirt and rust from the square drive and socket opening before use.
- ✦ Avoid side loading
Keep the wrench and socket in line with the fastener when possible. Side force can increase wear and binding.
- ✦ Do not overwork the tool
Long, repeated impact cycles create heat and stress. Let the tool cool when the job calls for heavy use.
- ✦ Store the tool dry
Moisture can lead to corrosion on sockets, retaining rings, and square drive parts.
- ✦ Inspect sockets often
Replace sockets with cracks, severe wear, damaged openings, or other defects.
A Simple Socket Care Routine
After a day of work, wipe each socket and check the square opening. Remove dirt before it gets packed into the retaining groove. If you work around winter road salt or wet conditions, pay extra attention to corrosion.
For the impact wrench itself, follow the manufacturer’s maintenance instructions. Pneumatic tools may need specific air-tool care, while cordless tools require different storage and battery practices.
- ✦ After use
Wipe the socket and drive clean and remove visible debris.
- ✦ Before storage
Keep metal parts dry and store the wrench where moisture is low.
- ✦ Before the next job
Check the socket and retaining system before applying power.
Safety Mistakes to Avoid When Removing a Stuck Socket
Knowing how to remove stuck socket from impact wrench is useful, but safety comes first. A socket can release suddenly when rust or a retaining ring lets go. Keep your hands clear of pinch points and wear basic eye protection when tapping metal parts.
Never hold the socket with one hand and pull the impact wrench trigger with the other. The tool can move suddenly, and the socket can shift or fly off. Always disconnect the battery or air supply before working on the connection.
Avoid aggressive methods that can damage the tool. Heavy hammer blows, uncontrolled prying, and open-flame heating can turn a simple stuck socket into a damaged wrench or a safety hazard.
- ✦ Do not use the trigger to free the socket
The impact mechanism is designed to drive fasteners, not to safely remove a socket from the anvil.
- ✦ Do not pry hard against the anvil
A pry bar can bend or damage the square drive and may create a costly repair.
- ✦ Do not strike the wrench body
Impacting the tool housing can damage internal parts, electronics, seals, or the motor.
- ✦ Do not use a torch on a cordless tool
Heat can damage batteries and internal components and may create a fire risk.
- ✦ Wear eye protection
Rust, metal chips, or a suddenly released socket can create an eye hazard.
- ✦ Stop when the problem looks serious
A bent anvil, cracked socket, or damaged retaining system calls for repair rather than more force.
When You Should Stop and Ask for Help
If you have tried cleaning, lubrication, and gentle movement without success, more force may not be the answer. The socket may be severely seized, or the retaining system may be damaged.
A professional tool repair shop can inspect the anvil and retaining parts and use controlled equipment to separate the pieces. This can be cheaper than replacing an impact wrench that was damaged by an aggressive removal attempt.
- ✦ Severe corrosion
Heavy rust may require specialized removal methods.
- ✦ Visible damage
Cracks, bent metal, or broken retaining parts are reasons to stop.
- ✦ Repeated failure
If sockets keep sticking, have the wrench inspected for a deeper problem.